27II-
[ 9 ] Demonstration Print and Final Check
Following items are verified lastly after completed the assembly.
1. Press the “On/Off ( )” key.
2. While holding down the “Code” key, press the “BS ( )” key to cancel data previously
entered.
3. Return the “Caps”, “Size”, “Style”, “UNDL/FRM”, “Function”, and “NUMBER” to the initial
state.
4. The laminate cassette tape of 12 mm width is installed.
5. While holding down the “Code” key , press the “D” key (PT-1250/1160: “Code” key + “D” key
+ “On/Off ( )” key) to start the demonstration print.
6. During the demonstration print, check that the machine feeds the tape and the prints data
correctry. Then cut the tape. (Printing length of the 6mm tape is different from those of the
9/12mm tape.) If any problem is found, go to the trouble shooting in Section 2.3 and 3.3.
7. Open the casssette cover ASSY to check that it retracts the roller holder ASSY from the
termal head. Thereafter, the cutter safety lock mechanism is verified no problem after
removed the laminate cassette tape.
8. Remove the batteries, and set the AC adapter (excluding PT-1180). After that, comfirm the
“On/Off ( )” key.
9. At last, no problem is verified by conducting the following inspections.
9.1. Inspection Mode Starting Procedure
The inspection mode is initiated by pressing the “CODE” key, “K” key, and “On/Off ( )”
key simultaneously when internal RAM is cleared while electrical power OFF. (Displays will
become as shown in Fig. 2.) * First, release the “On/Off ( )” key.
However, Error processing will be started when occurred the following error. When such is
the case, please repair by referencing to the Section 2.3 and 3.3 trouble shooting.
9.1.1. Soldering Checks
Checks are performed for the solder points.
Operation is finished by displaying as shown in Fig. 1 when the solder is ON for more than 2
points, or when the soldering made to inappropriate position.
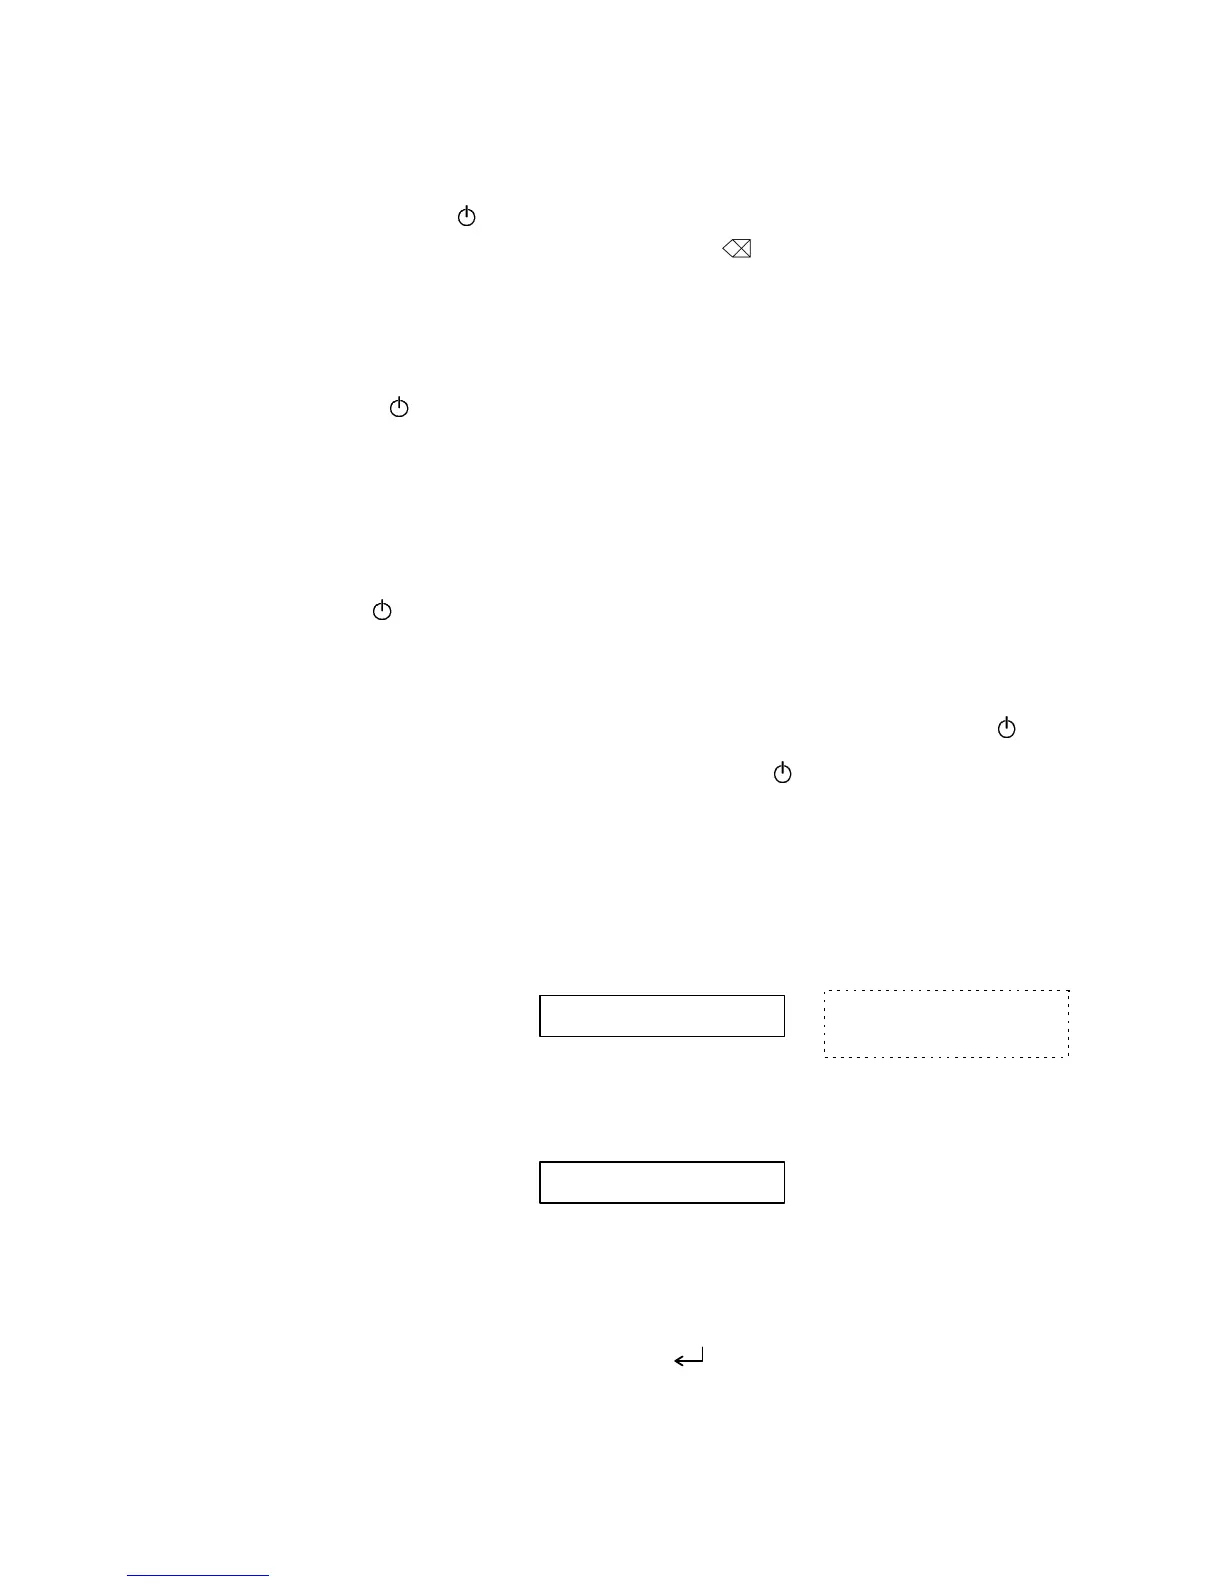
Fig. 1
9.2. Modes for Inspection “1” ~ “7” Key
This mode is a mode to perform the final inspection after completed the assembly.
Fig. 2
9.2.1. Information Mode
Displays as shown in Fig. 2 when entered into the inspection mode, or when depressed “1”
key (excluding when in the key inspection mode).
The information mode performs, by pressing “ ” key, the country display, head rank
display, and the input electrical power checks.
S L D X
I N F O
Display shown in Fig. 1 appears
only when there is an error at the
solder point.
 Loading...