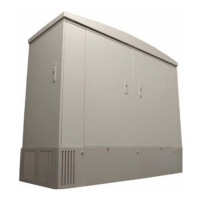
Calix ODC-80 Installation Guide
63
Proprietary Information: Not for use or disclosure except by written agreement with Calix.
© 2001-2003 Calix. All Rights Reserved.
Procedure to configure your computer to connect to the Calix C7
This procedure is for computers using Microsoft Windows 2000.
Connect your computer to the front Ethernet port
Use a straight-through Ethernet cable to connect the Ethernet port on your computer to
the Ethernet port on the front of the AMP in the Calix C7 shelf.
Step Action
1.
On the Start menu, click Settings, then click Network And Dial-up
Connections, then right-click Local Area Connection, and click Properties.
2.
On the Local Area Connection Properties dialog box, do the following:
a. Click Internet Protocol (TCP/IP).
b. Make sure the check box to the left of Internet Protocol (TCP/IP) is
selected.
c. Click Properties.
3.
On the Internet Protocol (TCP/IP) Properties dialog box, do the following:
a. Click Use The Following IP Address to select it.
b. In the IP Address box, type 192.168.1.2.
c. In the Subnet Mask box, type 255.255.255.0.
d. In the Default Gateway box, type 0.0.0.0.
e. Leave the DNS Server addresses blank.
4.
On all open dialog boxes, click OK to save your network connection settings.