Calix ODC-80 Installation Guide
29
Proprietary Information: Not for use or disclosure except by written agreement with Calix.
© 2001-2003 Calix. All Rights Reserved.
Install and test the AC power
Route and connect AC power to the cabinet, then test the AC voltage.
You have two options for routing AC power based on the flexibility of the power cable
and whether you have installed subscriber cable first. Calix recommends that you install
AC power before installing subscriber cable.
An AC power wiring diagram is included in the Diagrams and Worksheets binder that
ships with the cabinet.
Requirements for AC power input.
The Calix outdoor cabinet requires a 240-220 VAC power feed with 60 Amp service.
DANGER! High voltage may be present. Do not turn on the main power to the cabinet
until the installation is complete.
Procedure to route AC power cable into the splice compartment
Choose an AC power routing method
Choose one of the following methods to route AC power from the splice compartment to
the AC Load Center.
Step Action
1.
In the right-side splice compartment, do the
following if you have not already done so:
a. remove the AC cover plate
b. remove the AC entry tray
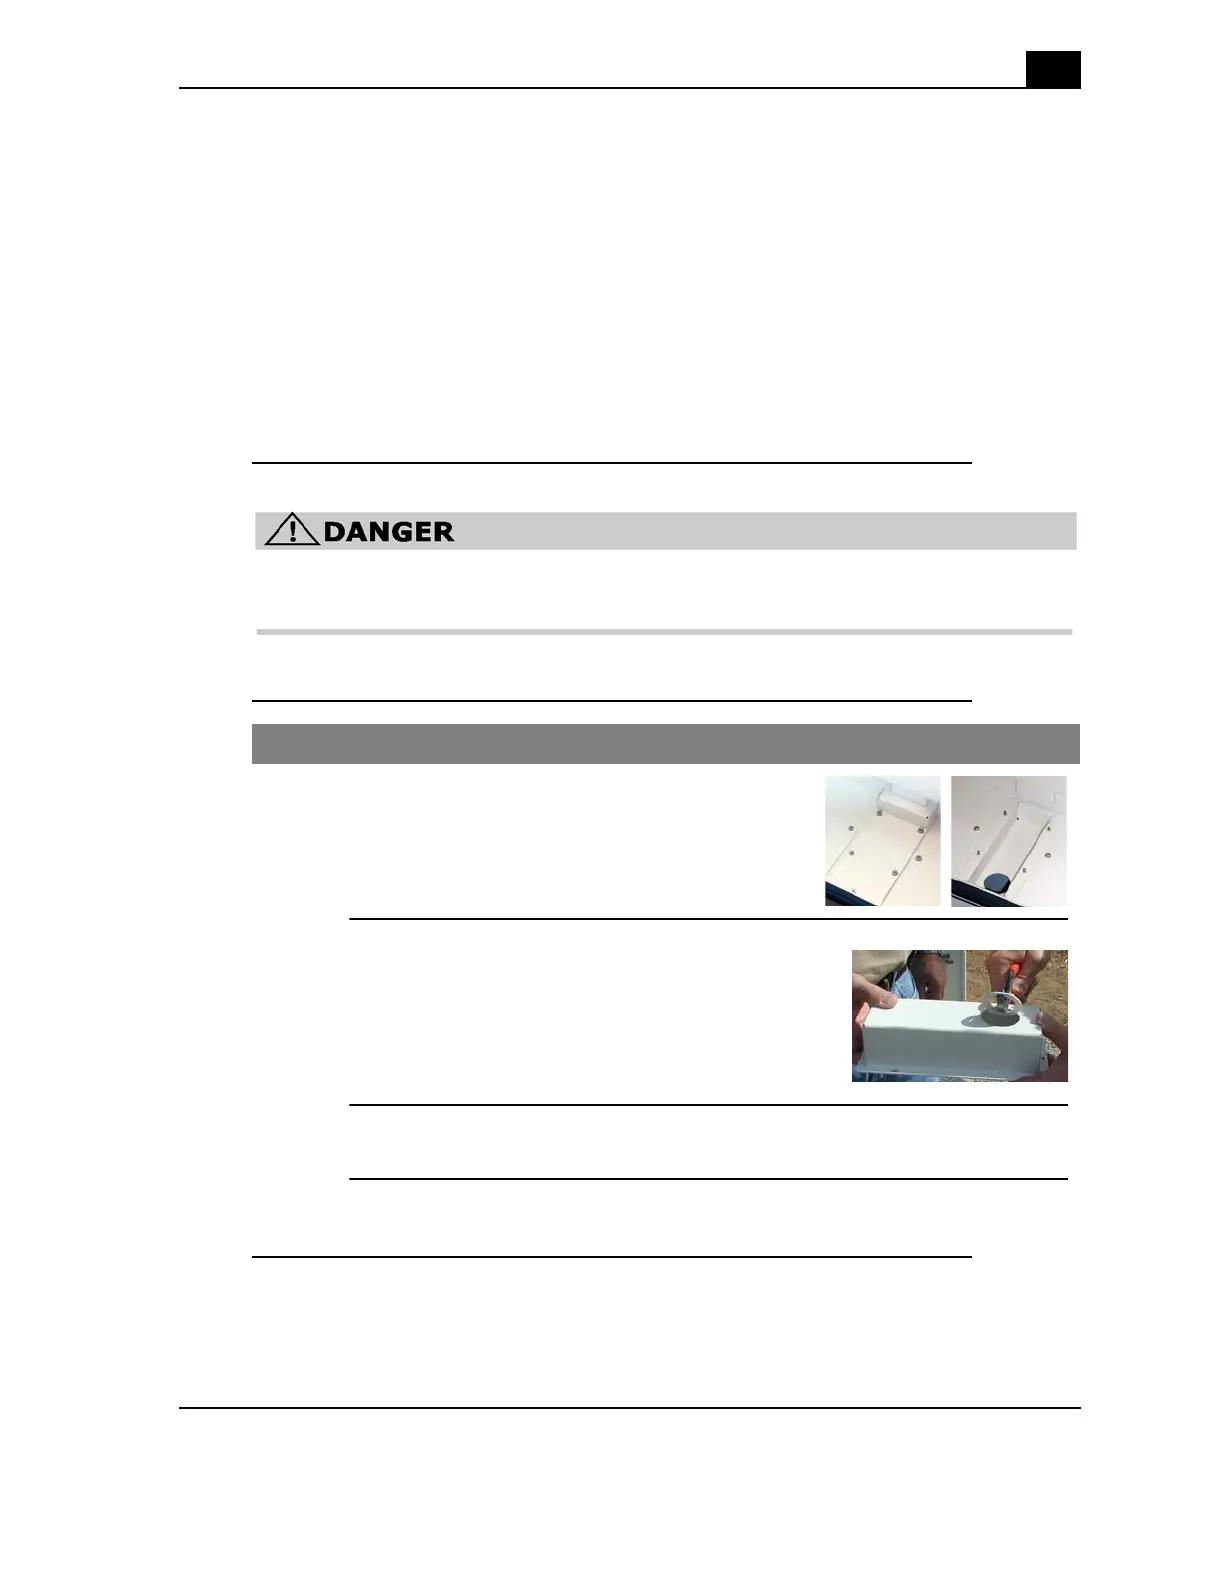
2.
In the right-side splice compartment, place the AC
entry tray over the male adapter on the AC conduit
and attach the conduit locking nut. Remove the tray
knockout, if necessary.
3.
Pull the AC cables through the AC conduit and into the AC entry tray.