Calix ODC-80 Installation Guide
89
Proprietary Information: Not for use or disclosure except by written agreement with Calix.
© 2001-2003 Calix. All Rights Reserved.
Replace a rectifier module
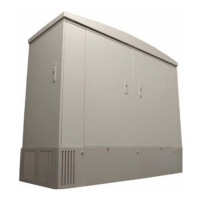
Description of the RFA DIS switches
On the Alarm Control Unit, the RFA DIS switches control whether alarm monitoring is
enabled for the four rectifier module slots. Switch 1 is for the first rectifier module slot on
the left and switch 4 is for the last rectifier module slot on the right.
For any slot not containing a rectifier module, ensure that the corresponding RFA DIS
switch is set in the OFF position.
Procedure to install or replace a rectifier module
ON - Push a switch to the right to enable alarm monitoring for that
slot. In the illustration, switches 1 and 3 are ON.
OFF - Push a switch to the left to disable alarm monitoring for that
slot. In the illustration, switches 2 and 4 are OFF.
Step Action
1.
Unbolt and remove the cover plate (or module to be replaced).
2.
Set the rectifier module AC switch to OFF.
3.
Slide the new module into the slot and tighten the front
bolts to secure the module in place.
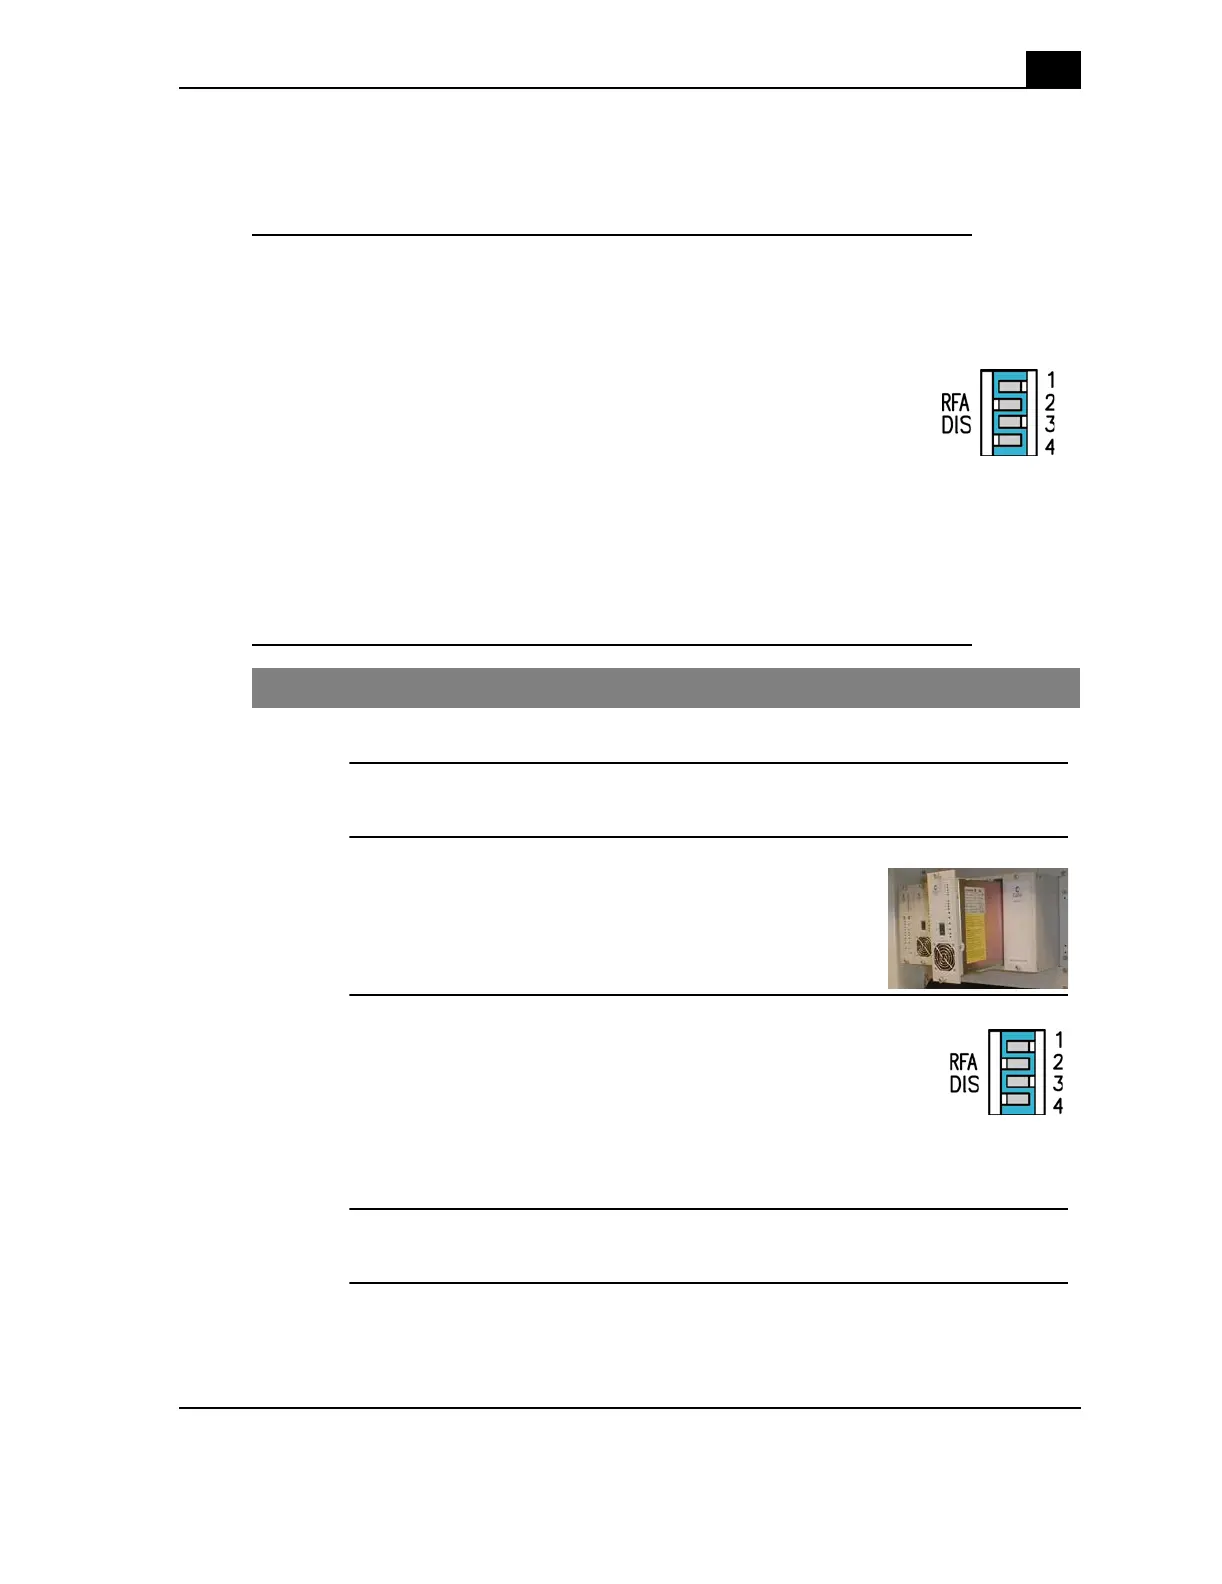
4.
On the Alarm Control Unit, set the matching RFA DIS switch
to the right for each rectifier module installed to enable alarm
monitoring for the rectifier modules.
The illustration shows the switches set to ON for module positions 1 and 2,
and set to OFF for positions 3 and 4.
5.
Set the rectifier module AC switch to ON.