15
breathes, the most movement is between the lowest
rib and the abdomen.
2. If the infant is supine, place the capsule midway
between the umbilicus and xiphisternum, which is the
notch at the center of the two lower ribs. On larger
infants, an alternative site is the upper chest to detect
intercostal movement.
3. If the infant is prone, place the sensor laterally over the
lower rib and abdomen. The sensor tubing should be
directed over the back.
4. Tape the sensor firmly into position using a non-
allergenic microprobe tape. Position the sensor line
perpendicular to the tape. Only use tape that is
approved by your facility’s protocol.
5. Verify correct placement. The transducer LED should
illuminate on expiration, and the SiPAP front panel LED
on inspiration.
6. If the LED does not illuminate, try repositioning the
sensor and adding a second piece of tape making an
“X” over the sensor.
Figure 1: Abdominal sensor placement
Respiratory abdominal sensor
Respiratory abdominal sensor (optional)
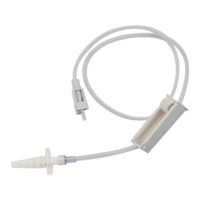
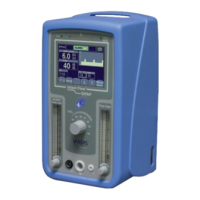
For use only with the Infant Flow SiPAP Plus and
Comprehensive nCPAP drivers. The respiratory abdominal
sensor enables the clinician to monitor for apnea/low breath
rate in both nCPAP and BiPhasic modes. The accessories
include the reusable transducer and single-patient-use
abdominal sensor. In the BiPhasic trigger mode, the
respiratory abdominal sensor and transducer allow
patient-triggered pressure assists with breath rate
monitoring (not available in the U.S.).
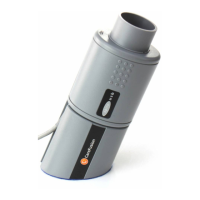
Respiratory transducer connection
1. Connect the transducer cable to the transducer port
on the front panel.
2. Connect the abdominal sensor pressure line to the
transducer interface.
3. Compress the sensor pad gently, repeating this several
times while observing the transducer LED.
Infant set-up
To apply the sensor to the infant using suitable tape
(figure 1):
1. Visually identify the optimum outward movement of
the abdomen during inspiration. When the infant



 To Next Page