Evolution® IP-20LH Installation Guide
Ceragon Proprietary and Confidential Page 34 of 101
4. Installing the IDU Chassis
This section provides instructions for installing an Evolution IP-20LH chassis.
4.1 Required Tools for Chassis Installation
IP-20N 1RU or 2RU chassis
Pre-installed on the chassis.
Required for any slot that does not contain a card.
4.2 Mounting the IDU Chassis in the Rack
This procedure is for both 1RU and 2RU chassis.
Note that there are two possible ways to install an Evolution IP-20LH chassis:
Standard Mount – The front of the chassis is flush with the front of the
rack.
Front Mount – The front of the chassis protrudes slightly from the front of
the rack, in order to reduce or eliminate protrusion of the chassis from the
rear of the rack.
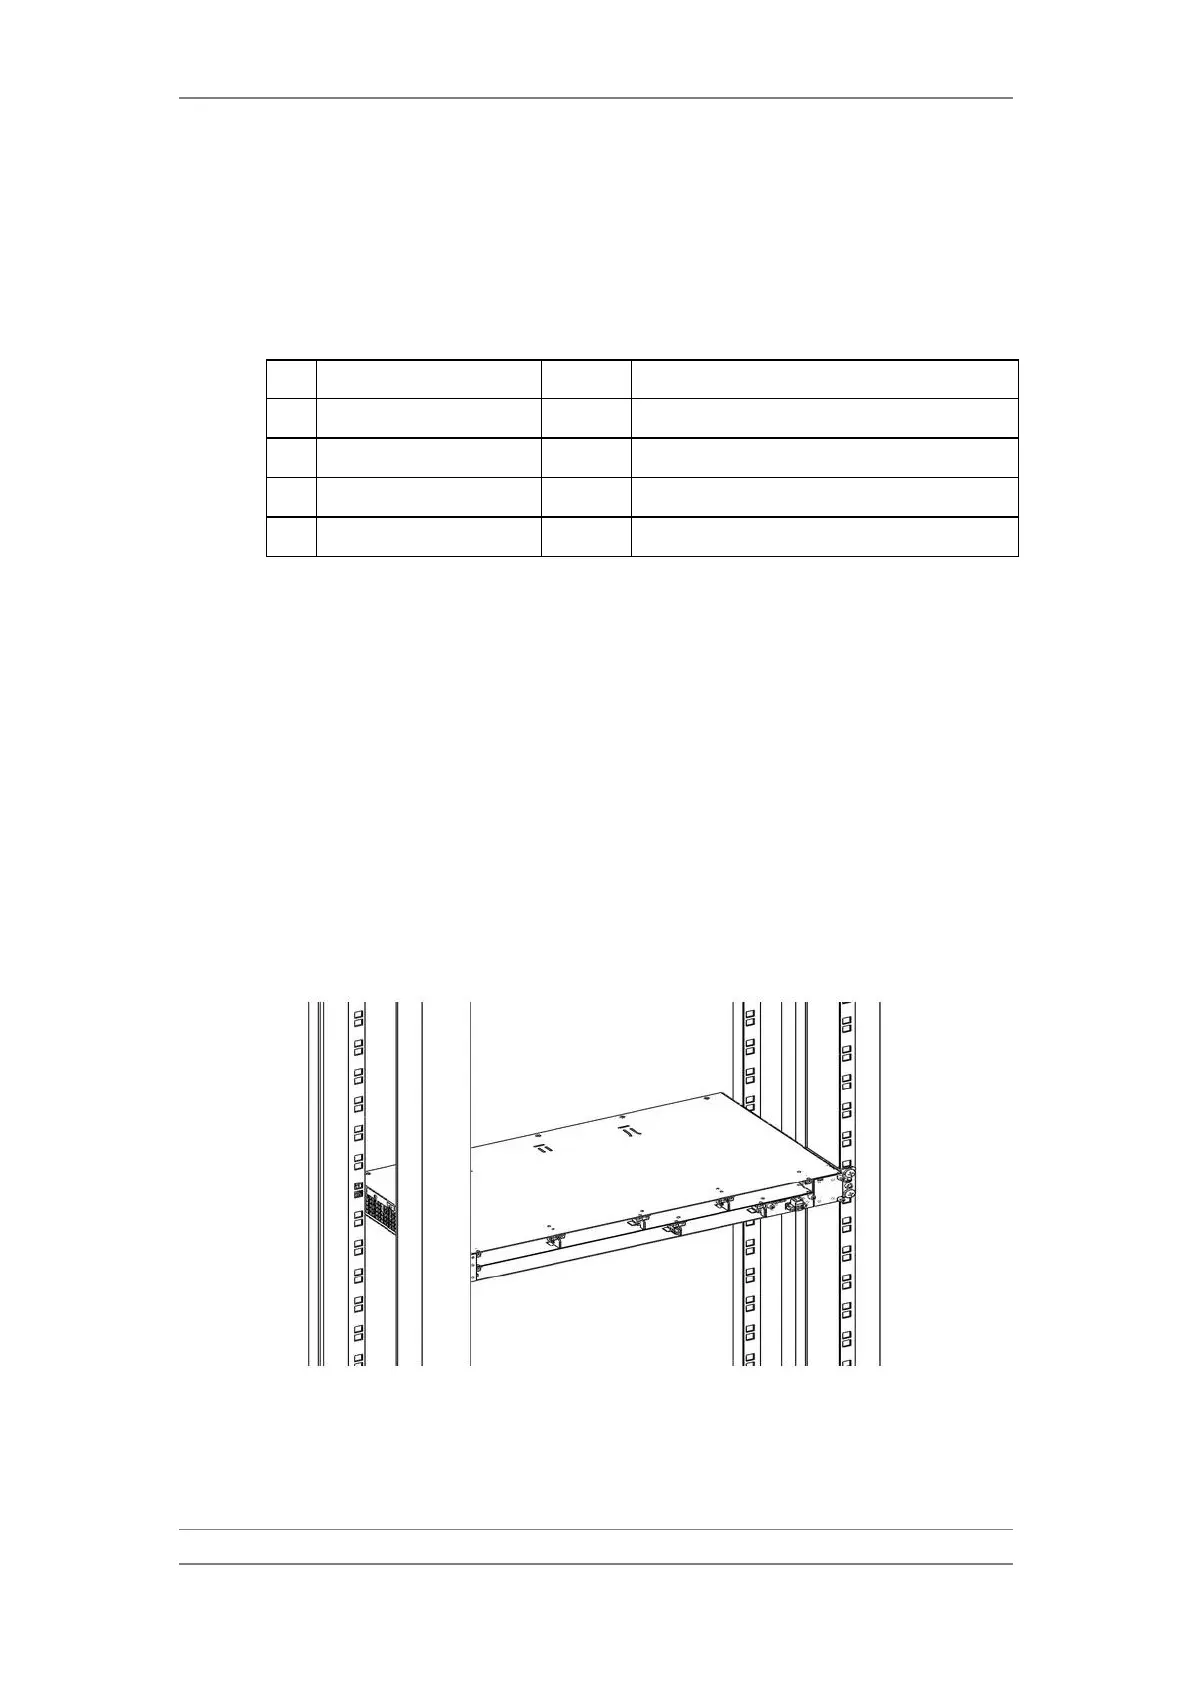
Insert and hold the IDU chassis in the rack, as shown in the following figures.
Use four screws (not supplied with the installation kit) to fasten the chassis to
the rack.
1RU IDU Chassis in Rack - Front Mount