Evolution® IP-20LH Installation Guide
Ceragon Proprietary and Confidential Page 89 of 101
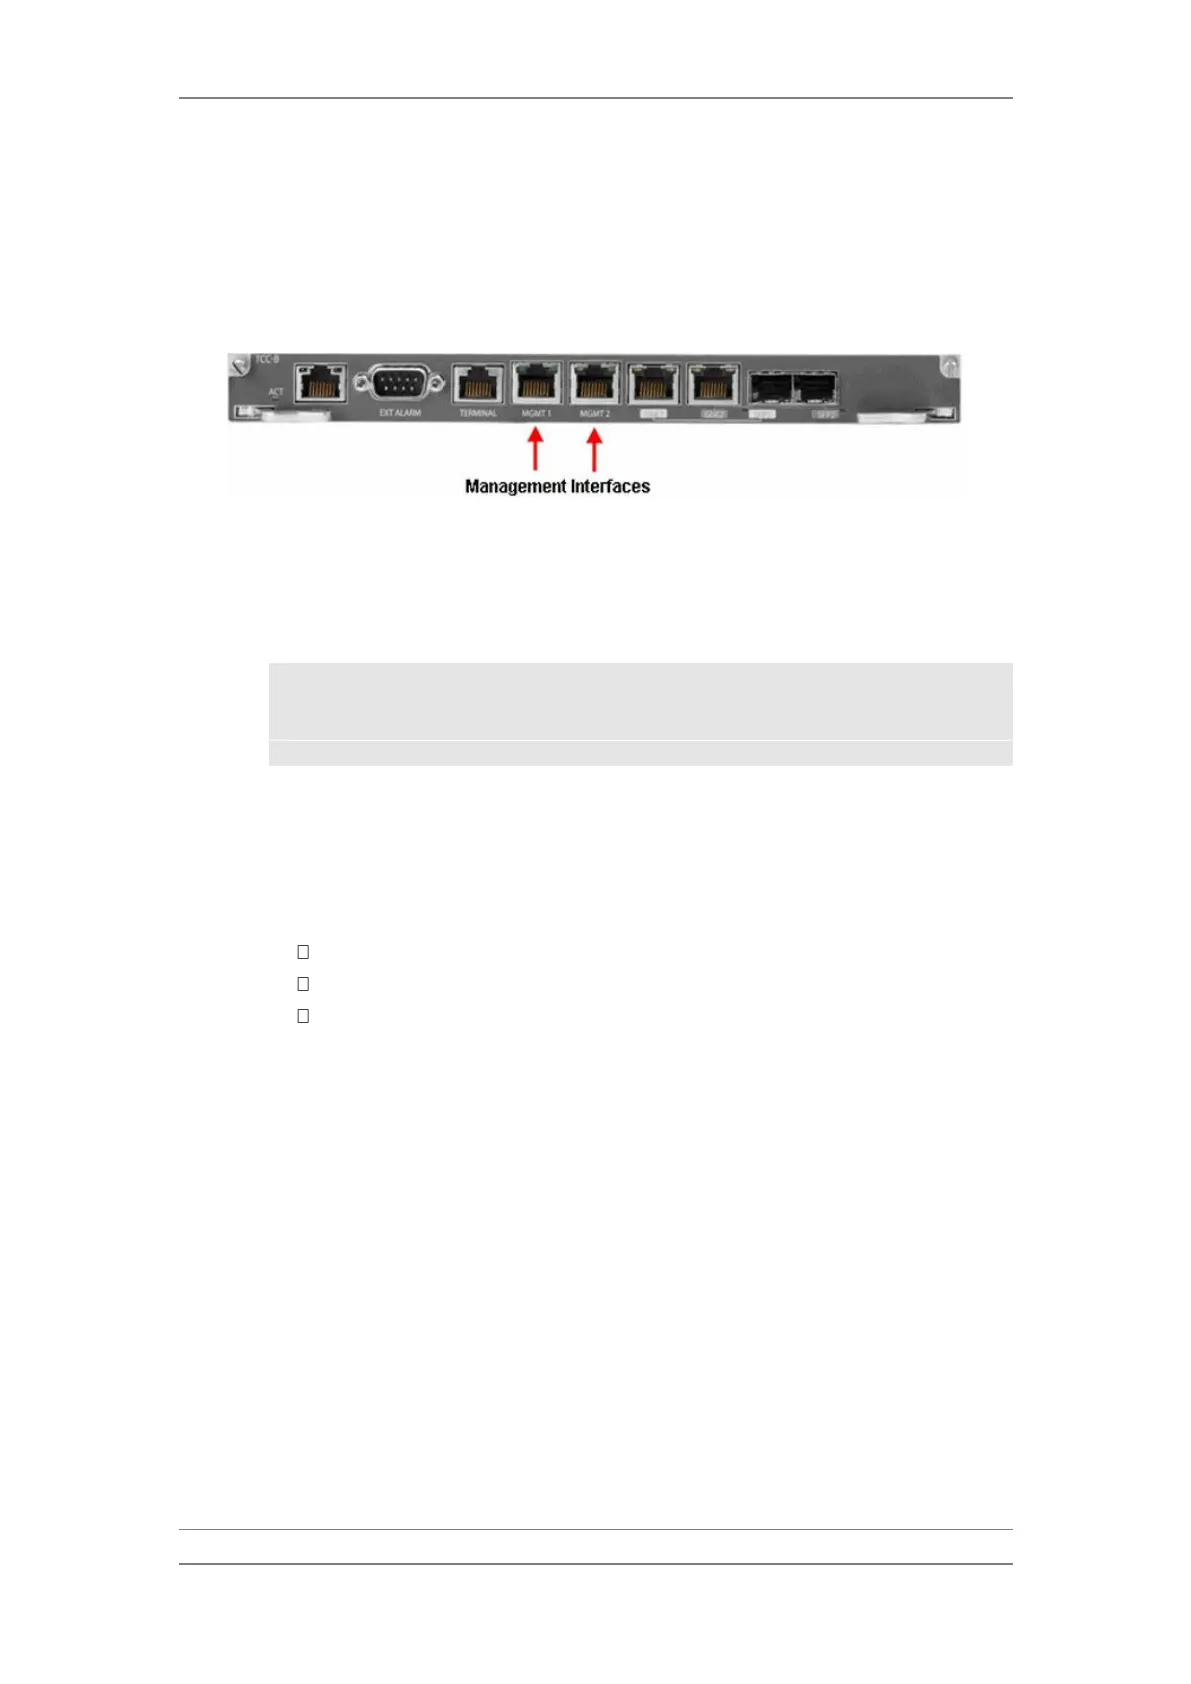
9.1.2 Connecting to the Unit with a LAN Connection
Connect an Ethernet cable from the LAN port on the laptop or PC you are
using to configure the unit to one of the management interfaces (MGMT1 or
MGMT2) on the TCC.
Management Interfaces on the TCC
To establish a connection with the IP-20LH unit, it is necessary to have an IP
address on the PC or laptop within the same subnet as the IP-20LH unit. The
default chassis IP address is 192.168.1.1. For example, you can set the PC or
laptop address to 192.168.1.10 and the subnet mask to 255.255.255.0. Note
the initial settings before changing.
Note: The chassis IP address, as well as password, should be
changed before the system is set in operation. For more
information on these procedures, see DOC-00036540, IP-20N
User Guide.
1 Select Control Panel> All Control Panel Items >Network and Sharing
Center.
2 Click Change adapter settings.
3 Select Local Area Connection> Properties> Internet Protocol Version
4 (TCP/IP).
IP address: 192.168.1.10
Subnet mask 255.255.255.0
No default gateway
4 Press OK to apply the settings.