Adjusting the image
size and position
Learn how to enable and modif
y projector image settings.
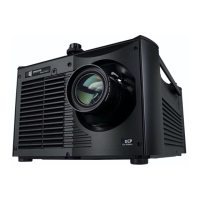
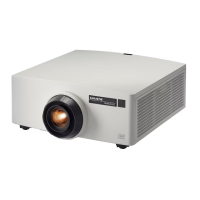
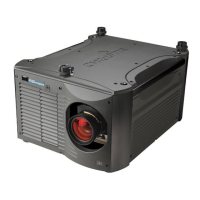
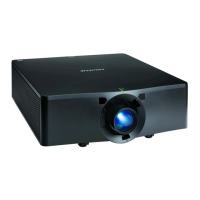
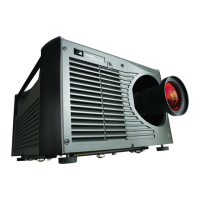
Intelligent Lens System (ILS)
The Intelligent Lens System
™
(ILS) automatically recognizes and calibrates a lens.
Warping is disabled when entering the ILS Setup page.
Activating the Intelligent Lens System
Activ
ate the Intelligent Lens System
™
(ILS) to automatically adjust the position of the lens.
On CineLife+ projectors, the ILS is enabled by default.
1. In the left navigation menu, select Service Setup > Preferences.
2. Select Lens/ILS.
3. In the right pane, select the ILS Installed slider.
The color of the slider changes to green to indicate the ILS is active.
Creating a new ILS file
Create an Intelligent Lens System
™
(ILS) file to set the X, Y, zoom, and focus positions of the lens.
1. In the left navigation menu, select Image Settings > ILS File Setup.
2. Select Create ILS File.
3. Enter a name for the ILS file and select Create.
4. In the Lens position area, select the forward, backward, left, or right arrow icons to move the
position of the image on the screen.
5. In the Focus area, select Up ( ) or Down ( ) to increase or decrease image focus.
6. In the Zoom area, select Up ( ) or Down ( ) to increase or decrease image zoom.
7. Select Save.
CineLife+ User Guide 79
020-103073-10 R
ev. 1 (02-2023)
Copyright
©
2023 Christie Digital Systems USA, Inc. All rights reserved.
If printed, please recycle this document after use.