3. Select Cut.
4.
Select the new date in the calendar.
5. Select Paste.
6. Adjust the settings for the scheduled event.
7. Select Paste Event.
Only unlocked events are copied.
Deleting a scheduled event
Delete an individual scheduled event when it is no longer required.
1. In the left navigation menu, select Scheduler.
2. In the calendar view, select the scheduled event.
3. Select Delete.
4. To confirm the deletion, select Delete.
Deleting scheduled events for an entire day
Delete the scheduled events for an entire day when they are no longer required.
1. In the left navigation menu, select Scheduler.
2. At the top of the calendar, select the target day.
3. Select Clear Day
.
4.
To confirm the change, select Clear Day.
Changing the day of the week the scheduler
starts
Change the start day of the scheduler to match the schedule of the theater.
1. In the left navigation menu, select Service Setup > Preferences.
2. Select General.
3. In the Scheduler area, select the day of the week to start the scheduler.
Turning the scheduler off
Turn the scheduler off when you do not want scheduled events to run automatically on a specific date
and time.
1. In the left navigation menu, select Scheduler.
2. To disable scheduled events, select the Scheduler is on slider.
The color of the slider changes to grey to indicate it is inactive.
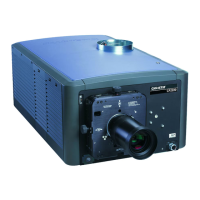
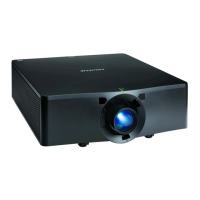
Working with the scheduler
CineLife+ User Guide 93
020-103073-10 R
ev. 1 (02-2023)
Copyright
©
2023 Christie Digital Systems USA, Inc. All rights reserved.
If printed, please recycle this document after use.