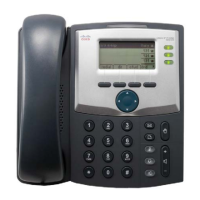
Installing Your Phone
Installing Your Cisco SPA 301 IP Phone
Cisco Small Business IP Phone SPA 30X User Guide (SIP) 19
2
Installing Your Cisco SPA 301 IP Phone
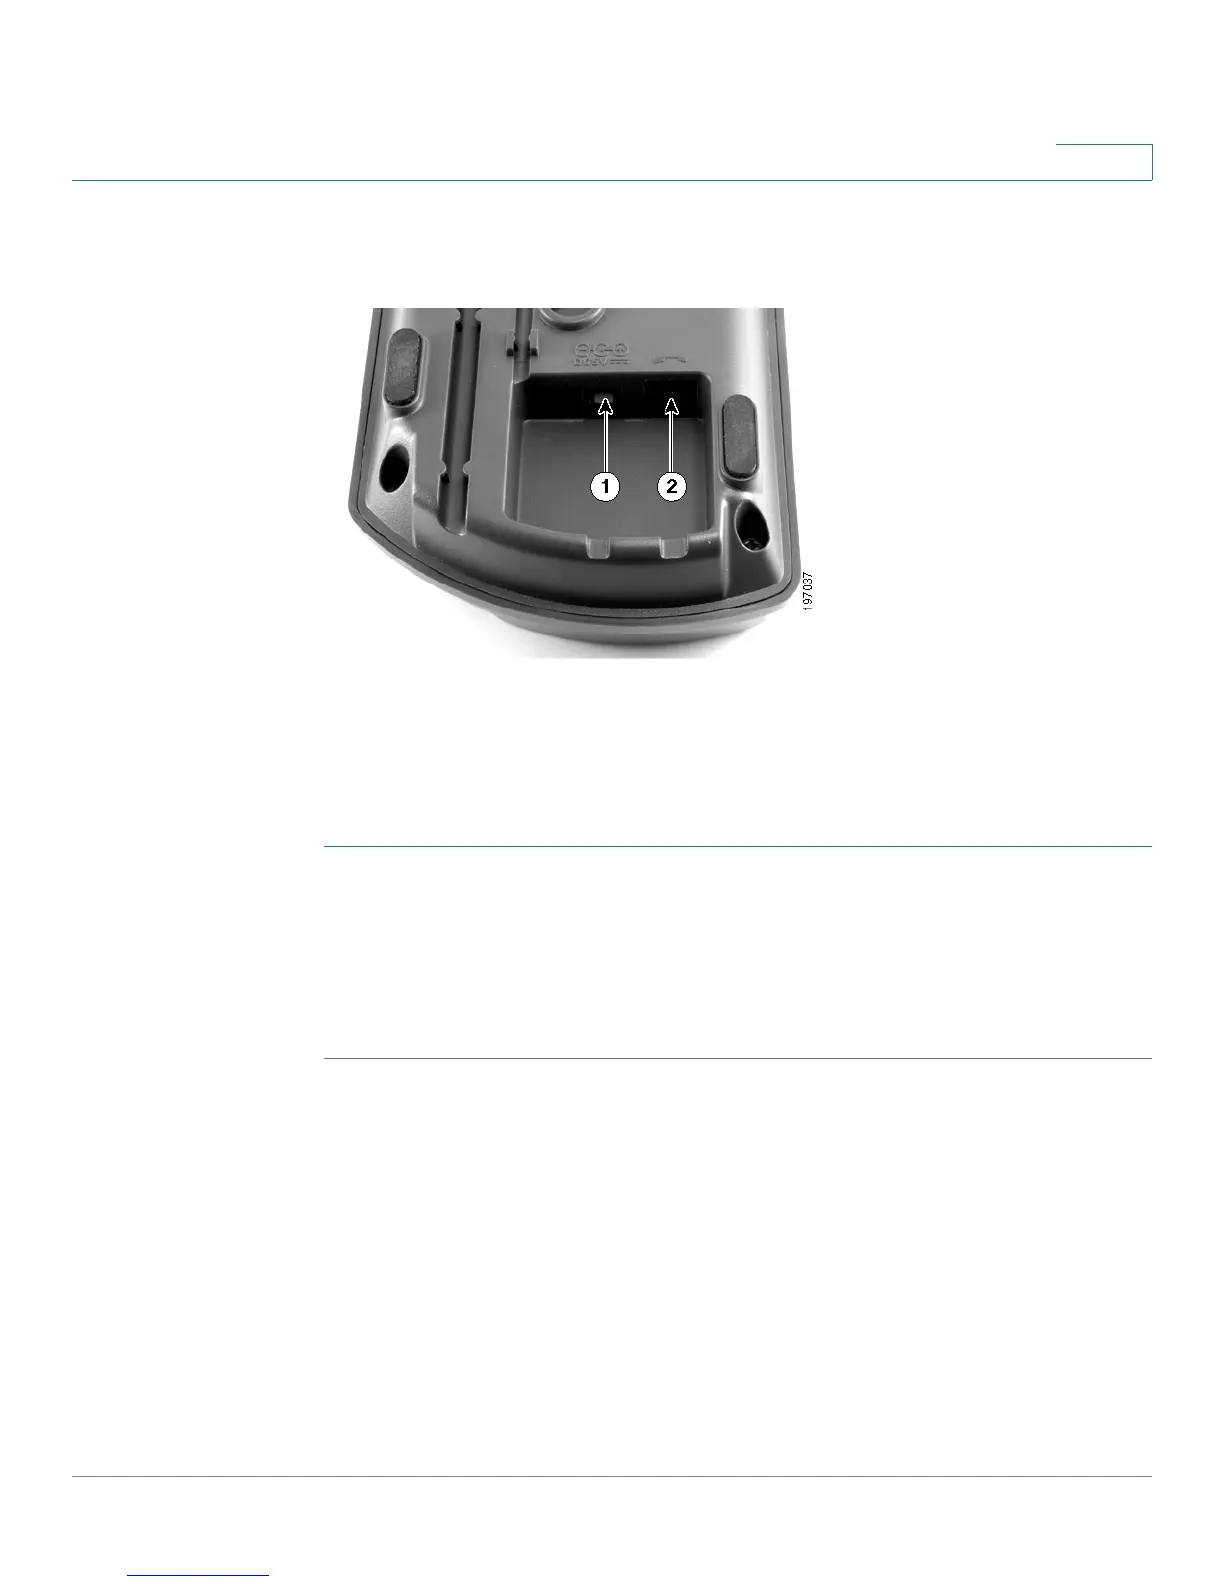
Figure 1 Cisco SPA 301 Phone Power and Handset Connections
Connecting the Handset
STEP 1 Turn the phone body over to expose the ports on the back of the unit.
STEP 2 Insert the long end of the phone cord into the handset port on the phone body that
is marked with a phone symbol. (labeled 2 in Figure 1).
STEP 3 Insert the other end of the phone cord into the port at the bottom of the handset
(not shown).
Connecting the Power
Insert one end of the power cord into an outlet and insert the other end of the
power cord into the power port on the phone body (labeled 1 in Figure 1).
NOTE To power the phone through the Ethernet connection, use the optional Cisco
POES5 5-Volt Power Over Ethernet Splitter accessory. See the Cisco POES5
documentation on Cisco.com for more information.