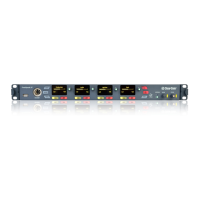
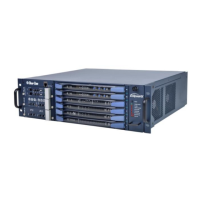
15 Tempest®900 4-Channel Wireless Intercom System
4- 2-Wire/4-Wire Select (SEL) Buon
The 2-Wire/4-Wire Select (SEL) buon sets the wired intercom mode for each of the four intercom channels. When a channel
is selected with the CHAN SEL buon, pressing the 2-Wire/4-Wire Select (SEL) buon changes the selected intercom mode
between 2-Wire, 4-Wire, or no connecon.
5- 2-Wire/4-Wire LEDs
The eight 2-Wire/4-Wire LEDs indicate the currently selected intercom mode for each of the four intercom channels. If
either a 2-Wire or 4-Wire connecon has been enabled for a parcular intercom channel, the corresponding 2-Wire or
4-Wire LED indicator will be illuminated. When no intercom has been enabled, the corresponding 2-Wire or 4-Wire LED
indicators will be OFF.
6- IN Level Control
In Menu Mode, from the Intercom Levels screen, the IN control adjusts the incoming level of the currently selected wired
intercom channel, from the hard wired intercom system to the Tempest BaseStaon. If 2-Wire is selected, the IN Level
control adjusts the incoming level of the 2-Wire signal. If 4-Wire is selected, the IN Level control adjusts the incoming level
of the 4-Wire signal. If neither 2-Wire nor 4-Wire is selected, the IN Level control is inacve. In addion to the intercom IN
levels, the IN control is used to adjust Aux IN levels.
7- OUT Level Control
In Menu Mode, from the Intercom Levels screen, the OUT level control adjusts the outgoing level of the currently selected
wired intercom channel going to the hard wired intercom system from the Tempest BaseStaon. If 2-Wire is selected, the
OUT Level control adjusts the outgoing level of the 2-Wire signal. If 4-Wire is selected, the OUT Level control adjusts the
outgoing level of the 4-Wire signal. If neither 2-Wire nor 4-Wire is selected, the OUT Level control is inacve. In addion
to the intercom OUT levels, the OUT control is used to adjust Aux OUT levels.
8- USB Connector
The USB connector is used to update the Tempest BaseStaon rmware and is not used in normal operaon.
9- BeltStaon Program Connector
The BeltStaon Program connector is used to pair the BaseStaon with BeltStaons. To pair the BaseStaon with a
parcular BeltStaon, ensure that the BaseStaon is powered ON and in Operaonal Mode (not in Menu Mode). Ensure
that the BeltStaon is powered OFF. Plug one end of the pairing cable into the BaseStaon, and plug the other end of the
pairing cable into the BeltStaon. Turn the BeltStaon power ON by pressing and holding the BeltStaon Power ON/OFF
switch for two seconds. The pairing process happens automacally and the message “Pairing Complete” will appear on the
BeltStaon LCD for approximately three seconds when done.
10- Power ON/OFF Switch
The ON/OFF switch is used to turn the BaseStaon power (AC or DC) ON and OFF.

 Loading...
