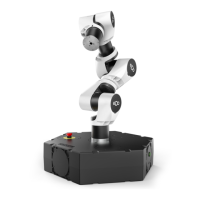
ROBOT CONFIGURATION CUSTOMIZATION
49
Comau Robotics Product Instruction
3.2.6 Connecting e.DO to Desk Simulator and use through
Teach Pendant TP5
– Equipment and material required
– Procedure for connecting e.DO to the Desk Simulator
3.2.6.1 Equipment and material required
For the connection of e.DO to the Desk Simulator, the following equipment / material is
required:
– Desk Simulator for e.DO
– Teach Pendant TP5
– Y cable for connecting the Teach Pendant, Desk Simulator, e.DO
– Ethernet cable with RJ45 connectors at the ends, for connection between the Desk
Simulator and e.DO.
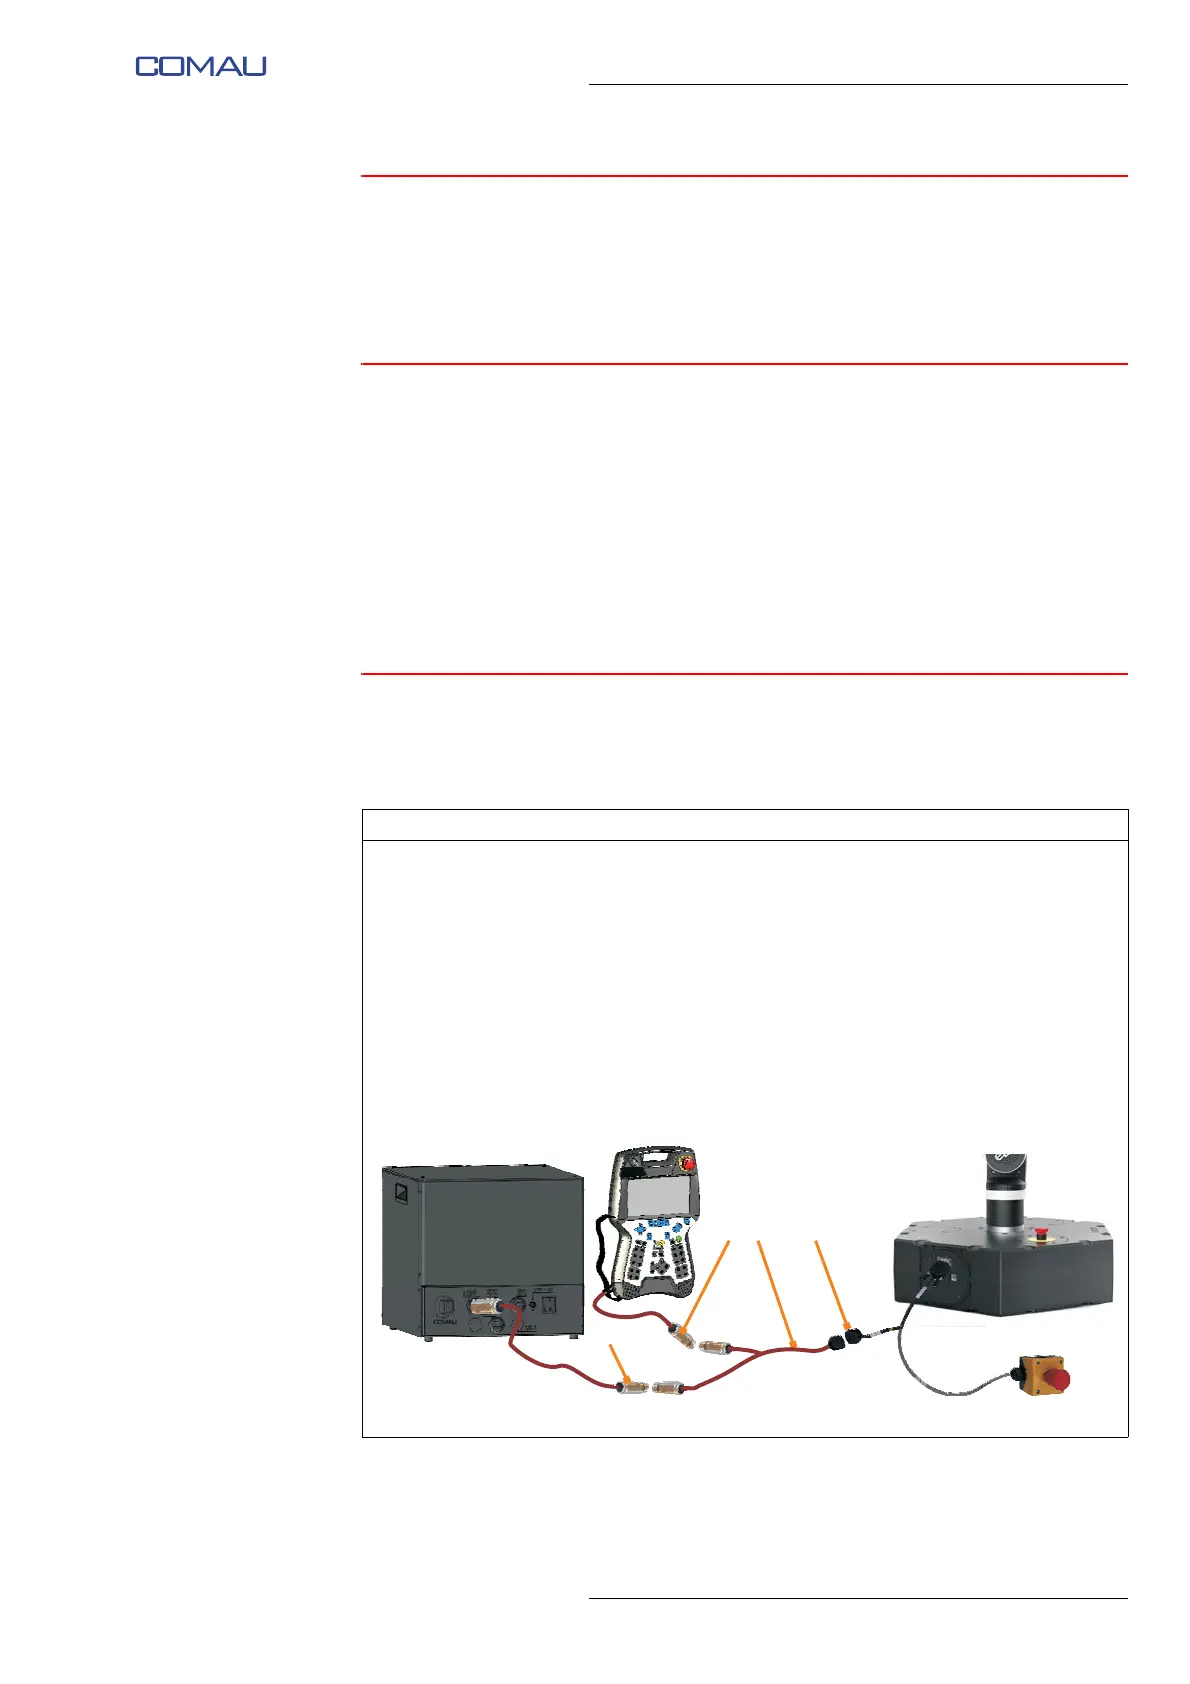
3.2.6.2 Procedure for connecting e.DO to the Desk Simulator
Below is the procedure for connecting e.DO to the Desk Simulator in order to make it
possible to control it through the Teach Pendant TP5.
Operating procedure
a. Make sure that e.DO and the Desk Simulator are powered off.
b. Connect e.DO to the Desk Simulator and the Teach Pendant TP5 using the Y
cable (A), as shown in the figure:
• remove the closure cap and connect the D-Sub connector, called
X124/EXT, of the Y cable to the D-Sub connector (B) available on e.DO (on
the remote emergency push-button cable);
• connect the connector named X124/DSK to the X124NEW connector (C)
available on the Desk Simulator;
• connect the X124/TP5 connector to the relevant connector (D) of the Teach
Pendant TP5.
AD B
C
X124NEW
X124/DSK
X124/TP5
X124/EXT