Removal and Replacement Procedures 5-33
Audio Board
CAUTION:
The Audio board is relatively fragile. Do not twist or bend during disassembly
or replacement.
To remove the audio board, complete the following procedures:
1. Prepare the computer for disassembly (Page 5-3).
2. Remove the keyboard (Page 5-14).
3. Remove the RTC battery (Page 5-20).
4. Remove the top cover assembly (Page 5-27).
5. Remove the converter/audio board shield (Page 5-31).
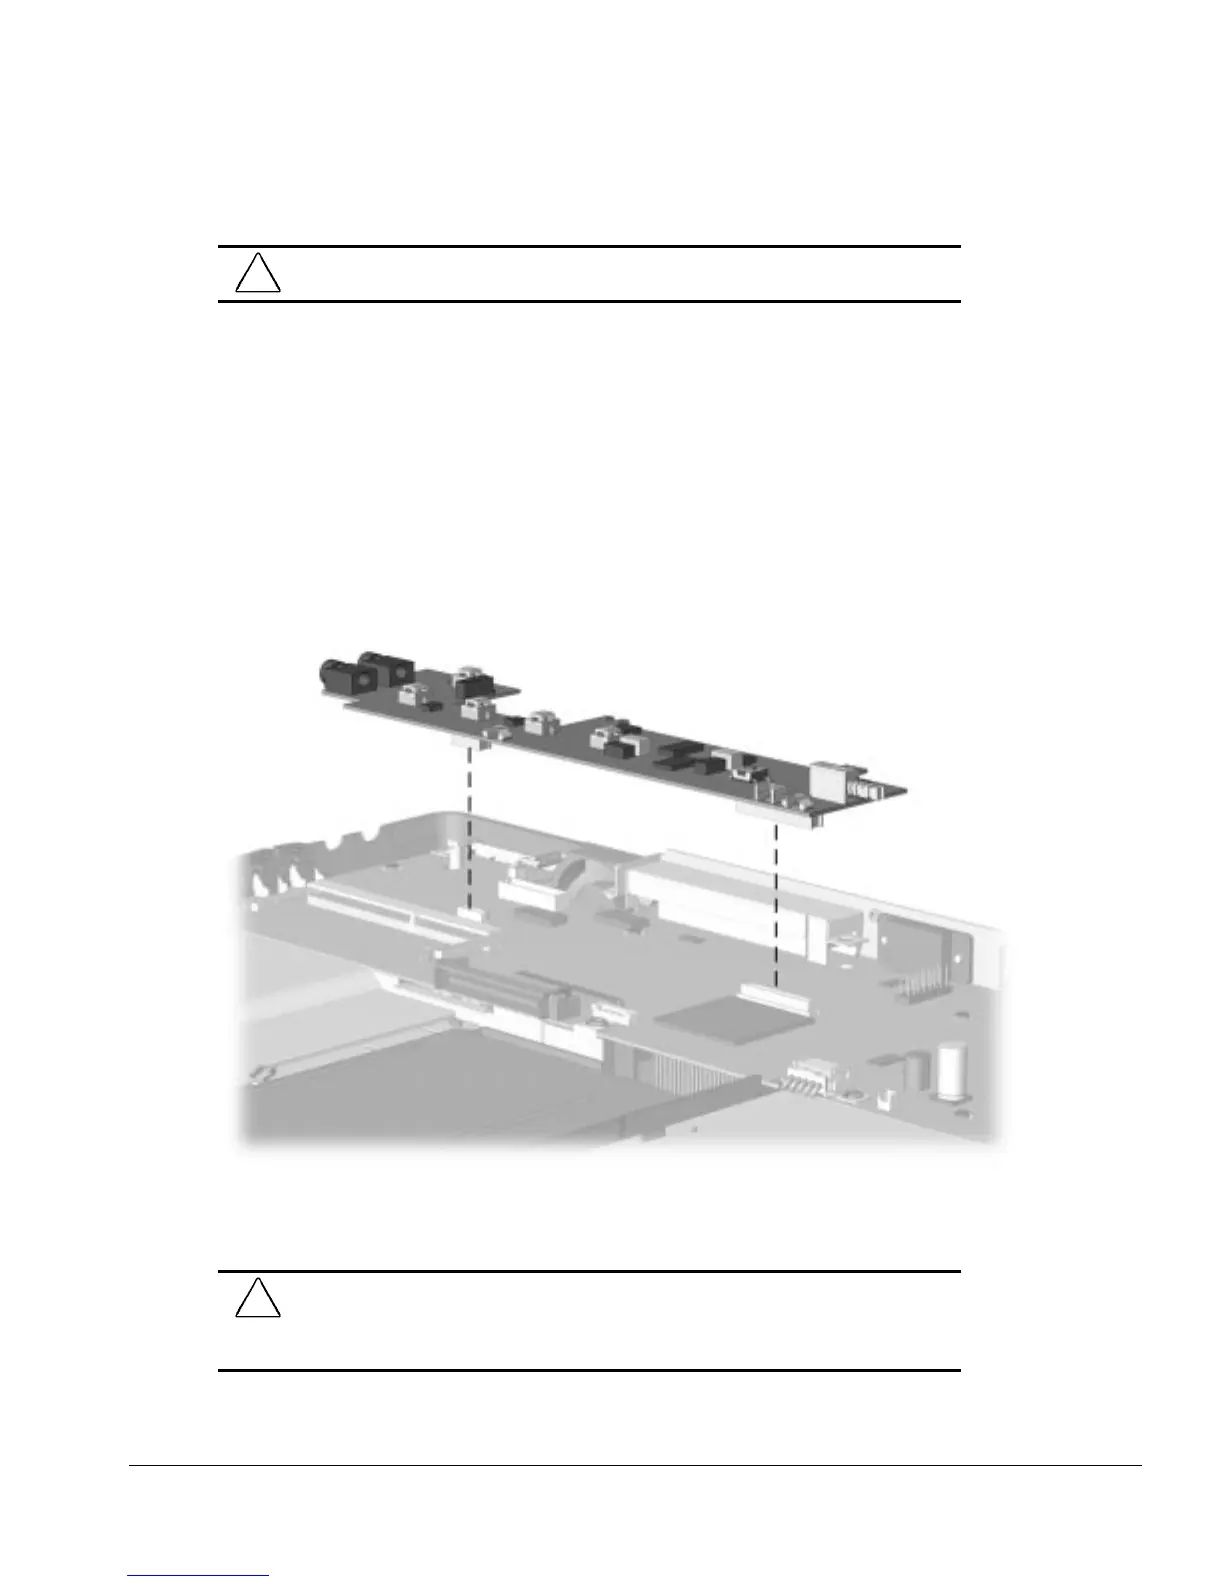
6. Separate the audio board from the system board. Note that there are two connectors
on the audio board. Gently lift at both connectors, being careful not to twist or stress
the board.
Figure 5-31.
Removing the Audio Board
To replace the audio board, reverse the steps.
CAUTION:
To ensure proper connection when mating the audio board to the system
board, be certain both connectors are fully engaged before continuing with the re-
assembly procedure. Unless the audio board is fully seated at both ends, the system
may not start, may not have audio/led functions, or may have no video.
 Loading...