43Maintenance
2. Carefully pull xing clip of the lling cup to the front, then push lling cup downwards until it comes
to a stop and remove it to the front.
3. Unplug cable from the socket of the level unit PCB. Carefully remove level PCB together with the
PCB cover from the level unit. Pinch locking clips of the level unit together and remove level unit to
the front. If the level unit must be cleaned carefully remove level PCB together with the PCB cover
from the level unit.
The installation of the lling cup, the level unit with control boards and the water hoses follows the re-
verse sequence of the removal. Before xing the hoses to the connectors with the hose clamps, align
the hoses in a way that they are not twisted.
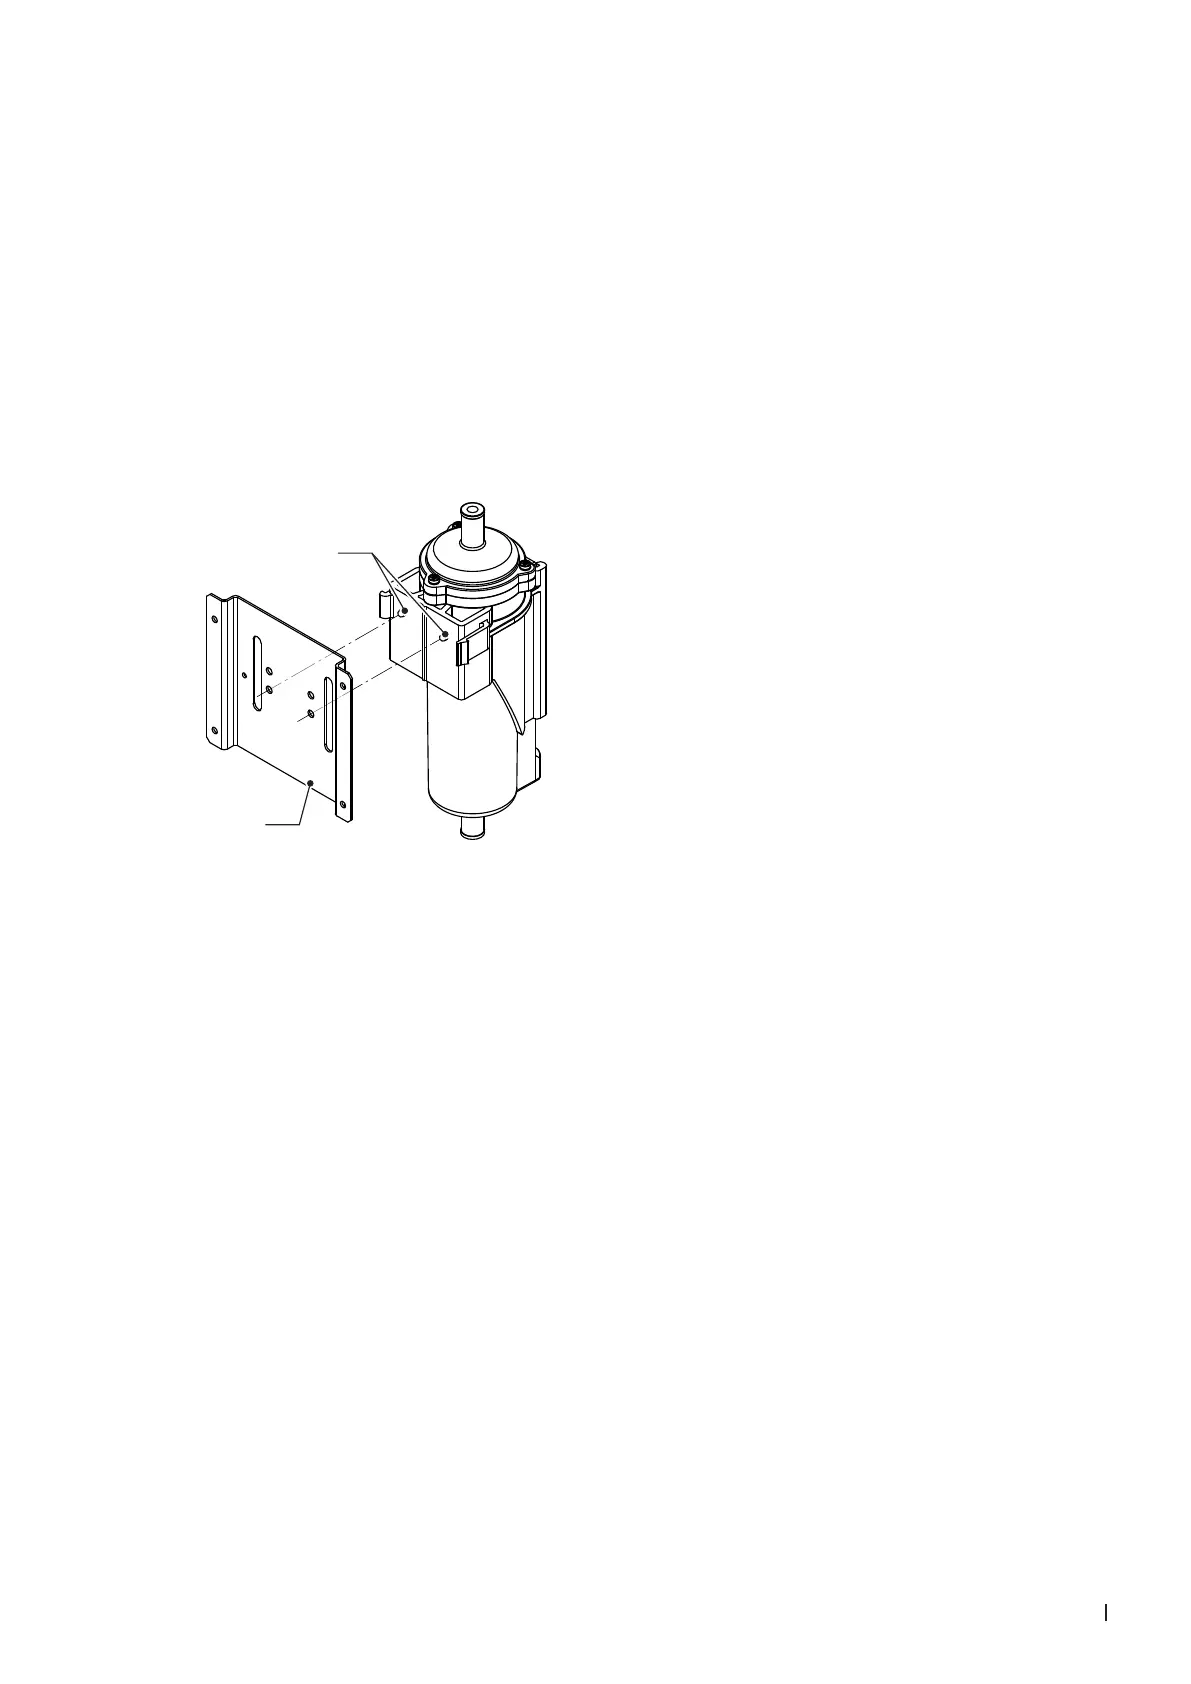
Important: when installing the level unit make sure the two burls of the level unit engage into the holes
of the third row of holes from the top. Otherwise a wrong level will be detected during operation.
Burls
Support
Fig. 9: Positioning of the level unit