Page 13
Making a printer test card
1 Power off the printer.
2 Confirm that cards and print ribbon are loaded in the printer.
— If the printer has a magnetic stripe module, the card must have a magnetic stripe.
— If it is a three-track module, be sure to use blank cards with the correct coercivity (the default is high
coercivity).
— If the printer has been installed previously and
has used a custom magnetic stripe format, you
might need to set the printer to use the default
encoding format for the module. See SP
Series Info Central for information on magnetic
stripe setup.
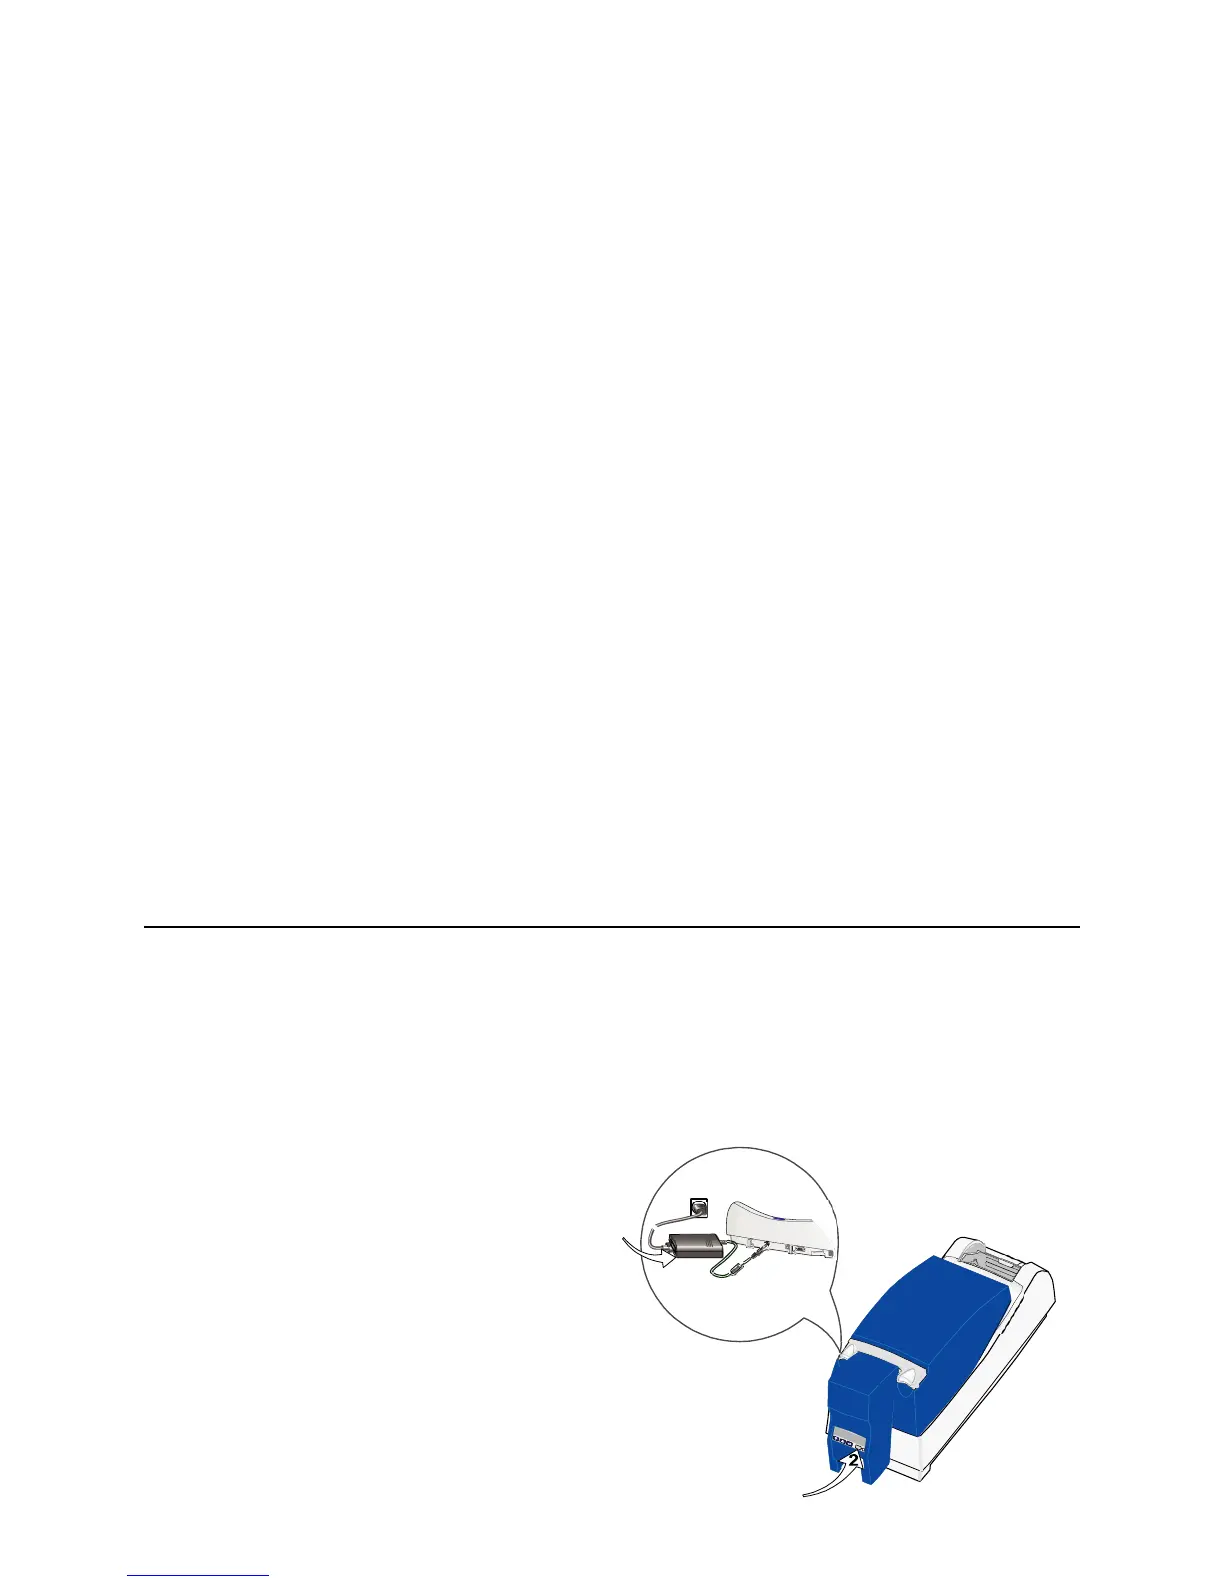
3 Power on the printer (1). Within 5 seconds, press
and hold the Ready key (2), as shown in the
illustration. Hold the Ready key firmly until the
printer sounds three tones and displays “Printer
Test Card” on the LCD panel, usually about 30
seconds.
4 Release the Ready key and observe the printer.
You hear the internal components initialize and the
printer starts processing the card.
5 After it is printed, remove the card from the output
hopper.
1