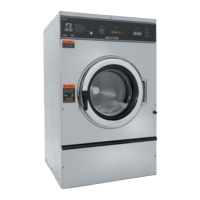
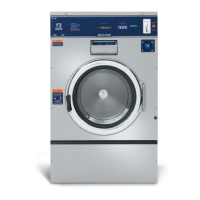
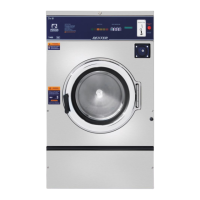
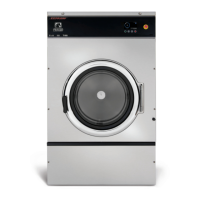
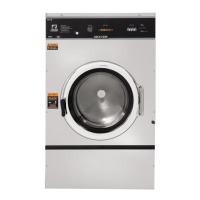
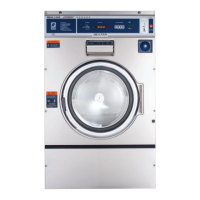
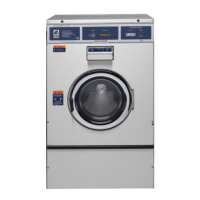
Removal of Cabinet T-300, T-400, T-600
Step 1: The power supply, water hoses, and drain connection must all be disconnected
before proceeding with the disassembly.
Step 2: Now remove the lower service panel and the top panel assembly.
Step 3: Remove the left and right lower front panel screws that retain the panel to the
chassis.
Step 3: Remove the bottom row of back panel screws.
Step 4: Remove the loading door.
Step 5: Remove the screws along the bottom of each side panel. When reinstalling these
screws do not overtighten.
Step 6: Remove clamp and soap dispenser hose where it attaches to the tub inlet.
Disconnect the door lock wires from all switches and the door lock solenoid.
Step 7: Disconnect pull rod between solenoid and door lock assembly. Disconnect the wires
to the dump valve at the bottom of the machine.
Step 8: Disconnect the wires to the drive motor from the VFD T1, T2, T3.
Step 9: Remove the clamp and the hose from the vacuum breaker where it connects to the
inlet on the back of the tub.
Step 10: Remove the pressure switch hose from the bottom of the switch.
Step 11: It should now be possible for two people to lift the cabinet up and off of the front of
the machine and set it aside.
Outer Cabinet Removal
(T-300, T-400, T-600)
Machine Service Procedures
48
 Loading...