XR150/XR350/XR550 User Guide 7Introduction
Note: Only areas pre-programmed at installation can be viewed.
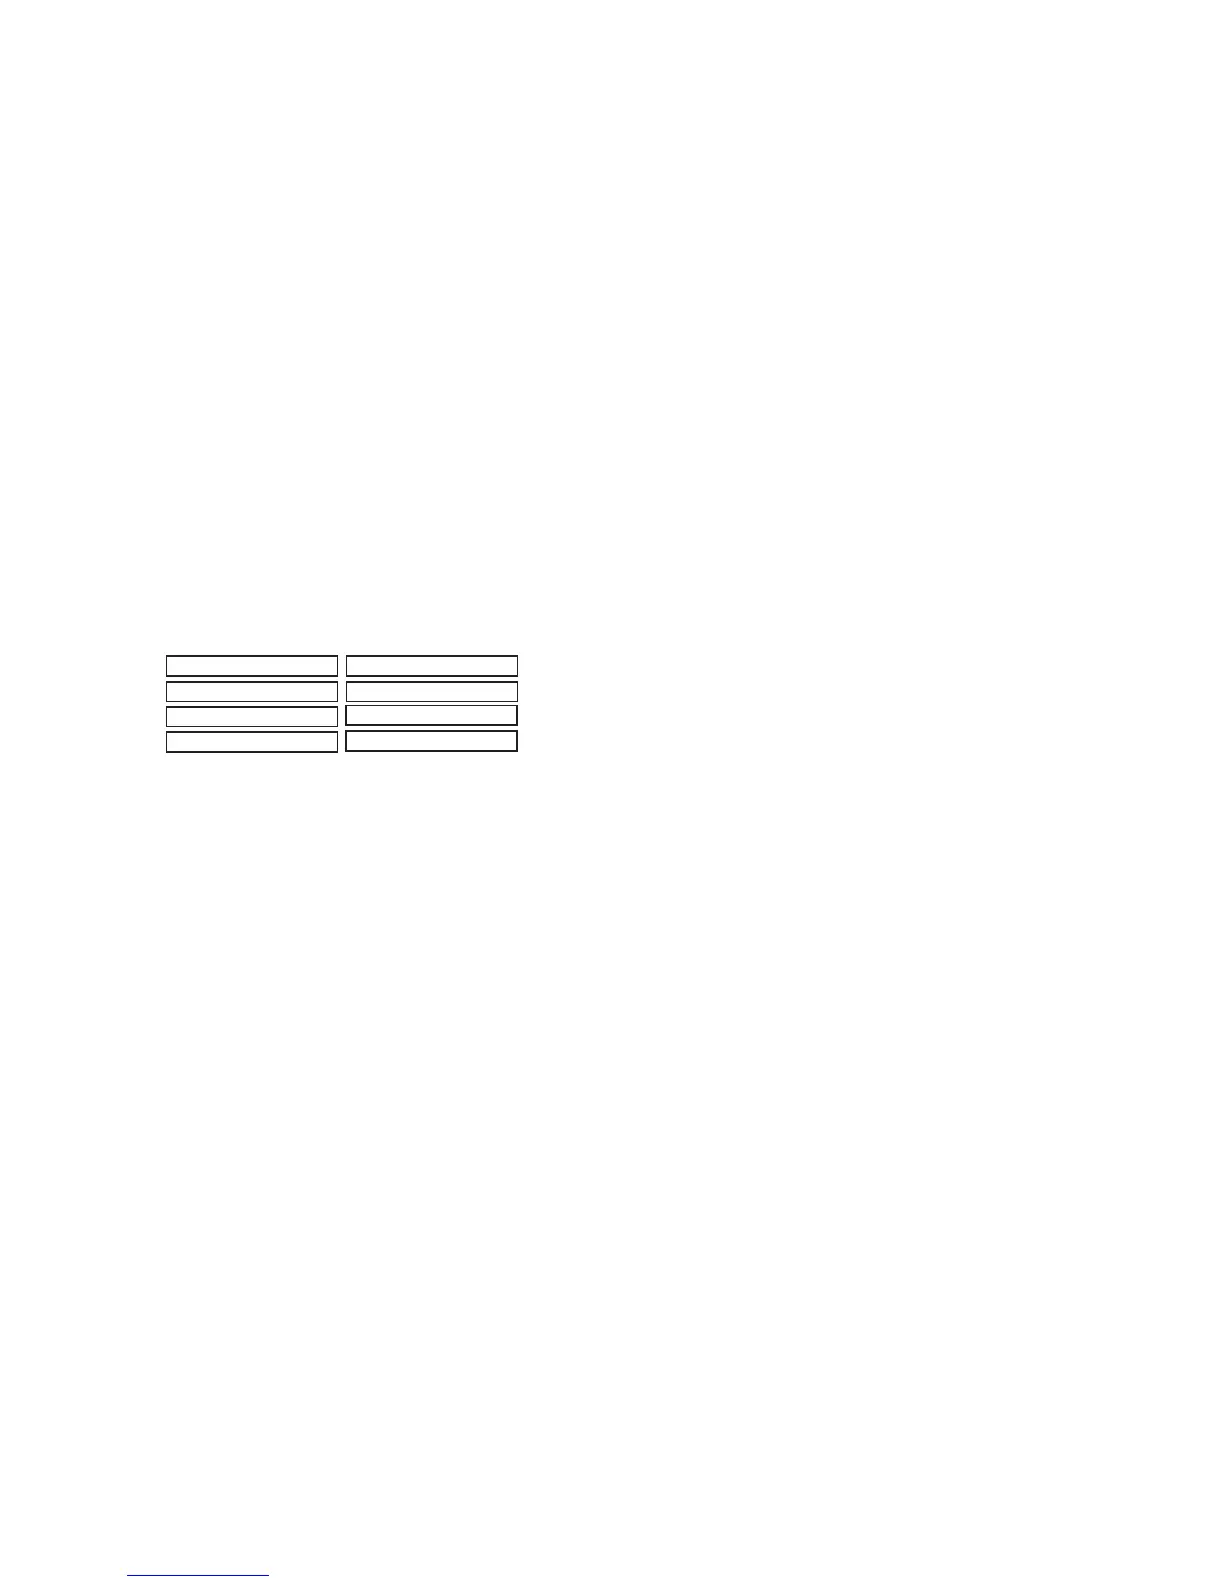
Asterisks in Area Armed Displays
Asterisks display next to a programming option that is already
selected. As shown in the example, options that are selected to
display the current programming selection have an asterisk next
to the number. Those that are not selected simply display the
number. In the Areas example, areas 3, 8, 9, 15, 19, 23, 25, and
31 are not selected. The area numbers with asterisks are selected.
*29 *30 31 *32
*13 *14 15 *16
9 *10 *11 *12
25 *26 *27 *28
*1 *2 3 *4
*5 *6 *7 8 *21 *22 23 *24
*17 *18 19 *20
Areas
To select or deselect a number, simply enter the number using the
digit keys on the keypad. This same scheme is used when viewing
the panel armed status and other programming and operational
functions. Remember to press the COMMAND key to display the
rest of the area numbers on XR550 systems.
Note: XR150 Systems support 8 areas.
32-Character Name Display
Your system may be programmed to display up to 32-character
names. When a name is displayed at the keypad, the top line of
thedisplayshowstherst16characters.Ifanameislongerthan
16 characters, after two seconds the display automatically scrolls
to display the remaining characters.
If displayed as part of the Status List, the entire 32-character name
is displayed for four seconds followed by the number and status.
Keypad User Options
The User Options allow you to make adjustments to your keypad to
besttyourenvironmentandneeds.
Thinline™, Aqualite™ and Wireless keypads: Press and hold the
Back Arrow and COMMAND keys for two seconds. The keypad
display changes to SET BRIGHTNESS. Press the COMMAND key to
display the next option or the Back Arrow key to exit.
Clear Touch™ keypads: Touch and hold the center of the logo icon
for two seconds. The display changes to SET BRIGHTNESS. Touch
the COMMAND (CMD) key to display the next option or touch the
Back Arrow (<—) to exit the User Options function.
On Graphic Touchscreen keypads: Pressing OPTIONS on the
carousel until it glows displays the Setting Options screen. You may
adjust the Screen Brightness by pressing the arrows at either end
of the bar indicators.
Backlighting Brightness
At the SET BRIGHTNESS display, use the left Select key to lower
the keypad brightness. Use the right Select key to increase the
brightness.
Note: If the brightness level is lowered, it temporarily reverts back
to maximum intensity whenever a key is pressed.
Thinline™ or Aqualite™ keypads: This sets the LCD display, AC
LED, and the Green or Blue keyboard backlighting brightness level.
Wireless keypads: This sets the LCD display, keyboard, and logo
backlighting brightness level.
Clear Touch™ Keypads: The user selected brightness may
be set to off which allows the glass graphic display to turn off
(clear glass). Simply touch the glass anywhere and the backlight
illuminates for data entry. When the speaker is sounding, the
backlight illuminates at one-half (1/2) brightness.