InstallationTechnical Manual
19HAC Standard fixing - 02/2018 dormakaba c-lever pro
4 Installation
This chapter describes the installation of the product.
4.1 Installation requirements
4.1.1 General
An accurate installation of all components is a basic requirement for a properly functioning
device. The following installation instructions must be adhered to.
4.1.2 Door thickness
Requirements
• Minimum door thickness: 38mm
• Maximum door thickness: 100mm
See also section Determining screw length.
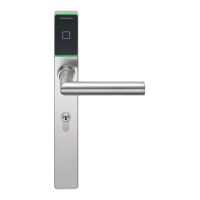
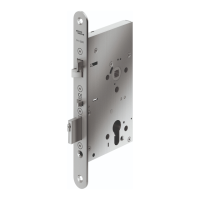
4.1.3 Mortise lock
• Make sure that a mortise lock with key-operated latch function is used.
Mortise locks with key-operated latch function enable mechanical opening via the locking
cylinder.
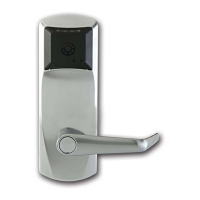
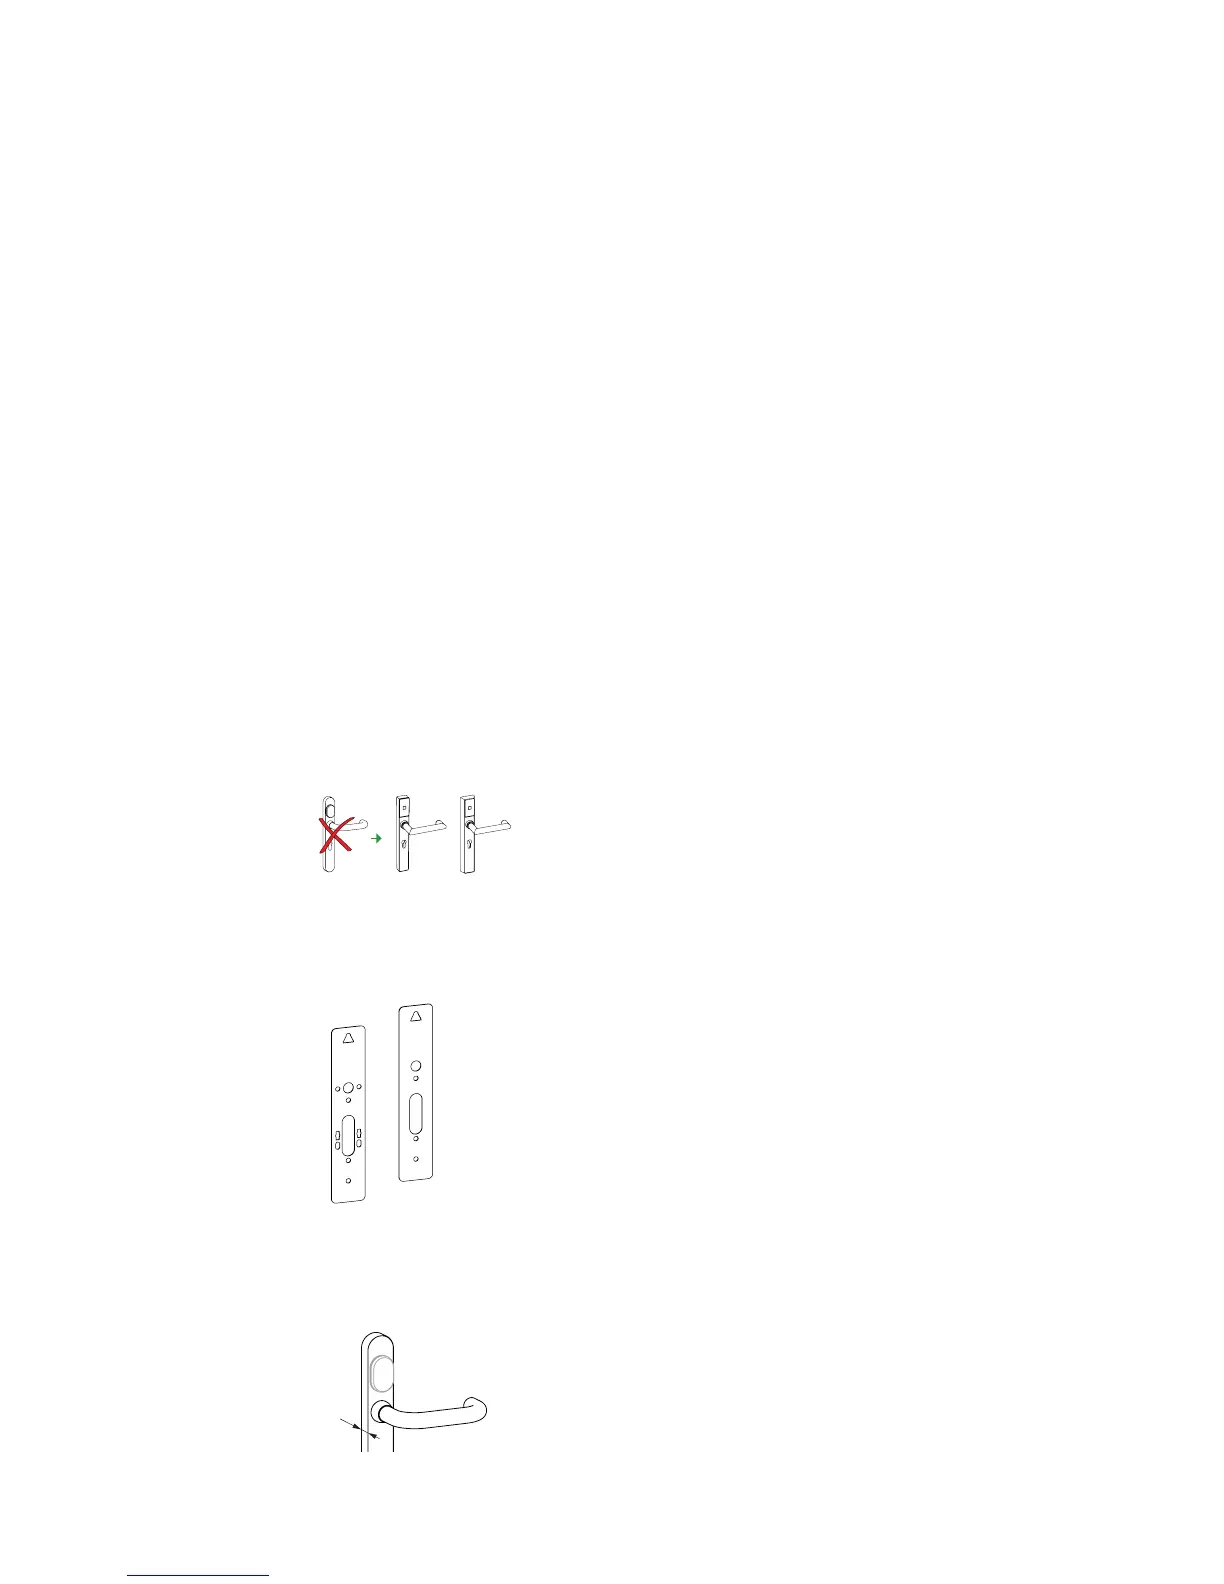
4.2 Replace c-lever with c-lever pro
Replacement plate
• If the c-lever being replaced in the upper area leaves marks on the door, a replacement
plate can be used.
Thickness of the replacement plate: 1.5 mm
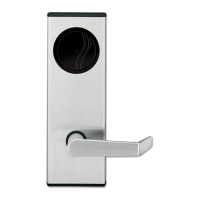
Check whether the existing locking cylinder can be used
• Measure dimension A on the c-lever being replaced (inner and outer side).