Installation Technical Manual
24 HAC Standard fixing - 02/2018dormakaba c-lever pro
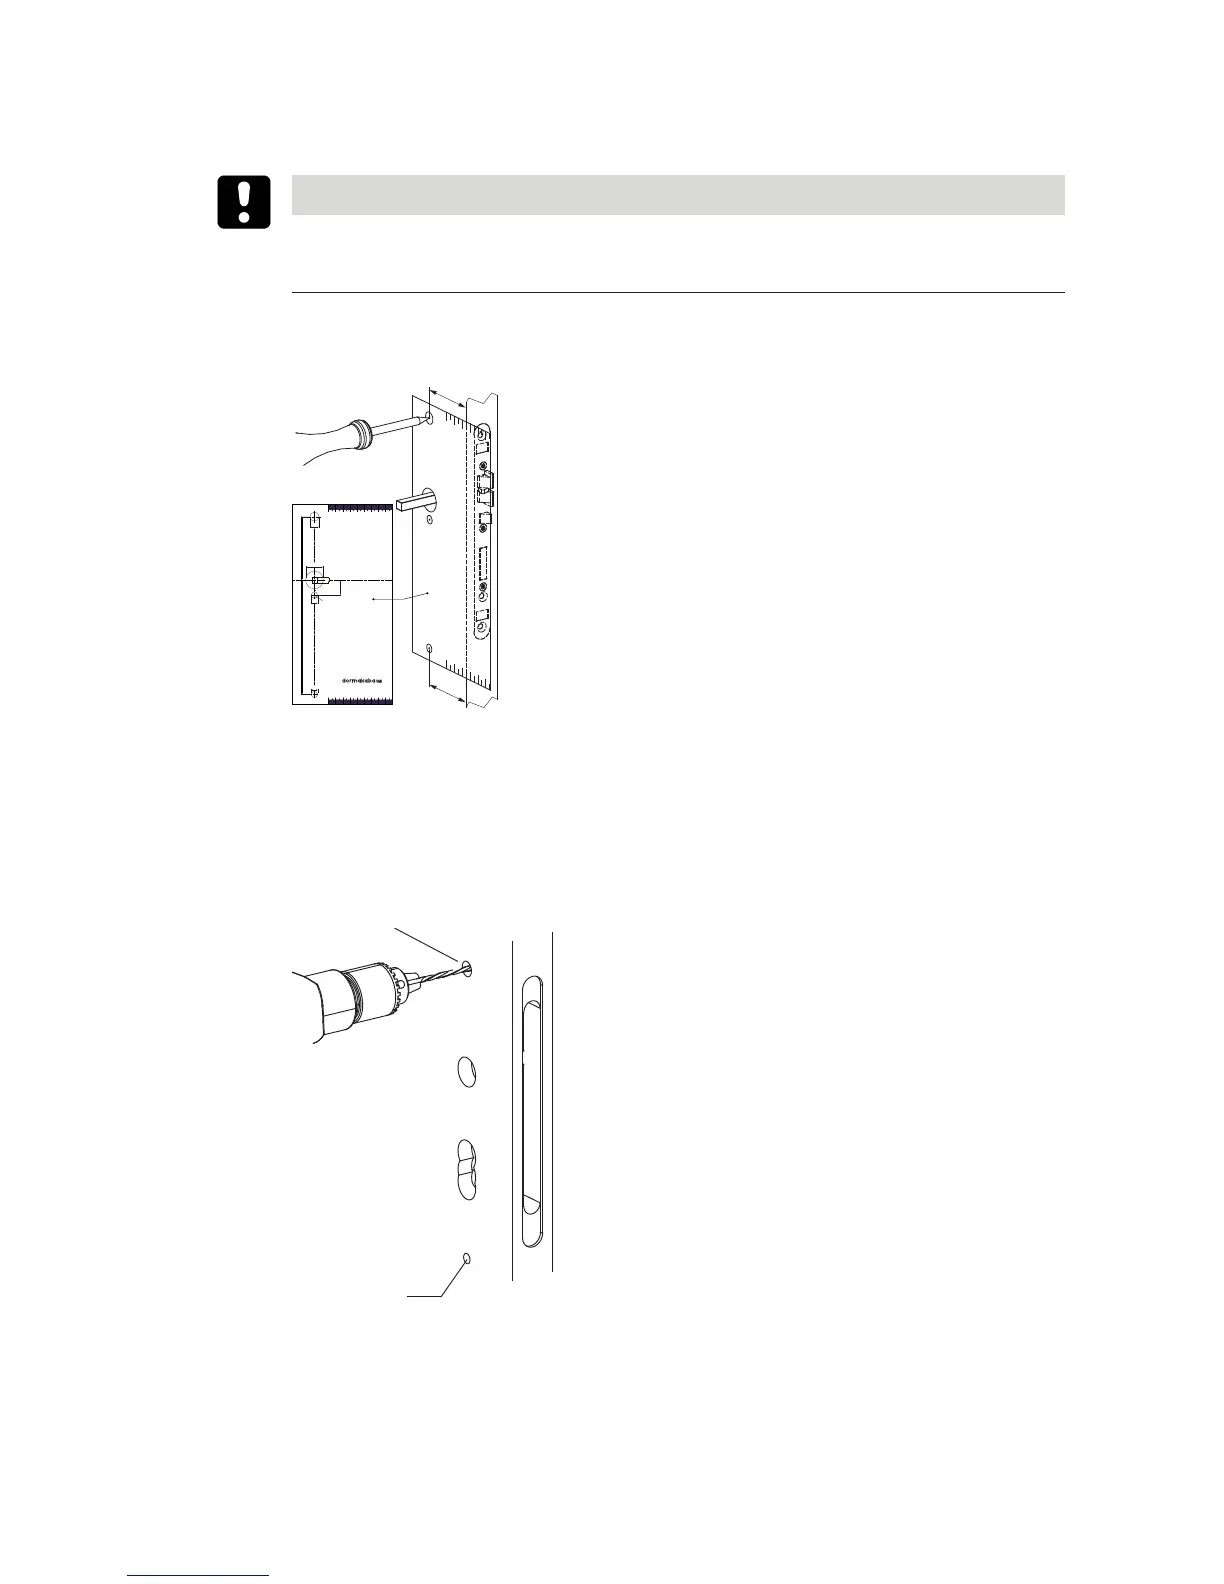
4.4.4 With drilling template / door side 2
NOTICE
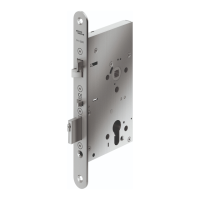
The integrated mortise lock may be damaged or destroyed.
To avoid damage, remove the lock from the mortise before drilling.
ü Existing fitting removed
ü Mortise lock installed
A = B
A
B
21,5
Handle axis
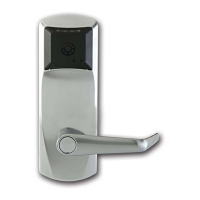
c-lever
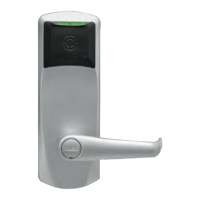
c-lever pro
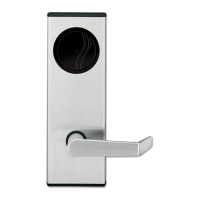
Option ES1
162 89,5
8
ø25
[mm]
ø9
ø9
ø13
20 30 40 50 60 70 80 90 100
20 30 40 50 60 70 80 90 100
1. Place the spindle through the lock hub.
2. Position the drilling template over the spindle and align it parallel to the forend.
3. Mark the drill holes.
ð Drill holes for the fastening holes are marked on the door leaf.
4. Remove the mortise lock.
5. Drill the fastening hole Ø13mm up to the lock mortise.
6. Drill the fastening hole Ø9mm up to the lock mortise.
7. Clean the lock mortise.
8. Insert the mortise lock.
ð The fastening holes for the fitting are drilled on both sides of the door.