Marking lamps
186 Service Instructions 755 A/756 A - 00.0 - 02/2019
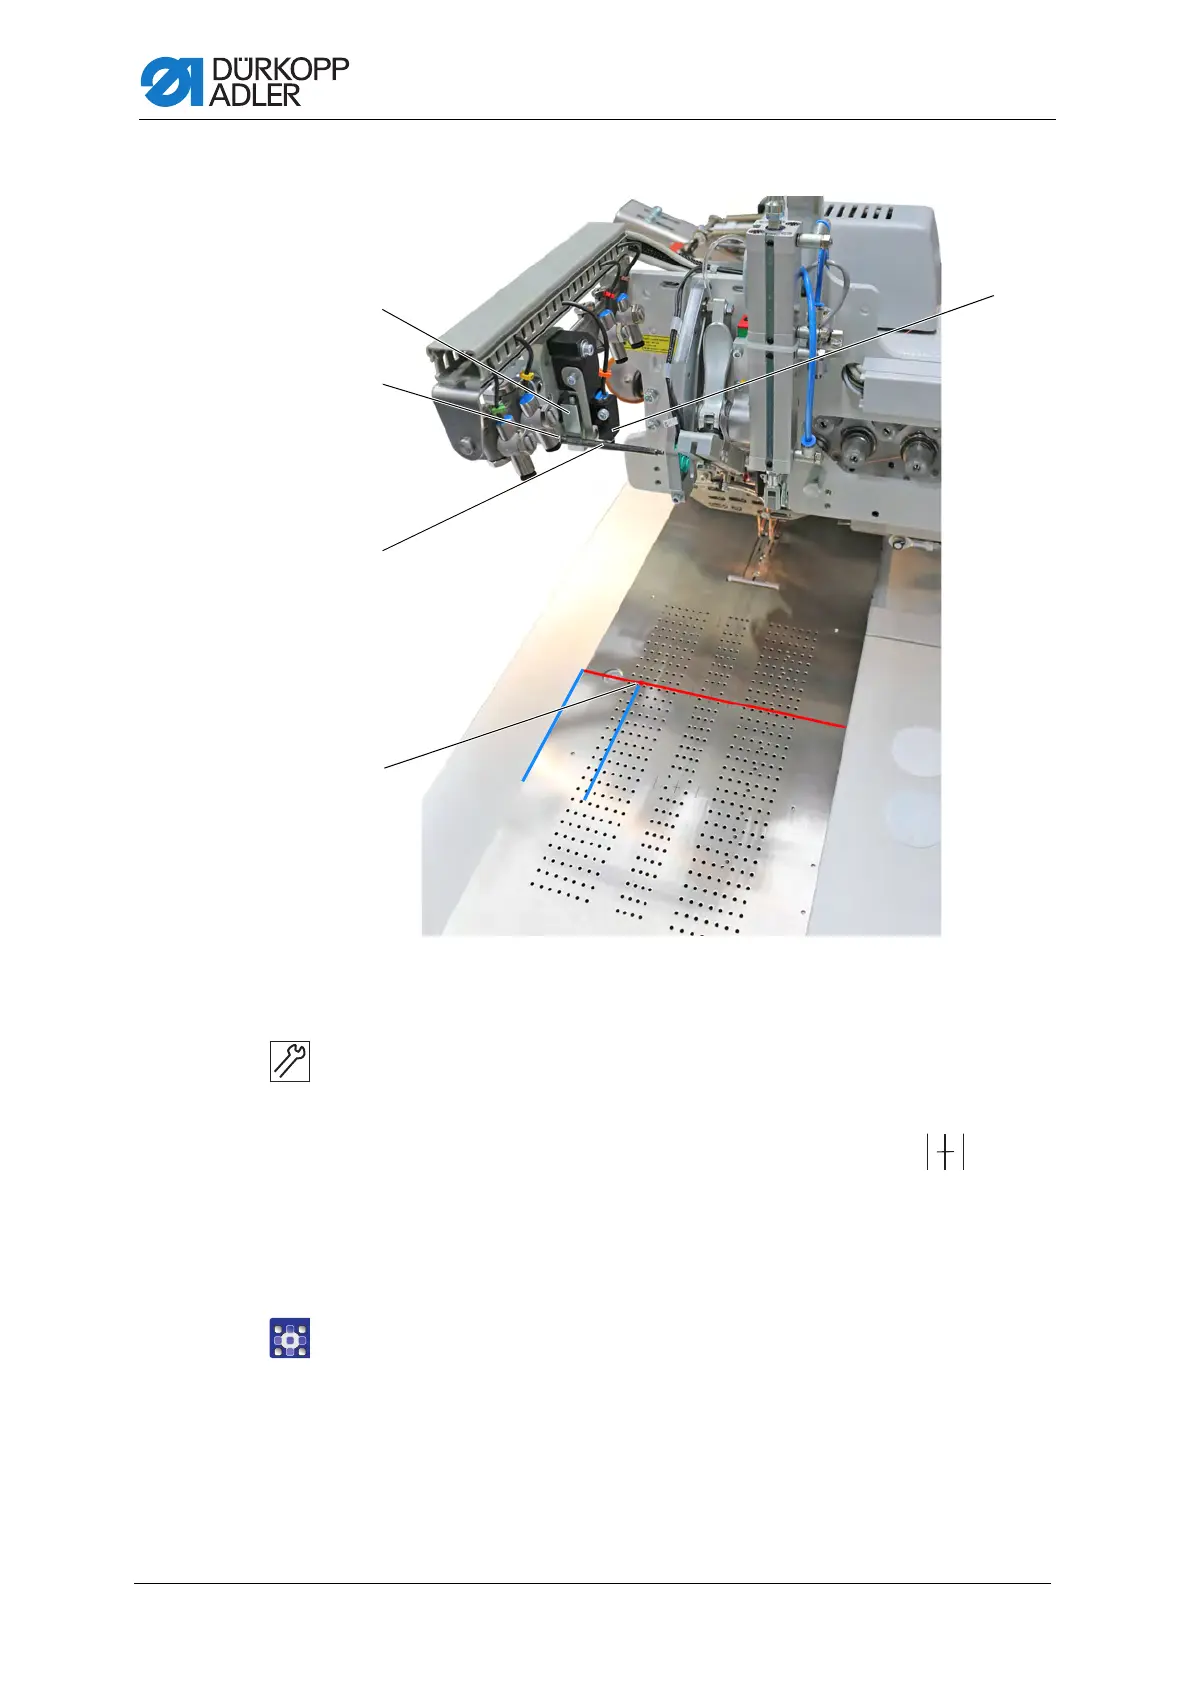
Fig. 183: Setting the programmable marking lamp vertical (2)
3. Insert the locking pin (6) into the hole (5).
4. Press the block (4) against the locking pin (6).
5. Set the laser (8) such that the laser line is positioned straight on
the marking indicating the middle of the pocket opening .
6. Set the laser (8) such that the laser point (7) is positioned 54 mm away
from the left sliding plate edge.
7. Tighten the screw (3).
8. Push up the adjusting ring (1) and tighten the screw (2).
9. Open the menu Service > Machine config. and select the option
Marking lamp vertical ( p. 348).
10. Open the menu Service > Machine test > Test programmable
marking lamp to set the marking lamp ( p. 393).
(4) - Block
(5) - Hole
(6) - Locking pin
(7) - Laser point
(8) - Laser
 Loading...


