Needle bar
Service Instructions 755 A/756 A - 00.0 - 02/2019 41
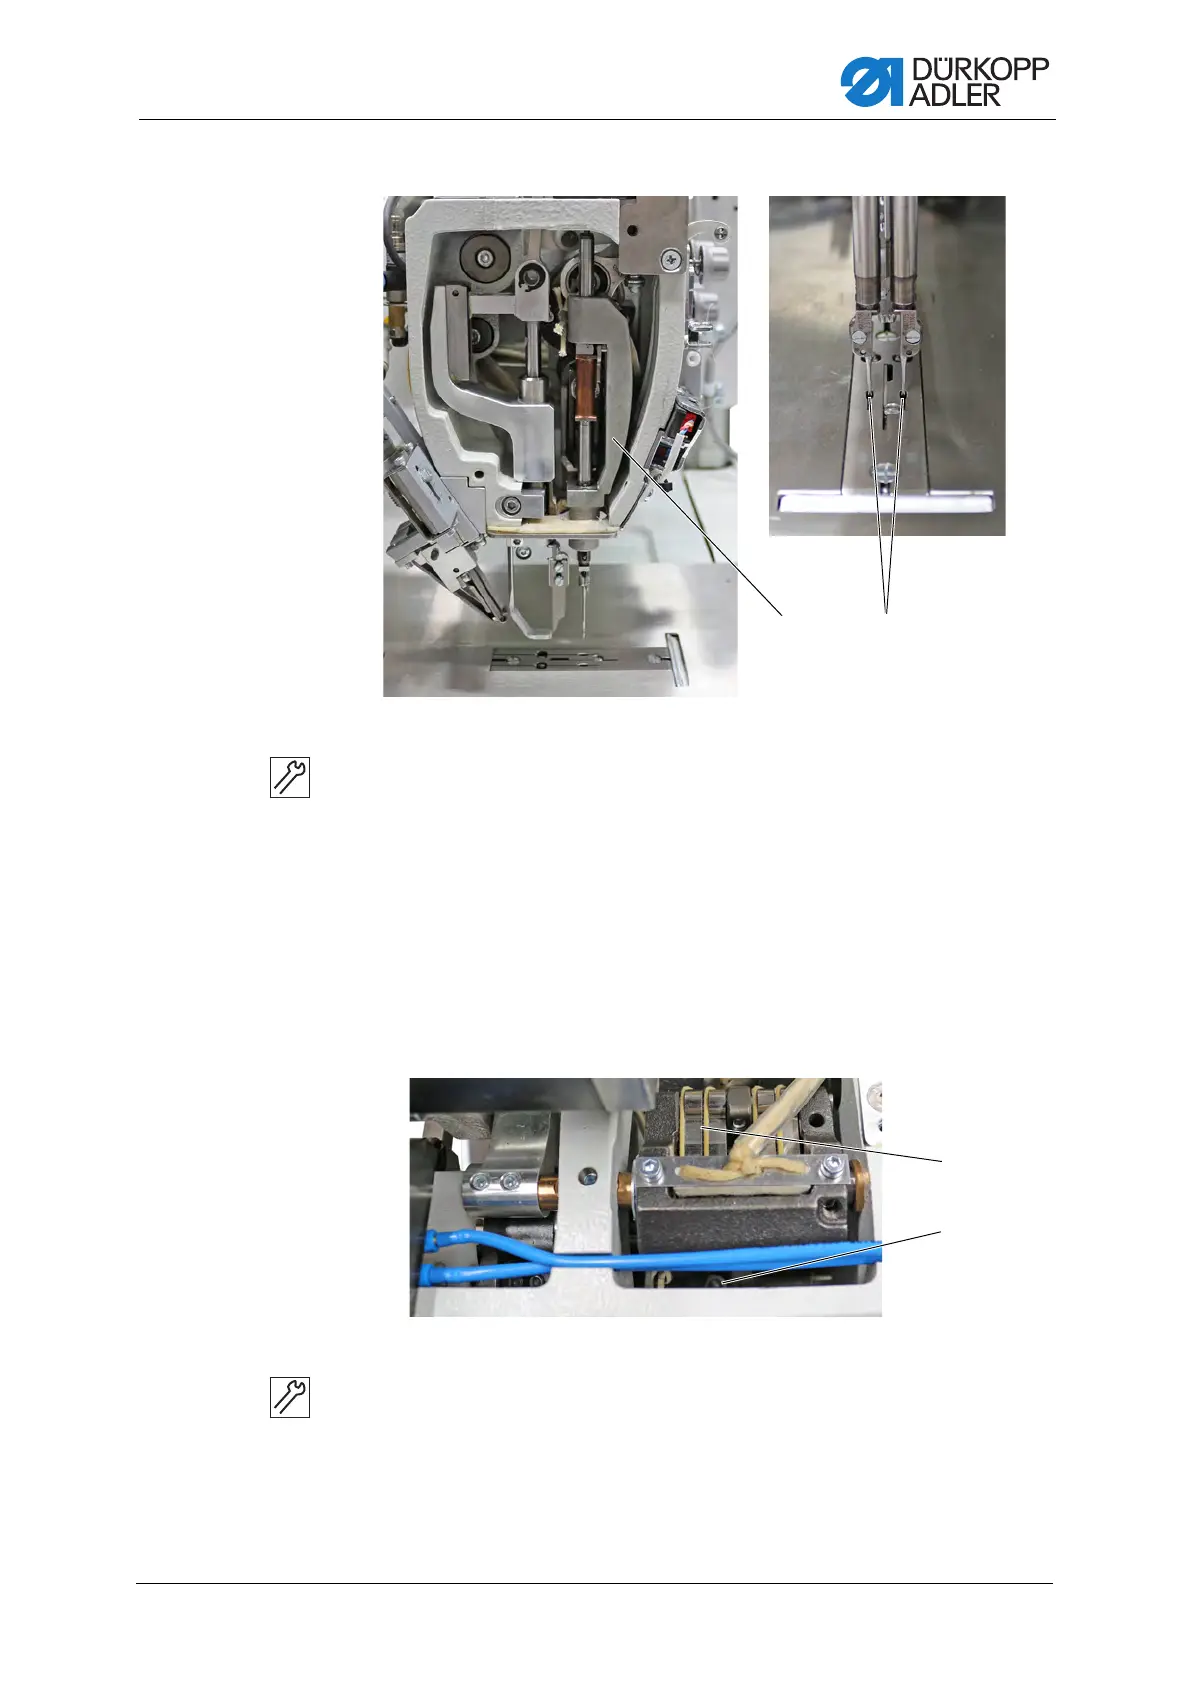
Fig. 31: Aligning the needle bars with the throat plate (2)
8. Turn the needles to bottom dead center.
9. Shift the needle bar linkage (5).
The needles plunge into the center of the needle holes (6) on the
throat plate.
10. Tighten the adjusting rings and fasten the screws (2).
11. Tighten the screw (3).
12. Tighten the screws (1).
Setting the needle bar lengthwise
Fig. 32: Aligning the needle bars with the throat plate (3)
To set the needle bar lengthwise:
1. Remove the head cover.
2. Remove the arm cover.
3. Slightly loosen the screw (2).
(5) - Needle bar linkage (6) - Needle holes
(1) - Gear tongues (2) - Screw
 Loading...


