Needle bar
Service Instructions 755 A/756 A - 00.0 - 02/2019 59
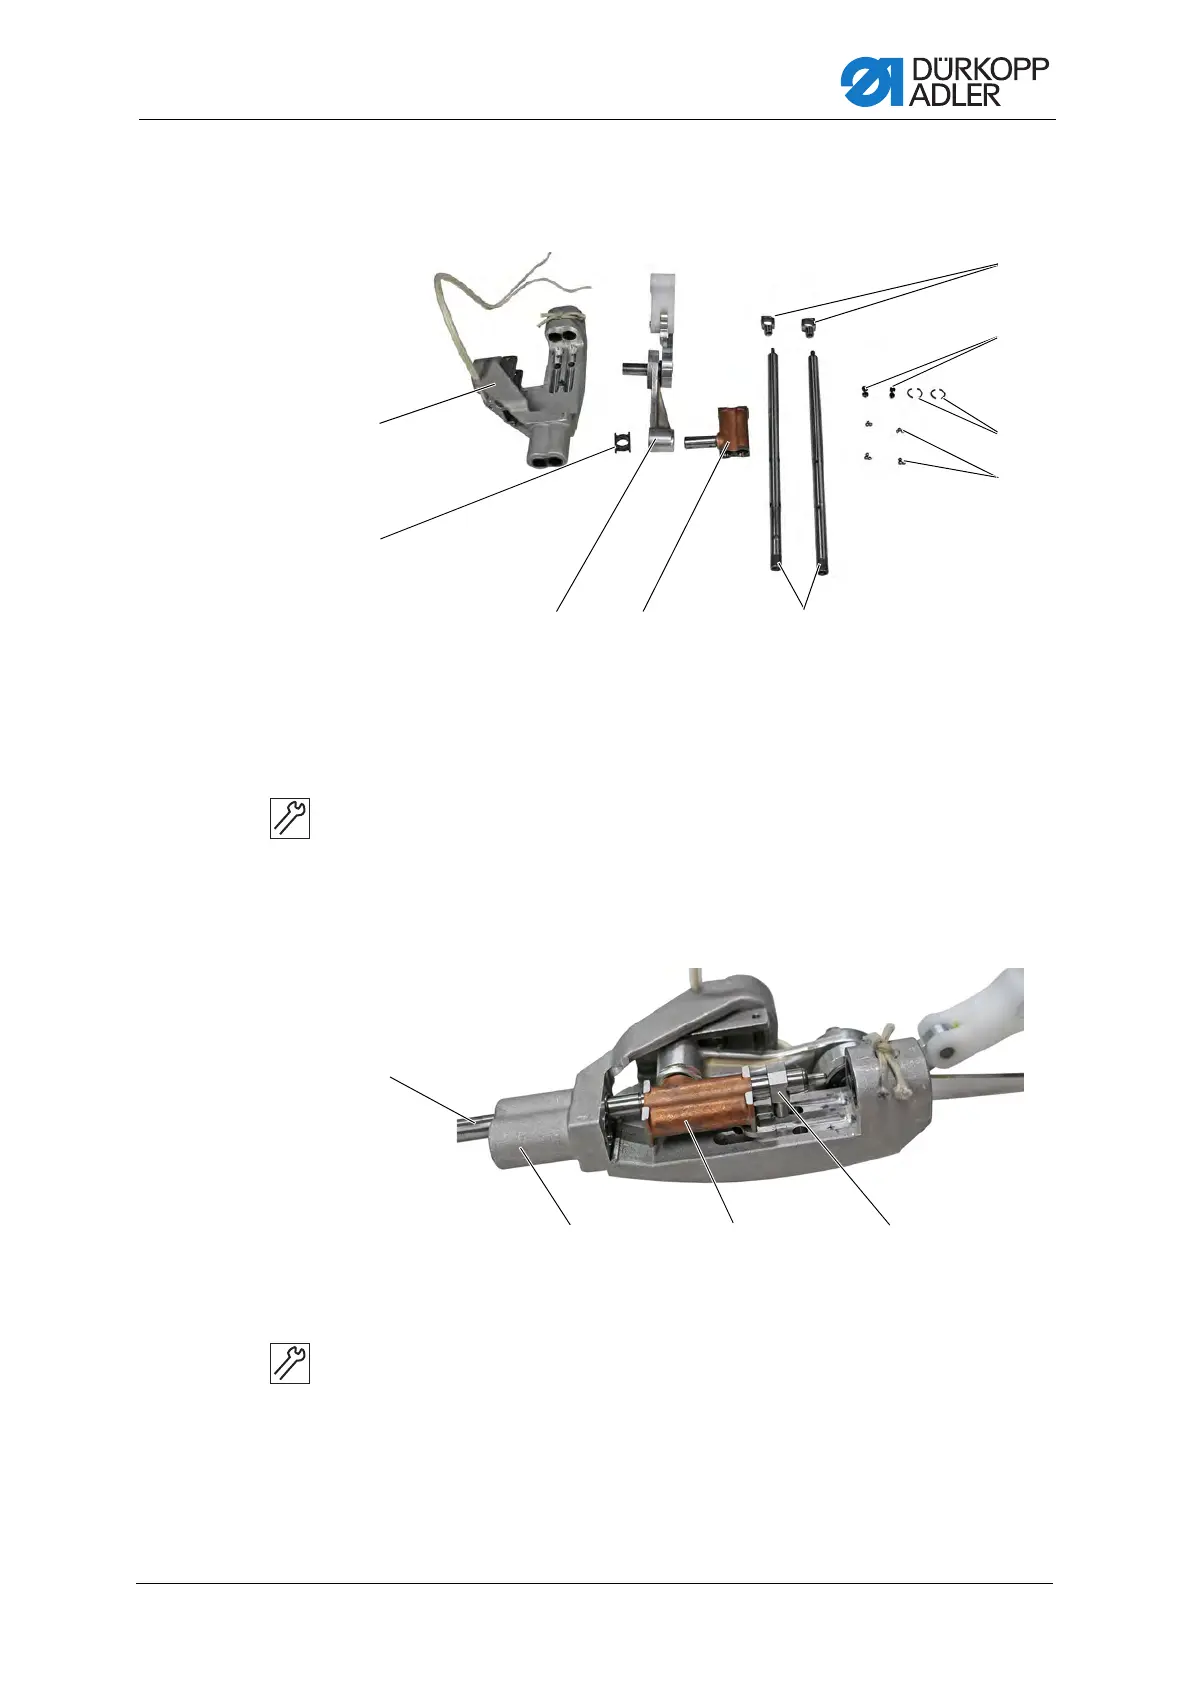
Assembling the needle bar linkage
Fig. 55: Assembling the needle bar linkage (2)
To assemble the needle bar linkage:
1. Slide the sliding block (5) and the pull rod (6) into the needle bar
linkage (4).
2. Slide the crosshead (7) into the pull rod (6).
Fig. 56: Assembling the needle bar linkage (3)
3. Slide the needle bars (2) into the needle bar linkage (4), the crosshead
(7) and the clamping rings (11) from the bottom.
(2) - Needle bars
(4) - Needle bar linkage
(5) - Sliding block
(6) - Pull rod
(7) - Crosshead
(8) - Balls
(9) - Retaining rings
(10) - Screws
(11) - Clamping rings
(2) - Needle bar
(4) - Needle bar linkage
(7) - Crosshead
(11) - Clamping ring
 Loading...


