3. Installation
3.3 Mounting
3.3 Mounting
NOTICE
Arrange for a professional technician to mount the device.
CAUTION
INSTALLATION CUT-OUT
The mounting cutout must be located in a position that will not defeat the
purpose of stabilizing webs or other reinforcing elements in the control
panel. If necessary, reinforcing elements must be installed/added.
An IP65, Nema 4x and Nema 12 degrees of protection will only be
ensured if there is sufficient stiffness, the device is properly mounted
using the original fixing material, and the gasket has a proper seat
l Minimum sheet thickness of control panel panel where the device
will be flush mounted:
XV-303-70-.., XV-303-10-..
2 mm (0.08") ≦ d ≦ 5 mm (0.2")
XV-303-15-..
1.5 mm (0.06“) ≦ d ≦ 4 mm (0.16“)
3.3.1 Fixing and Sealing
Make sure to check that the installation position criteria are being met. → page 37
Make sure that the mounting cutout has the right size.
Check the gasket for damage and make sure it is resting correctly inside the
enclosure groove.
Missing parts or damage
If you notice anything wrong, please contact your distributor or
Eaton Service +49 (0) 180 5 223822 (de,en)
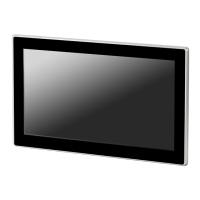
3.3.2 Front mounting XV-303
Securing the panel with Holding bracket with set screw
List of tools:
l 2.0 m Allen key
l PZ2 Pozidriv screwdriver
l Torque wrench with Newton meter scale
The required holding brackets are included in the right amount as accessories with the
HMI panel. All the included holding brackets need to be installed!
42
XV30004/19 MN048017ENwww.eaton.eu
 Loading...