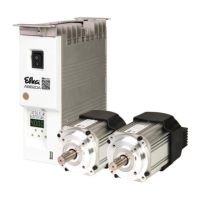
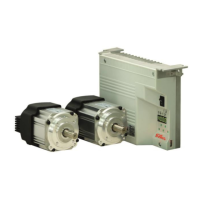
- AB620A5035
Setting on the operating part of the controls (onboard) or on V810:
Parameter 5.0.0. displayed
Sir displayed. The V810 displays the symbol [o].
Onboard: The 2 lower segments of the right 7 segment display flash.
(Functional cycle cutting
processes)
Parameter value e.g. 05 appears.
The parameter value can be changed.
Selection of motor;
1 =DC1500, 2 =DC1550,
3 =DC1200, 4 =DC1250)
Parameter value e.g. 3 appears.
The parameter value can be changed.
Value of the set speed appears.
The parameter value can be changed.
(Direction of motor rotation)
Parameter value e.g. 1 appears.
The parameter value can be changed.
(Type of position sensor)
Parameter value e.g. 0 appears.
The parameter value can be changed.
Parameter value e.g. 1000 appears.
The parameter value can be changed.
If parameter 270 =0 or 5, or the check of the
transmission ratio is already done, continue with
Point 30.
(Check the transmission ratio)
Let the drive run until ready (rdy) is displayed.
For a maximum speed that is too high, an error
message A12 is generated. Push button E as
often as needed until parameter 111 (Point 12) is
reached again to set the permitted maximum
speed.
Press pedal to position 0
(neutral)
When parameter 270 ≠ 6, continue with Point
31.
P0 o (V810 PoS0 o) is displayed (o in red).
(Setting the reference position)
Rotate the hand wheel in the running direction until o extinguishes *.
Set reference position (e.g. height of the stitch plate, lower dead point).
(Position 1 leading edge,
position 1 trailing edge is
automatically set 60° higher)
Angle from position 1 is displayed.
Set position 1 (at least 1 rotation *).
The parameter value can be changed.
(Position 2 leading edge,
position 2 trailing edge is
automatically set 60° higher)
Angle from position 2 is displayed.
Set position 2 (at least 1 rotation *).
The parameter value can be changed.
Upon pressing the E key once more the program returns to parameter 2.9.0.!
The system exits the SIR routine.
*) All operations carried out by turning the hand wheel must always be carried out in the direction of rotation set up on the
machine. Under no circumstances should you turn against the machine direction.