Page 11 / 53
4. Product Installing
4.1 Installation Environment Requirements
Since this product is not equipped with a computer, during the installation of this
product, customers need to provide an additional laptop or desktop computer. The
specific performance requirements of the computer see Technical Specification
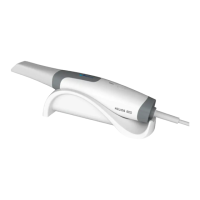
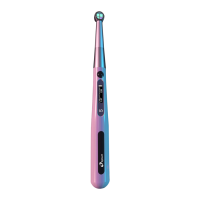
4.2 Connecting the Helios 600 to the Computer Terinal.
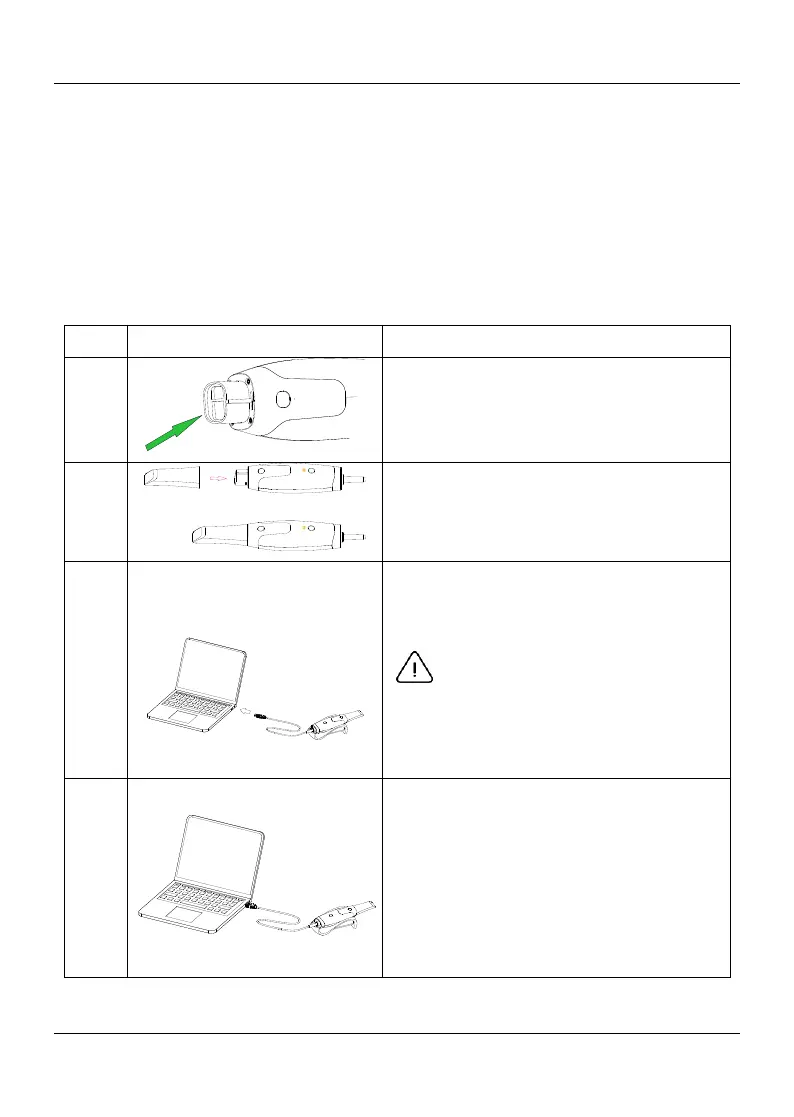
Make sure the lens window at the base of
the scanner is clean by wiping it with a
moist, lint-free cloth or lens tissue.
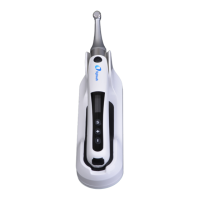
Slide the tip onto the scanner as shown
below.
Insert the USB connector of the scanner
to any USB 3.0 port on the
computerMake,
Make sure the scanner is connected
to the USB 3.0 port.
If connected to a USB 2.0 port, the
scanner may not work properly.
The scanner will automatically turn on,
the status indicator flashes slowly, and
then enters the sleep state, waiting for
connection
When the scanner is connected to the
HELIOS software, the status indicator
stays in solid blue.