Page 33 / 53
Right-click and hold on the 3D model to move it in the window.
Click and hold on the 3D model to rotate it.
Use the wheel of the mouse to zoom in or zoom out on the 3D model.
Click the True color button to view the color or monochrome 3D model.
Click the Zoom fit button to scale the model to its best view.
Click the Six Views button to see six views of the 3D model.
Click the Snapshot button to take a snapshot of the 3D model.
Click Upper Jaw button or Lower Jaw button to hide or display the jaws.
Click the Transparency button to display the transparency slider, click and drag the
slider to adjust the transparency of the 3D model.
Click Cut button to select and delete unwanted data.
Click Intraoral Image button to pick up intraoral images from the scanned data.
Click the Quadrant Snapshot button to open the Quadrant Snapshot window, which
displays multiple views of the model.
9.4.3. If you find obvious holes when checking the 3D model, click the Scan
button and rescan the areas to fill the holes.
9.4.4. Repeat steps 1 through 3 until you are satisfied with the 3D model.
9.5 Completing and Saving the 3D Model
To complete the scan and save the 3D model, follow these steps:
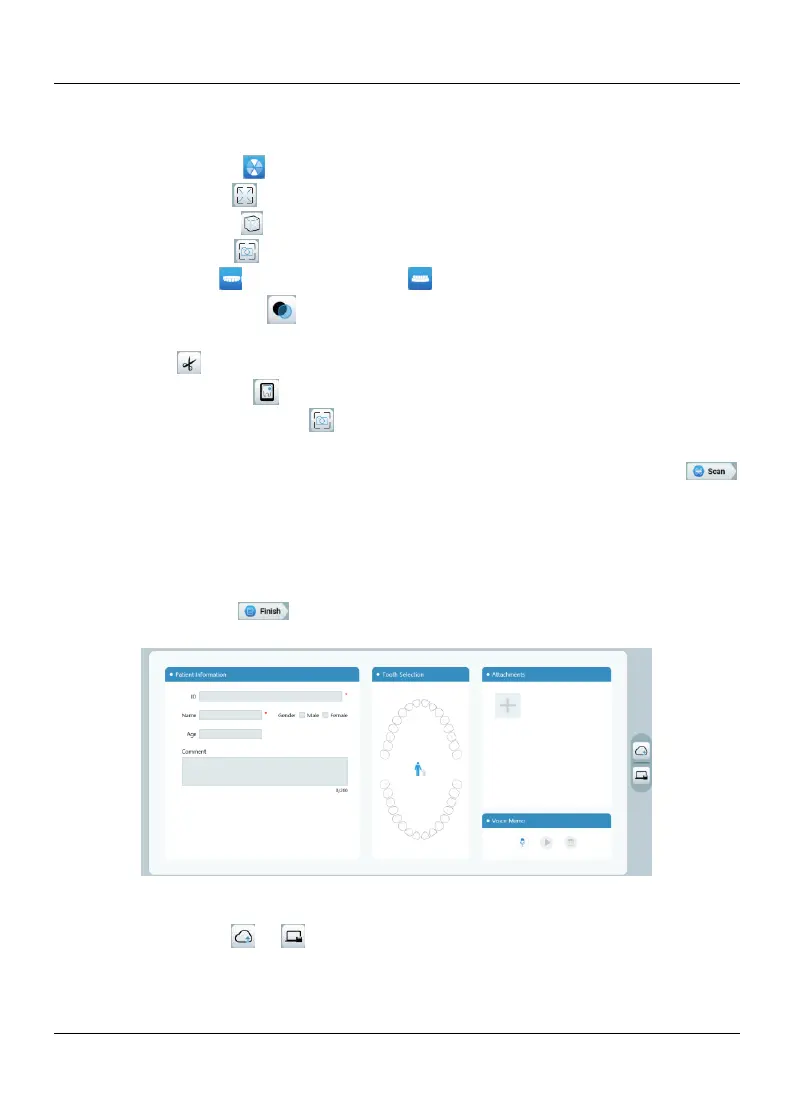
9.5.1. Click the Finish button and the following page will be displayed. If you
entered patient information in the previous step, it will be displayed on this page.
9.5.2. Complete the patient information, if necessary, you can add some attachments
to the case.
9.5.3. Click the save ( or ) button to save the case.