Page 22 / 53
7.2 start acquiring 3D models.
7.2.1Audio Prompts
When the Play sound during scanning option is enabled, your computer will play
a continuous sound when you are successfully scanning. If the sound stops, it means
the scan has stopped. If you need to continue, please return to the previous scanning
area until the scanner resumes scanning and your computer plays a continuous sound.
When a bite registration relationship is successfully scanned, your computer will also
play a short sound. If the cumulative scan time of the current case exceeds the
recommended threshold and your computer may not be able to keep peak scan
performance, your computer will also play a short warning tone.
To enable the audio prompts, your computer must have speakers
7.3Preparing the Teeth
7.3.1 If there is a preparation area, retract the gingiva by gingival restriction cords. And
extract the cords just before scanning the pre€paration.
7.3.2 Before starting the scan, dry the teeth thoroughly.
7.3.3 During the scan, re-dry the teeth moderately
7.4 reparing the Scanner
The reusable tip attached to the scanner provides sanitary shield for patients.
Always disinfect the body of the scanner and perform high-level disinfection or
sterilization on the reusable tip after each use.
Scanner tips received from the manufacturer are NOT sterilized. You must sterilize
the tips before the first use.
For detailed information on cleaning, disin
fection and sterilization, please refer to
the HELIOS 600 User Manual: Safety, Regulatory and Technical Specifications.
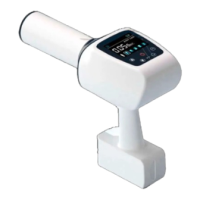
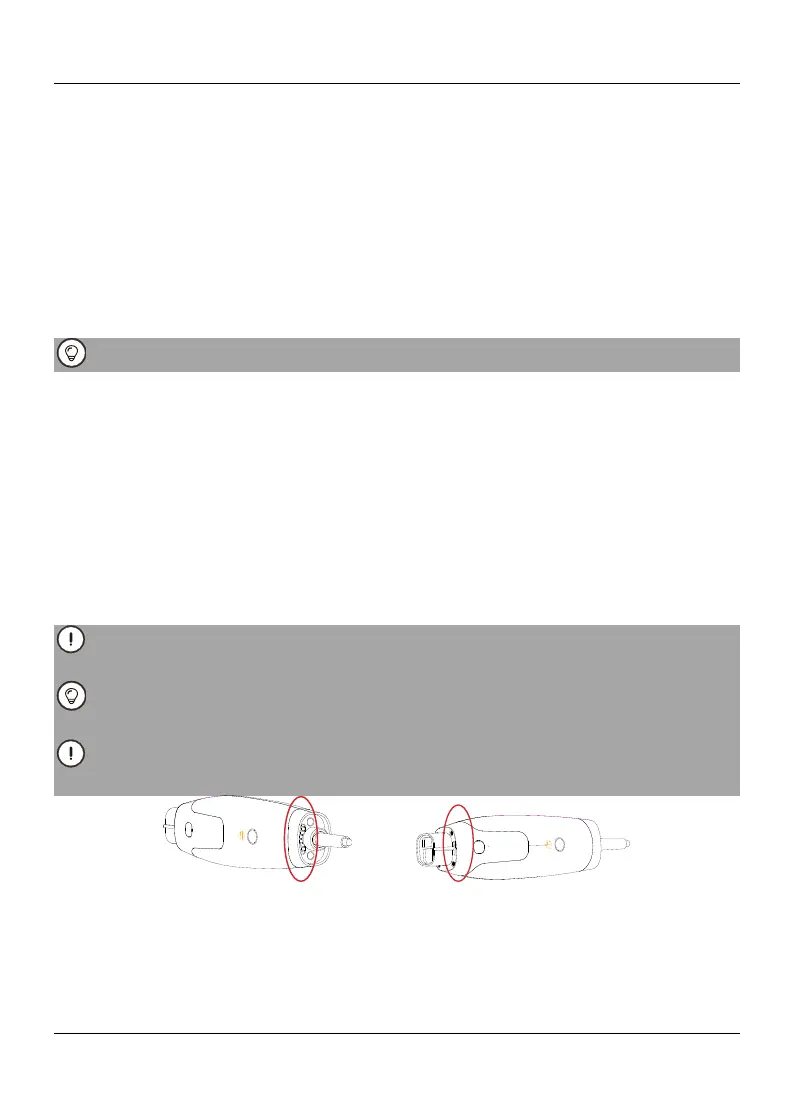
Avoid any liquid from leaking into the air outlet near the tip mount or the air inlet at
the rear of the scanner (see the figure below), otherwise the scanner may be damaged.
7.4 Starting Scanning
To start scanning, place the tip of the scanner on the surface of the tooth to
stabilize the scanner and press the Start Scan button. Wait until a 3D image appears
in the 3D model display screen, and then slowly move it along the arch at 0-5mm from
the teeth.