Page 31 / 53
opposite side referring to steps 7 to 9.
9.1.11. Check whether there are obvious holes in the 3D model and rescan if necessary.
If there is a hole in the preparation area, rescan the area until the hole is filled.
9.1.12. When you confirm that the 3D model of the upper and lower jaw is complete,
continue with the buccal bite registration acquisition.
9.2 Scanning the Buccal Bite Registration
To acquire a buccal bite registration, follow these steps:
9.2.1.On the HELIOS interface, select the Buccal Bite Registration acquisition
mode OR
Press the mode button on the scanner to select the buccal bite registration
mode .
9.2.2. Place the tip of the scanner into the buccal side in the patient’s mouth, then
rotate the tip to align with the teeth, close the patient’s mouth and confirm that the bite
position is correct.
9.2.3. Press the Star Scan button, slowly move the scanner tip in mesial direction with
equal coverage of upper and lower teeth.
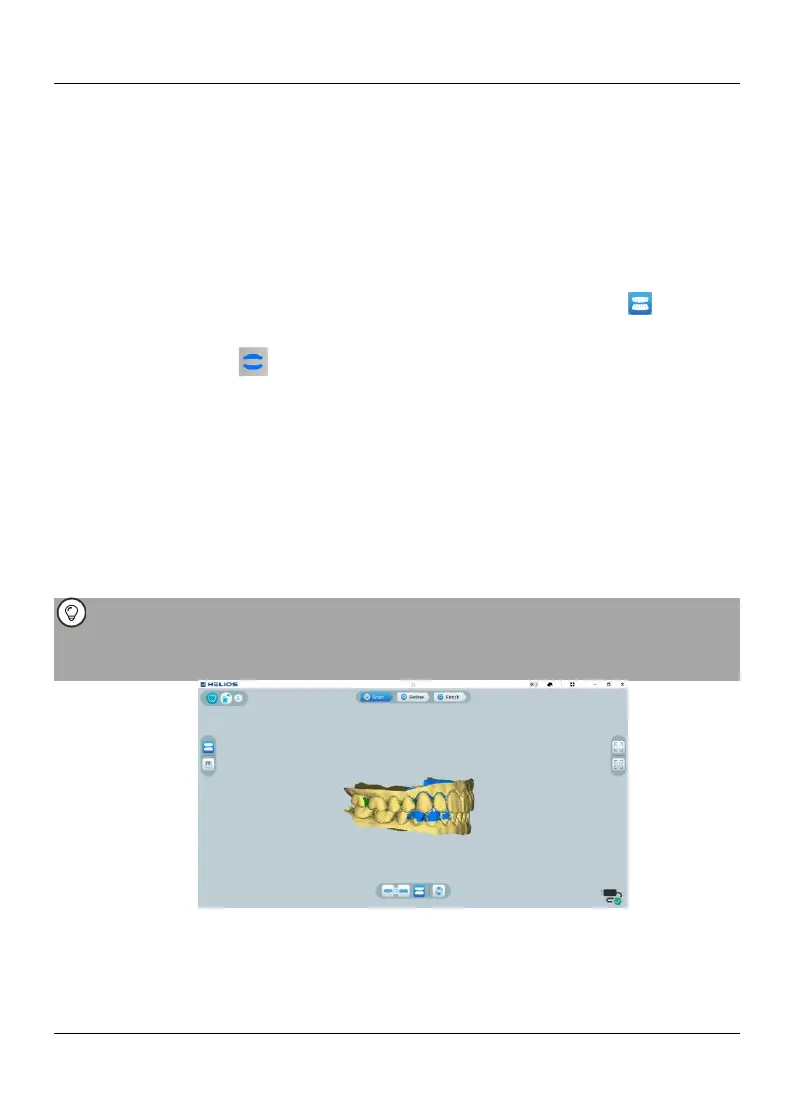
The example below shows a buccal bite registration. You can use the toolbar on
the left side to switch between the scanned occlusion views, or delete the scanned
occlusion views for rescanning.
You can scan one or two buccal bite registrations. It is recommended
to scan one on the left side and one on the right side of the patient’s
mouth.
9.2.4. After scanning the buccal bite registrations, rotate the model and zoom the view
to ensure that the bite is accurate and that there are no areas where the bite is
mismatched. If necessary, you can delete the scanned occlusion and rescan.