Page 30 / 53
9.1.6. Go to the adjacent side of the preparation (including the distal and mesial points)
to scan the 3D model of the adjacent side and the contact point of the preparation.
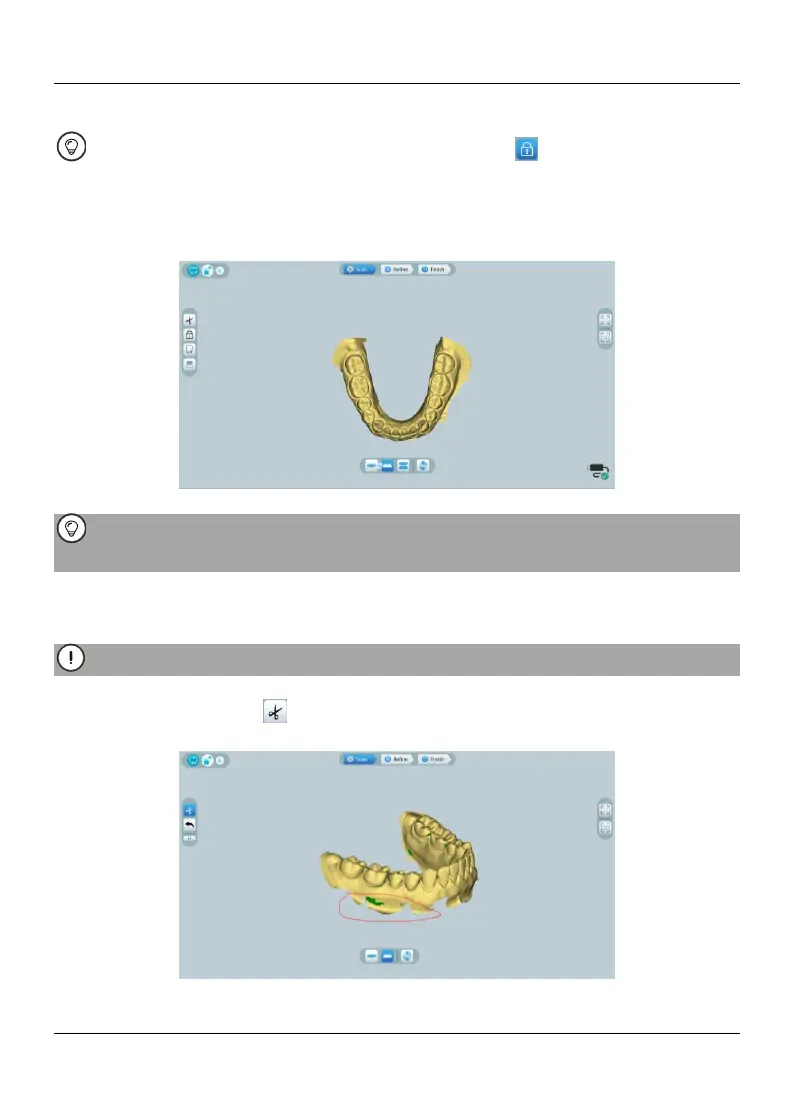
After scanning the preparation, you can use the Lock tool to lock the scanned
area to prevent it from being updated by additional scanning.
9.1.7. Take the preparation as a starting point, slowly move the tip of the scanner to
both sides of the preparation along the occlusal surface to scan the remaining teeth in
the arch.
If Fill tooth holes with color is enabled, the holes will be displayed in the specified
color. It is recommended to scan these areas until the holes disappear.
9.1.8. When the occlusal surface scan is complete, scan the lingual or buccal surface
of the teeth in the arch.
9.1.9. When the lingual or buccal scan is completed, scan the opposite side of the arch.
Re-dry the teeth as appropriate throughout the acquisition process.
If you need to remove soft-tissue artifacts, mismatches, or unwanted views during the
acquisition, click the Cut tool, then draw a curve that covers the region to be
removed on the 3D model. If necessary, rescan the area to fill the holes
9.1.10. After scanning the jaw with preparation, you can continue scanning the