Page 36 / 53
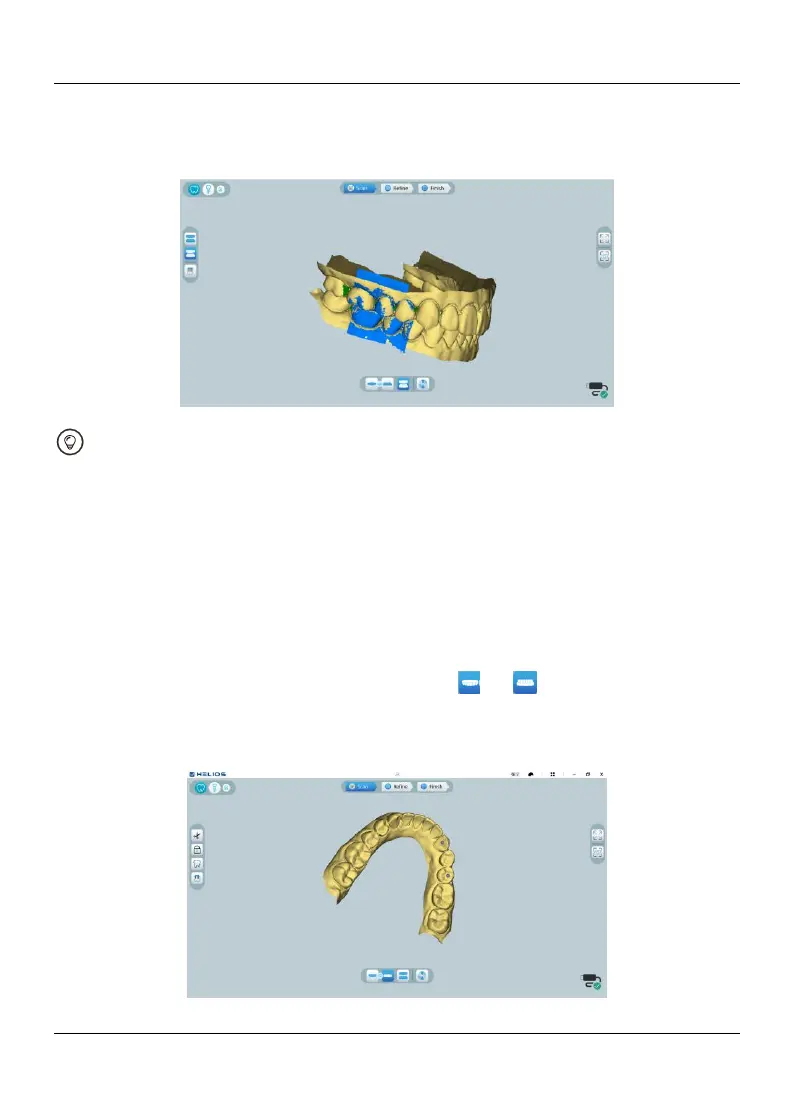
10.3.3. Press the Star Scan button, slowly move the scanner tip in mesial direction with
equal coverage of upper and lower teeth. The example below shows a buccal bite
registration. You can use the toolbar on the left side to switch between the scanned
occlusion views, or delete the scanned occlusion views for rescanning.
You can scan one or two buccal bite registrations. It is recommended to scan one
on the left side and one on the right side of the patient’s mouth.
10.3.4. After scanning the buccal bite registrations, rotate the model and zoom the view
to ensure that the bite is accurate and that there are no areas where the bite is
mismatched. If necessary, you can delete the scanned occlusion and rescan.
10.4Marking the Implant Areas
After the scan is complete, you can mark the implant area so that you can rescan
the area after installing the scan body. To mark one or more implant areas, follow these
steps:
10.4.1. On the HELIOS interface, select the jaw ( or ) with implant to activate
the 3D model.
10.4.2. Click the Mark tooth button, and then click in the center of the implant. A 3D
ball will display on the occlusal surface indicating an implant.