Page 32 / 53
9.3 Marking the Preparation Areas
After the scan is complete, you can mark the preparation areas for further
processing. To mark one or more preparation areas, follow these steps:
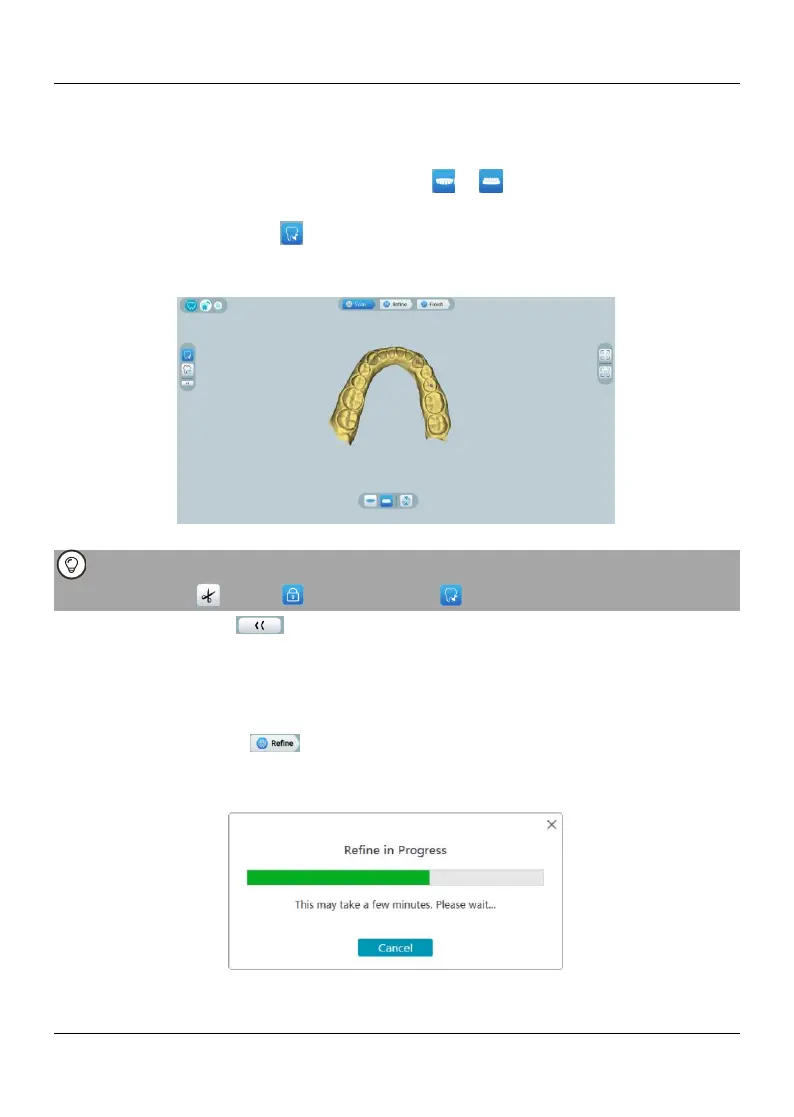
9.3.1. On the HELIOS interface, select the jaw ( or ) with preparation to activate
the 3D model.
9.3.2. Click the Mark tooth button, and then click in the center of the occlusal
surface of the preparation tooth. A 3D ball will display on the occlusal surface indicating
a preparation area.
9.3.3. Rotate the 3D model if necessary, and mark all the preparation areas.
You can click and hold the middle mouse button to rotate the 3D model when using
tools such as Cut , Lock and Mark tooth .
9.3.4Click the Return button to quit Mark tooth tool.
9.4 Refining and Checking the 3D Model
Refining the 3D model allows you to obtain higher accuracy data for further
processing. To refine the 3D model, follow these steps:
9.4.1. Click the Refine button, the refining progress bar will be displayed.
Depending on your computer configuration, the refining process may take several
minutes.
9.4.2. After the refining is complete, manipulate the refined 3D model using the
following methods: