Page 29 / 53
9.Acquiring a 3D Model for Restoration
To use the common scan workflow to obtain a 3D model for restoration use, you
should acquire images of the upper jaw, lower jaw, and the buccal bite registration.
In some cases, you can acquire images of a single arch (partial or full) and not
obtain a buccal bite registration (for example, if there are no teeth in the opposing arch),
but it is recommended that you acquire both arches and a buccal bite registration when
possible.
To acquire a 3D model, follow these steps:
Scan the upper and lower jaw.
Scan the buccal bite registration.
Mark the preparation areas
Refine and check the 3D model.
Complete and save the 3D model.
9.1 Scanning the Upper and Lower Jaw
If you use gingival restriction cords to retract the gingiva around the preparation,
you should scan the preparation immediately after removing the gingival restriction
cords so that the gingival area can be scanned before gum collapses.
To scan the 3D model of the preparation, follow these steps:
9.1.1. Dry the teeth thoroughly before starting an acquisition.
9.1.2. On the HELIOS interface, select the jaw ( or ) with preparation OR Press
the mode button on the scanner to select the jaw with preparation.
9.1.3. Place the tip of the scanner on the surface of the tooth to stabilize the scanner
and press the Start Scan button. Wait until a 3D image appears in the 3D model display
screen.
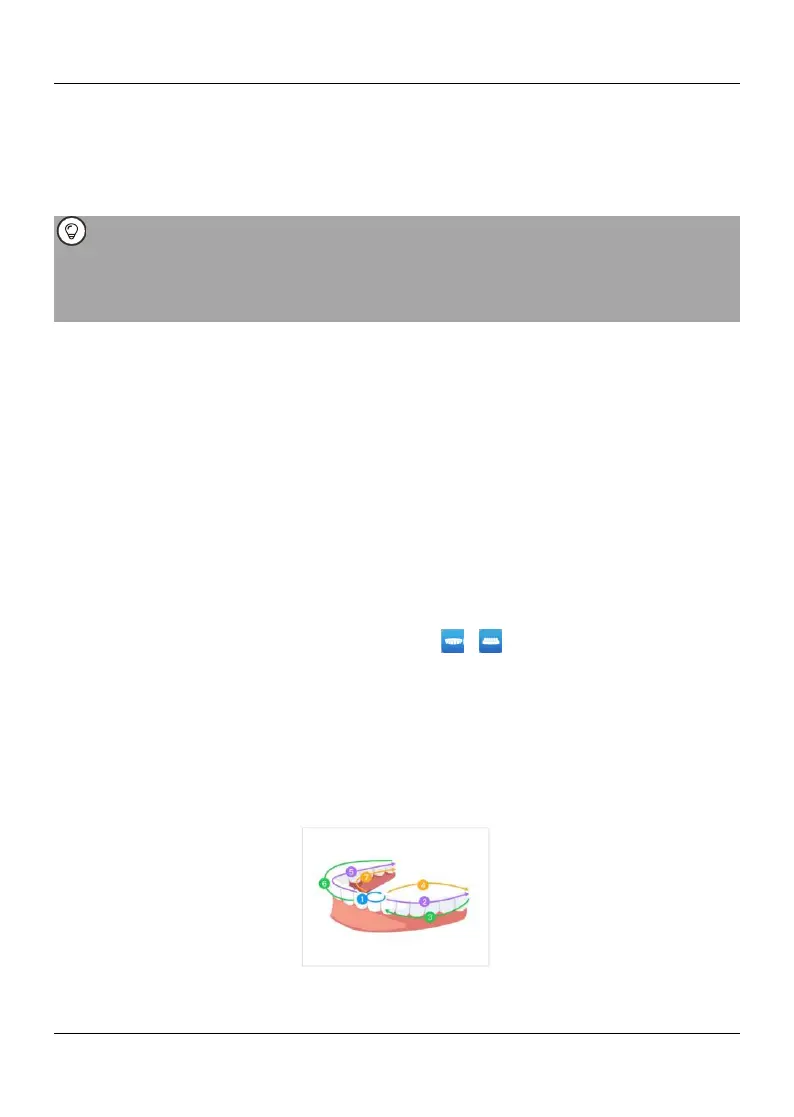
9.1.4. Move the tip of the scanner slowly around the preparation at 0-5mm from the
teeth. The image will be automatically scanned and displayed in the 3D model display
area.
9.1.5. Turn to the lingual and buccal side of the preparation for scanning.