20
EMC VNX5500 File Installation Guide
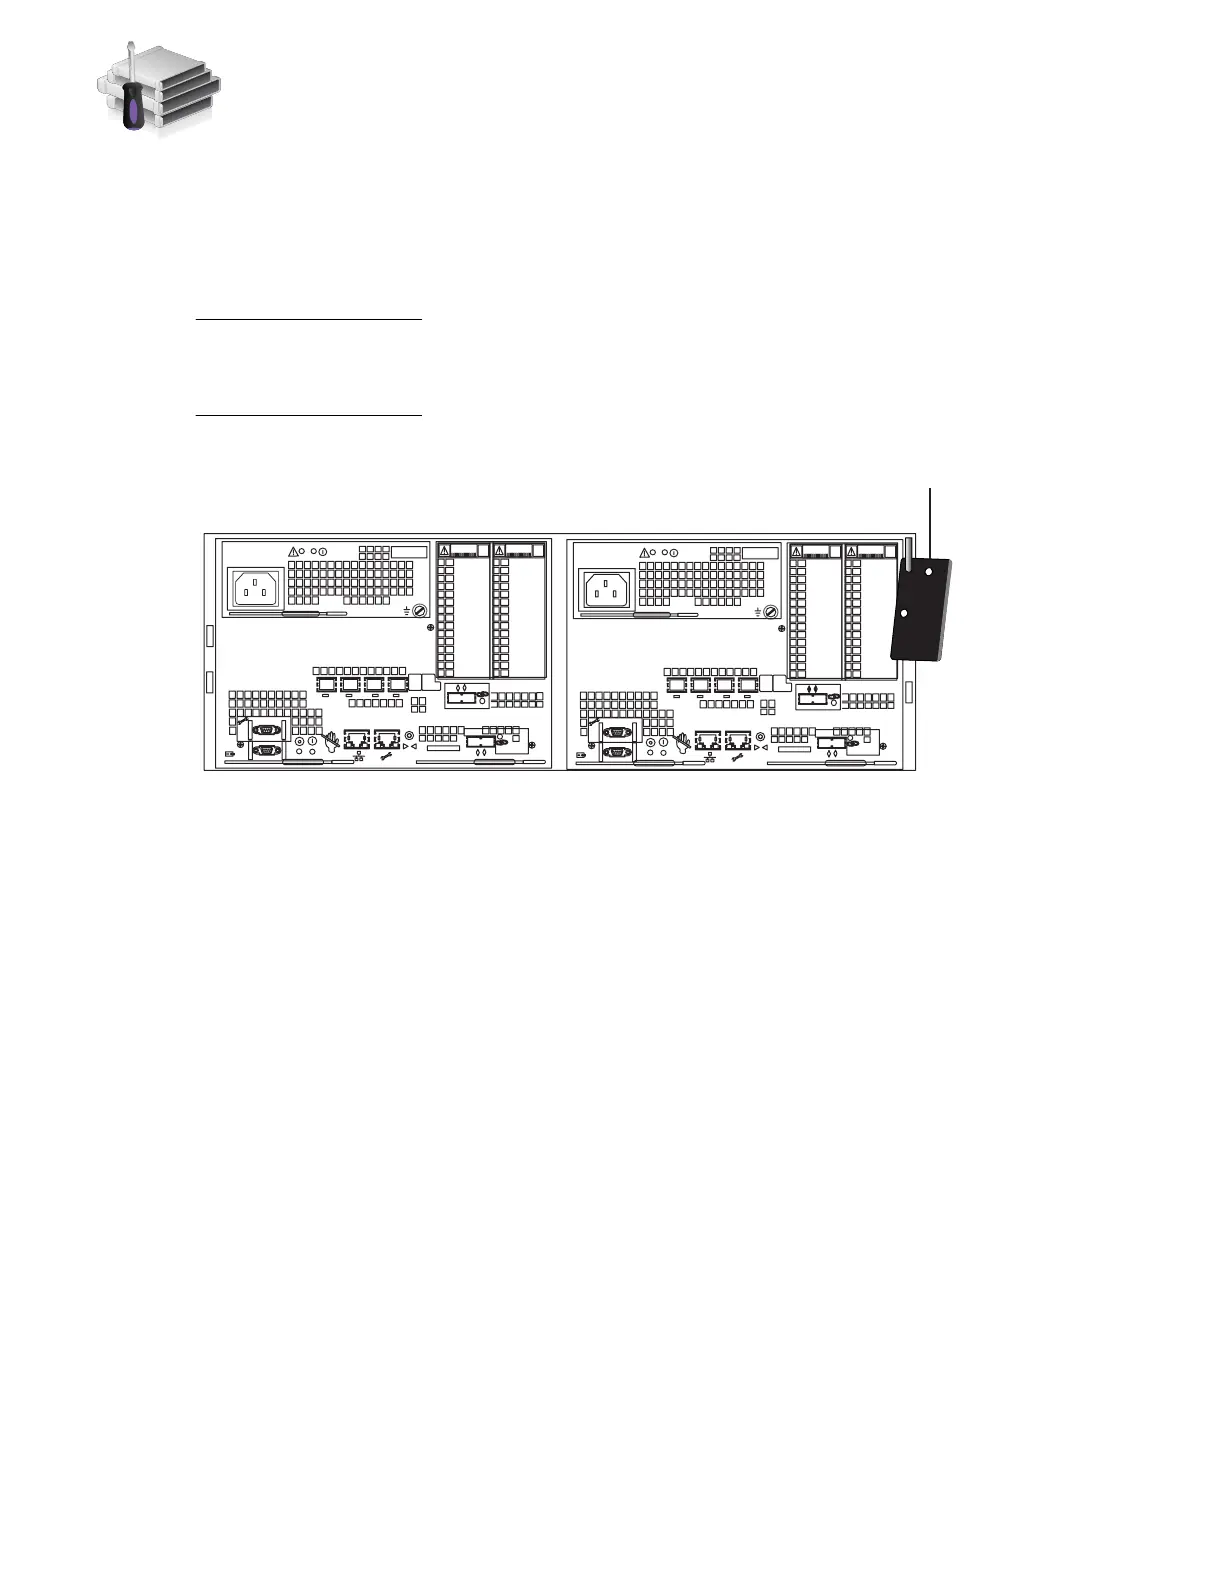
1. Look for the Product ID/SN on the product serial number tag (PSNT) located at the back of the
DPE as shown in Figure 9.
2. Record this number. You will use this number when you register the product during system
setup as described in “Set up” on page 59.
Be careful when you slide the enclosure into the rails. The PSNT tag on the corner of the enclosure
as shown in Figure 9 can inadvertently become jammed, be cut off, or block the enclosure
seating.
Figure 9 The location of the PSNT tag on the rear of the 3U DPE
3. Slide the disk processor enclosure (DPE) into the slot above the SPS as shown in Figure 10 on
page 21. Ensure the enclosure is fully in the cabinet. The rail stops in the back will seat into
the back of the enclosure at the correct depth, and the front of the enclosure will be flush with
the cabinet face.
4. Working in a diagonal pattern bottom left and top right, bottom right and top left, attach, but
do not tighten, the component by inserting the four screws through the DPE, the cabinet rail
and into the gang rail as shown in Figure 10 on page 21.
1 X4
2
3
4
5
6Gb
SAS
8Gb
bre
0 X4
6Gb SAS
A
2
3
4
5
6Gb
SAS
8Gb
bre
0 X4
6Gb SAS
B
1 X4
VNX-000686
PSNT
 Loading...