4-15
Hardware and Software Maintenance and Troubleshooting
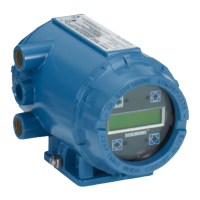
Install the Electronics Housing
1. Verify that power to the Model 8800C is off.
2. Screw the sensor cable onto the base of the housing.
3. Tighten the sensor cable with a
5
/16-inch open end wrench.
4. Place the electronics housing into the top of the support tube.
5. Tighten the housing rotation screws with a hex wrench.
6. Place the access cover on the support tube.
7. Tighten the screw on the access cover.
8. Connect conduit and wires.
9. Apply power.
Replacing the Sensor The sensor for the Model 8800C is a sensitive instrument that should
not be removed unless there is a problem with it. If you must replace
the sensor, follow these procedures closely. Please consult the
factory before removing the sensor.
NOTES
Be sure to fully check all other troubleshooting possibilities before
removing the sensor.
Do not remove the sensor unless it is determined that a problem exists
with the sensor itself. The sensor may not fit on the post if it is removed
and replaced more than two or three times, or replaced incorrectly.
Also, please note that the sensor is a complete assembly and cannot be
further disassembled.
Tools Needed
•
5
/32-inch (4 mm) hex wrench
•
5
/16-inch open end wrench
•
7
/16-inch open end wrench
•
3
/4-inch open end wrench (for 3- and 4-inch [80 and 100 mm]
SST wafers)
• 1
1
/8-inch open end wrench (for all other models)
• Suction or compressed air device
• Small, soft bristle brush
• Cotton swabs
• Appropriate cleaning liquid: water or cleaning agent
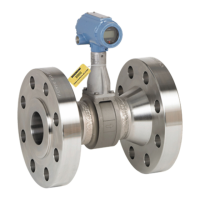
There are two support tubes for the Model 8800C. The removable
support tube is for wafer meters
1
/2- through 4-inch (15 through 100
mm) and all flanged meters. The integral support tube is for 6- and
8-inch (150 and 200 mm) wafer meters. The procedure for replacing the
sensor contains details for both the removable and integral support
tubes.
 Loading...

