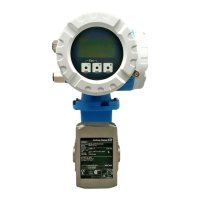
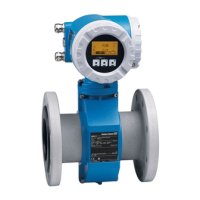
Promag 53 PROFIBUS-DP/-PA 6 Commissioning
Endress+Hauser 87
6. Selection of GSD file:
BASIC FUNCTION (G)
→ PROFIBUS-DP/-PA (GBA) → OPERATION (614)
→ SELECT GSD (6140)
Note:
The selection possibilities and the predefined values/parameters are described in more
detail in the “Description of Device Functions” manual.
6.3 Commissioning using the Class 2 master
(Commuwin II)
Operation with Commuwin II is described in the E+H documentation BA 124F/00/a2/...
Steps 1-5 can be dealt with in the same order as described in Chap. 6.2 “Commission-
ing using the local display”.
The configuration parameters can be found in the Commuwin II operation matrix in the
manufacturer-specific matrix or in the individual blocks:
• in the Physical Block → Page 79
• in the manufacturer-specific device matrix lines V6 and V7 → Page 76
• in the Analog Input Block → Page 81
• in the Totalizer Block line V1 → Page 82
1. Parametering the “Physical Block”:
– Open the Physical Block.
– Software and hardware write protection is disabled in Promag 53 so that you can
access all the write parameters. Check this status with the parameters WRITE
LOCKING (V3H0, software write protection) and HW WRITE PROTECT (V3H1,
hardware write protection).
– Enter the tag name.
2. Parametering the manufacturer-specific device parameters of the Transducer
Block “PROMAG53”:
– Open the manufacturer-specific Transducer Block “PROMAG53”:
– Enter the desired name for the block (tag name).
Factory setting: No block name (tag name)
– Now configure the device-specific parameters for flow measurement.
Note:
Other matrixes can be selected in the cell VAH5 if you wish to configure further
manufacturer-specific parameters.
Please note that alterations made to device parameters will only be activated once
a valid release code has been entered. The release code can be entered in the
matrix cell V3H0 (factory setting: 53).
3. Parametering the “Analog Input function block”:
Promag 53 disposes of two Analog Input function blocks. The Analog Input 1 block
contains the process variable “Volume flow” and the Analog Input 2 block the
“Mass flow”. These are selected using the connection clearance list. The following
description provides an example for the Analog Input function block No. 1.
– Enter the required name for the Analog Input function block 1.
Factory setting: VOLUMEFLOW BLOCK
– Open the Analog Input function block.
– The input value or the input range can be scaled in accordance with the require-
ments of the automation control system
→ Page 89 “Rescaling the input value”.
– If necessary, set a limit value.
 Loading...