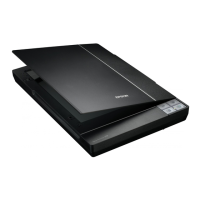
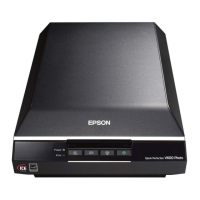
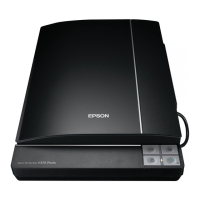
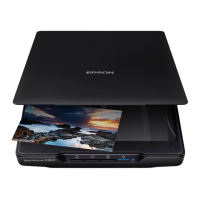
EPSON Perfection V10/V100 Photo/V200 Photo/V350 Photo Revision B
DISASSEMBLY/ASSEMBLY Disassembly of AFL 49
4. Remove the screw (C.B.P. 3x8, 5-7 kgf.cm.) that secures the AFL Inverter Board.
5. Disconnect CN2 connector, and remove the AFL Inverter Board.
6. Disengage the two hooks, and remove the AFL Inverter Board Cover from the
AFL Lower Housing.
Figure 4-39. Removing the AFL Inverter Board (2)
4.5.4 Lamp Assy
1. Separate the AFL Upper Housing Assy/AFL Lower Housing Assy.
(4.5.1 Separation of AFL Upper Housing Assy/AFL Lower Housing Assy on page
46)
2. Disconnect CN2 connector from the AFL Inverter Board.
(Figure 4-38 on page 48 )
3. Remove the two screws (C.B.P. 3x8, 5-7 kgf.cm.) that secure the Lamp Assy.
4. Lift up the Lamp Assy from the screws attached side to release the two tabs from
the slit of the AFL Lower Housing, and remove the Lamp Assy.
Figure 4-40. Removing the Lamp Assy
C.B.P. 3x8
CN2
AFL Inverter Board
Hook
AFL Inverter
Cover
C.B.P. 3x8
Slit and Tab
Lamp Assy
CN2
Lamp Assy
 Loading...
