EPSON Perfection V10/V100 Photo/V200 Photo/V350 Photo Revision B
DISASSEMBLY/ASSEMBLY Disassembly of AFL 52
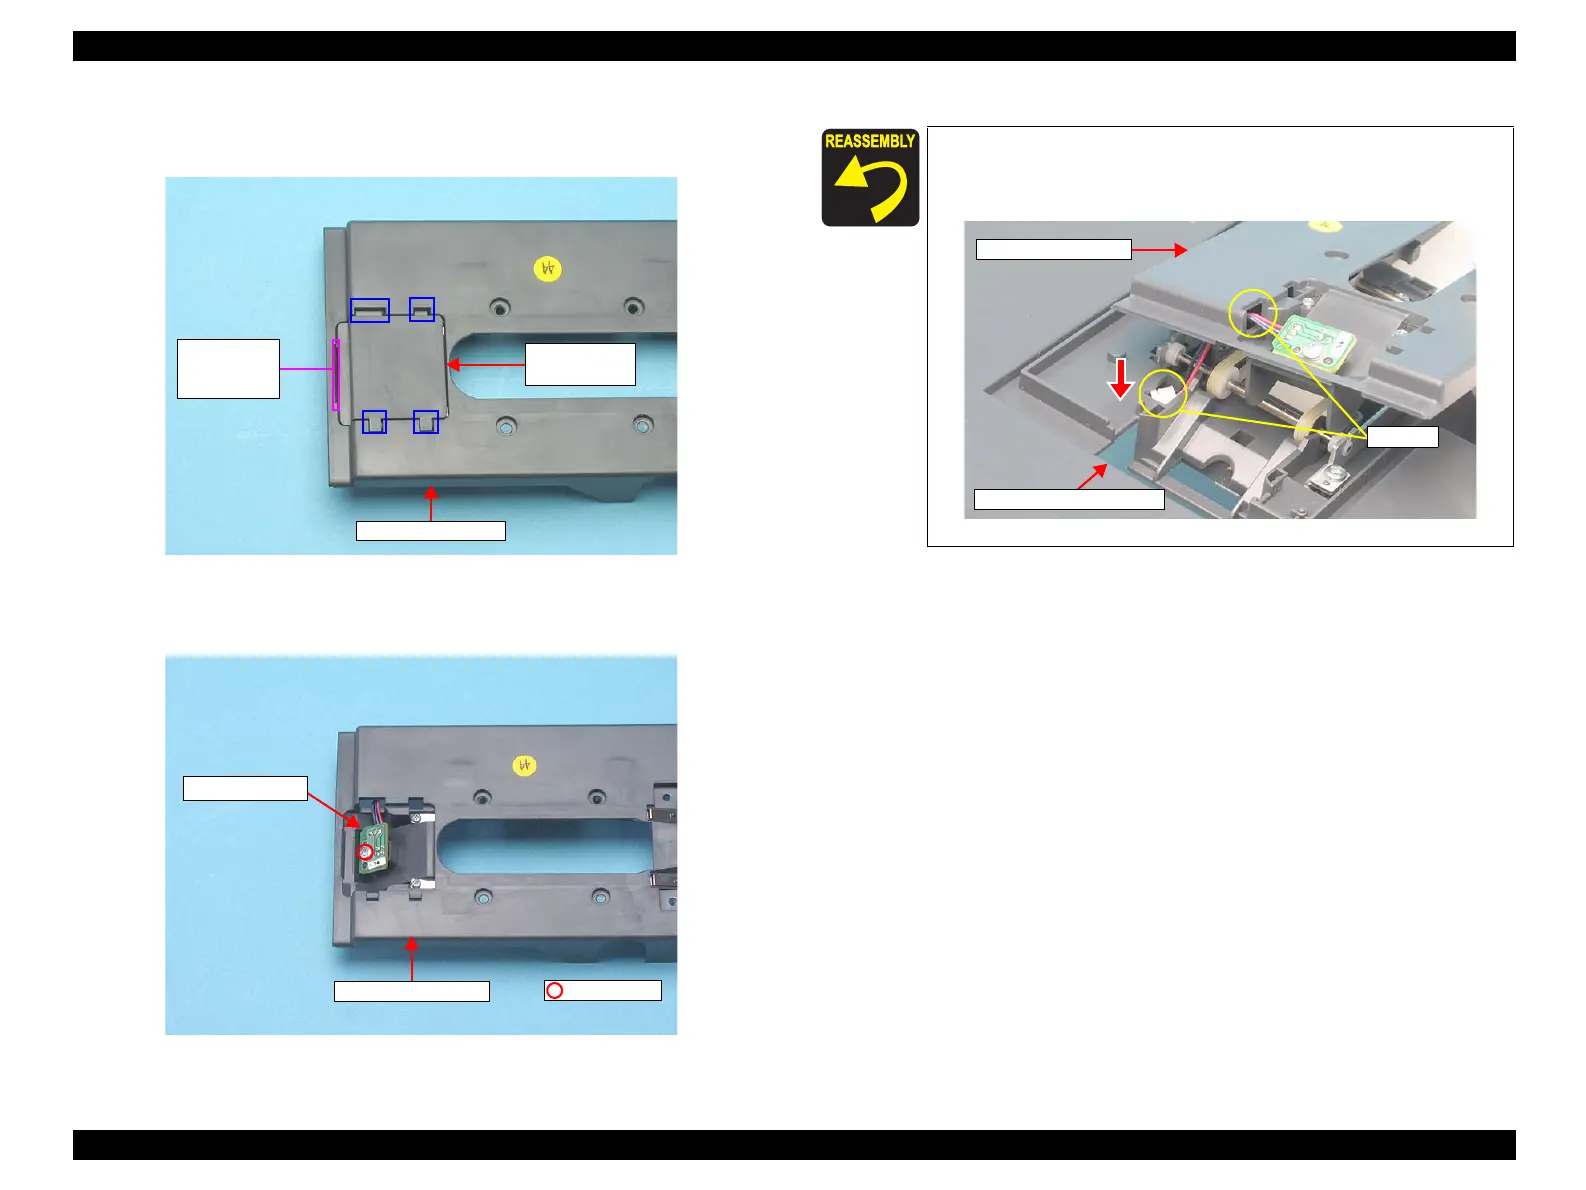
6. Lift up the AFL Sensor A Cover with a flat-blade screwdriver, disengage the four
hooks, and remove the AFL Sensor A Cover.
Figure 4-45. Removing the Cover Lower Assy
7. Remove the screw (C.B.P. 3x8, 5-7 kgf.) that secures the AFL Sensor A, and
remove the AFL Sensor A from the Cover Lower Assy.
Figure 4-46. Removing the AFL Sensor A
AFL Sensor A
Cover
Cover Lower Assy
Insert a flat-
blade
screwdriver
C.B.P. 3x8
AFL Sensor A
Cover Lower Assy
When reassembling the AFL Sensor A, route the cables toward the
Main Board through the two holes shown in the figure below, and
connect the cables to CN3 connector on the Main Board.
Figure 4-47. Routing the AFL Sensor A
Cover Lower Assy
AFL Lower Housing
Holes
 Loading...