EPSON Stylus CX4300/CX4400/CX5500/CX5600/DX4400/DX4450 Revision A
DISASSEMBLY/ASSEMBLY Disassembling Printer Mechanism 91
ASF Unit Removal
1. Remove the screw (x1) from the side of the Frame Base.
2. Remove the screws (x2), and remove the ASF Unit taking care not to scratch
it with the positioning tab.
Figure 4-81. Removing ASF Unit
ASF Unit
Positioning Tab
Frame Base
ASF Unit
C.B.P 3X8 (Torque: 6±1Kgf.cm)
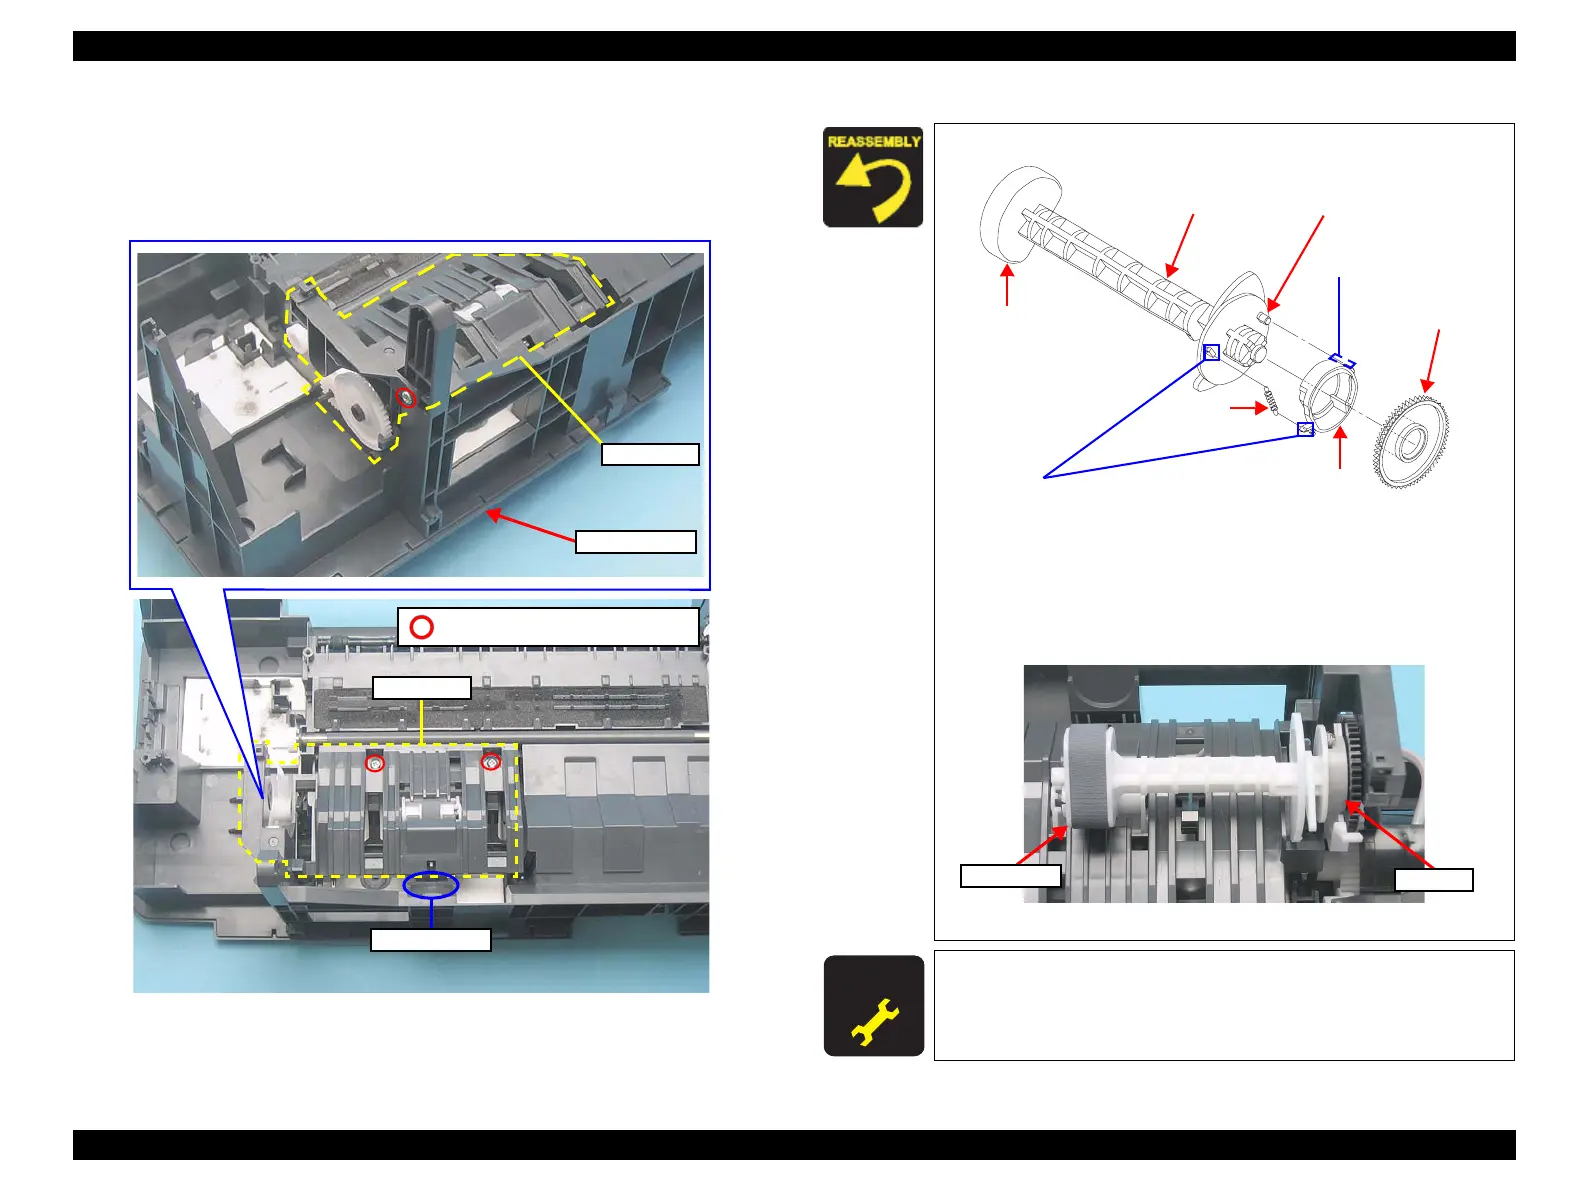
Assemble the LD Roller as shown below.
Figure 4-82. Assembling LD Roller (1)
1. Match the guide pin of the LD Roller Shaft with the positioning
hole of the Clutch.
2. Attach the tips of the Extension Spring 0.143 to the tab of the LD
Roller shaft and the tab of the Clutch.
3. Attach the cam side of the Spur Gear 36.8 to the hole of the Clutch.
Figure 4-83. Assembling LD Roller (2)
A D J U S T M E N T
R E Q U I R E D
When the LD Roller is reassembled, perform the required
lubrication. (Refer to Chapter 6 “ MAINTENANCE (p108)”)
Clutch
Extension
Spring 0.143
Spur Gear 36.8
LD Roller Shaft
LD Roller
Guide pin
Tabs
Positioning hole
LD Roller
Clutch

 Loading...


