46
HOW TO PROCEED
Push the F pushbutton to visualize the first calibration symbol on
the display. Depress, in sequence, F pushbutton until the desired
calibration symbol is reached.
C 0 - CURRENT INPUT MINIMUM RANGE VALUE
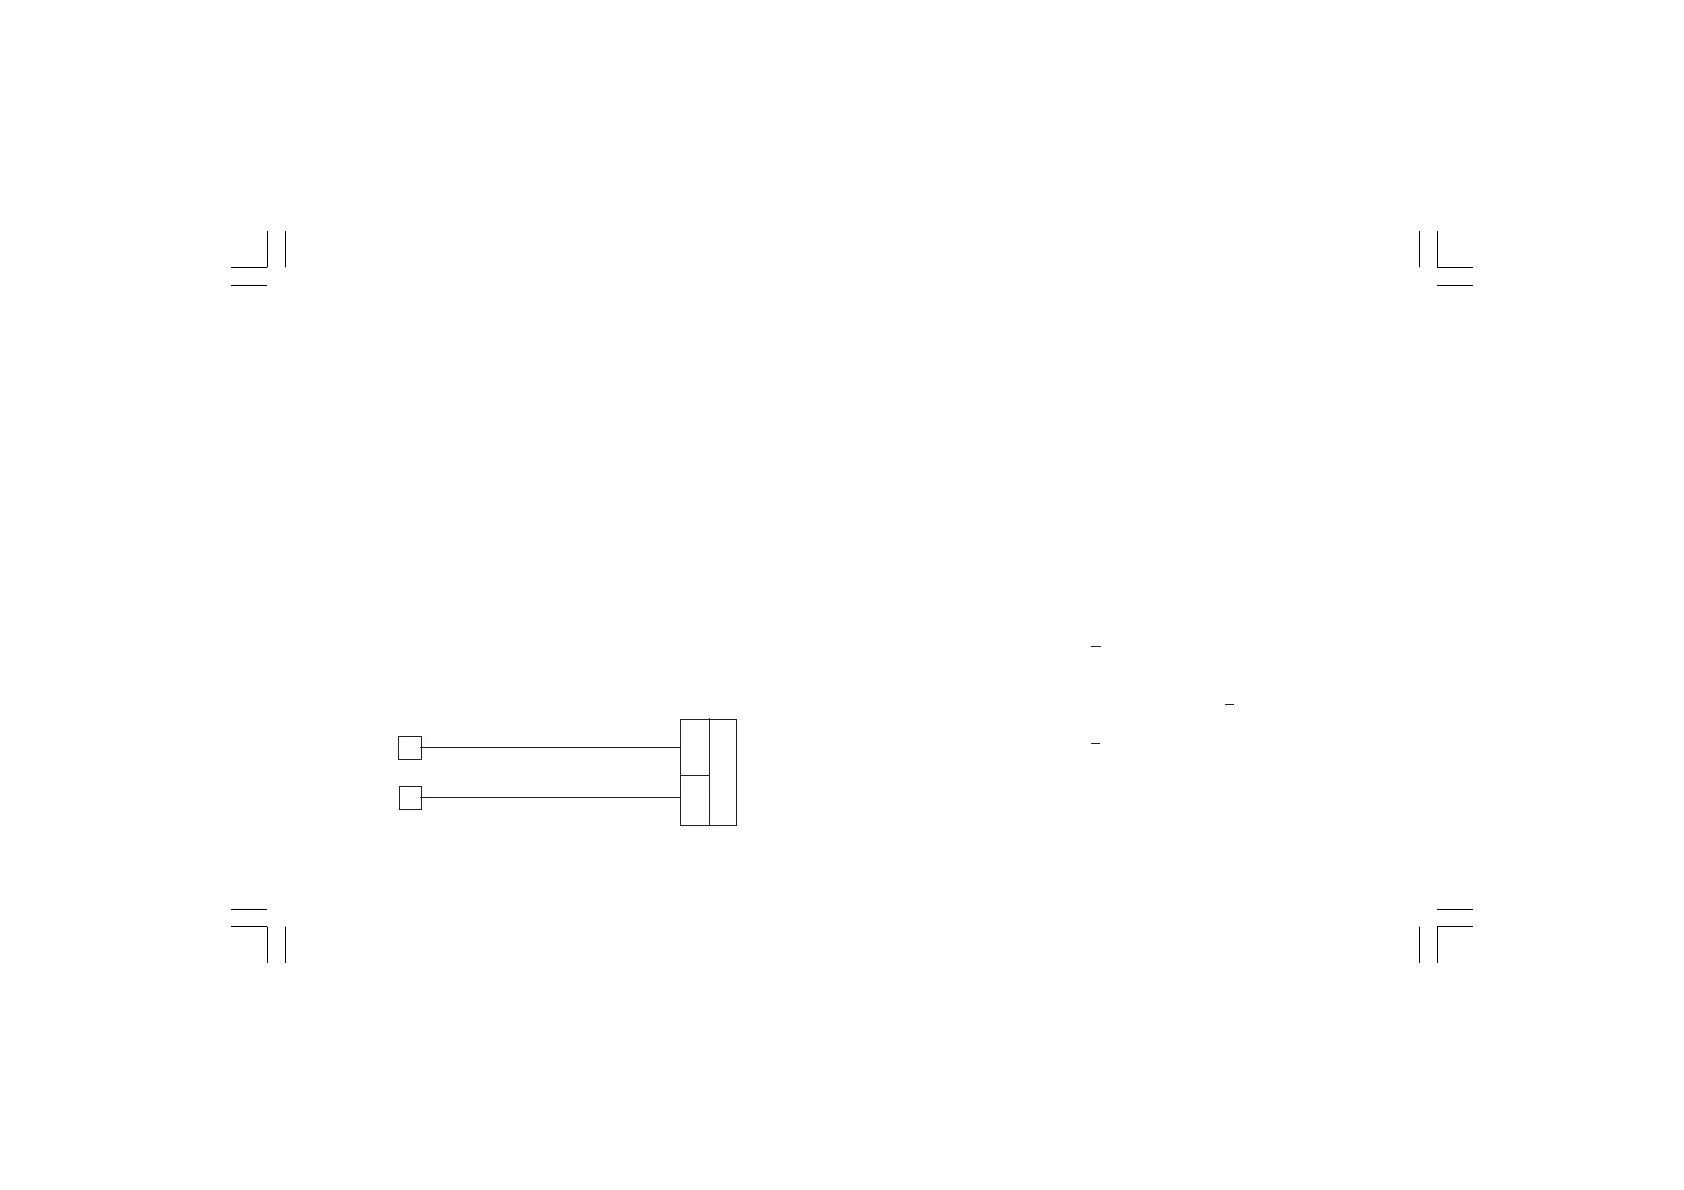
a) Connect the instrument to the calibrator as shown in Fig. 5.2.
b) Set 0.000 mA DC on the calibrator (even if the minimum range
value is 4 mA).
The display will show "OFF".
Depress ▲ pushbutton to enable the calibration; then the display
will switch to "ON".
c) Wait few seconds, until the measurement has stabilized.
d) Push the F pushbutton; the numerical displays will blank and
only the decimal point of the right hand figure of the numerical
display will be lit. When the calibration is completed the
instrument will go automatically to the next parameter.
Fig. 5.2
4
3
+
_
C 1 - CURRENT INPUT MAXIMUM RANGE VALUE.
a)Set 20,000 mA on the calibrator (see Fig. 5.2).
b)Push ▲ pushbutton, the display will show "ON" and "C 1" will
remain on the alphanumerical display.
c) Wait few seconds then push F pushbutton.
d) The numerical displays will blank temporarily to show that the
instrument is performing the calibration routine.
CURRENT INPUT CHECK
a) The instrument will show "A" preceded by a number showing the
measured value in counts.
Set 20.000 mA on the calibrator, if C 1 calibration is correct the
indication will be "25000A"
+10 counts.
b) Check the zero calibration by resetting the calibrator to 0.000
mA.
The resulting indication should give "00000A"
+10 counts.
Check the linearity by setting the calibrator to 10.000 mA; the
readout must be "12500A" +10 counts.
c) Push F for the next calibration