- 56 -
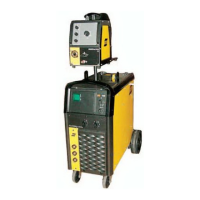
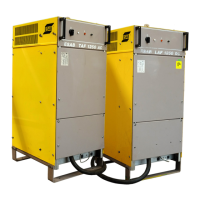
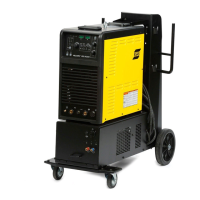
24 EXCHANGE POWER PACKAGE DTG 405
NOTE! Refer to “Connection DIAGRAM DTG 405” on page 10.
1. Remove cover (117):
Slacken 4 M5 screws.
2. Remove side panel (104/116):
Slacken 3 M5 screws.
3. Remove front panel (102):
Unplug ribbon cables from X4, X5 and X6, slacken 2 M6 screws.
4. Control ACST1 (A6):
Unplug burner push-button cable from X4/5 and X4/6.
5. Remove front grill (103):
Unlock switch (105) at rear and remove front grill. Slacken 2 M6 screws.
6. Current terminal 1-pole:
Disconnect cable from +(108), -(108) and +(112).
7. HF unit (A7):
Disconnect all cables.
8. Rectifier bridge (A3):
Disconnect cables L1, L2 and L3.
9. Connector (X10):
Unplug cables 0.230 and 230.
10. Connector (X9):
Unplug from power block.
11. Control GWL (A8):
Unplug 26-pole ribbon cable from X1.
12. Protective earth terminal on power block base:
Slacken M5 nut and disconnect cable.
13. Cooler (209):
Remove.
14. Power block:
Slacken 4 M8 screws and extract power block to system front.