- 63 -
STARTING UP
1 GENERAL INFORMATION
The commissioning procedures described are very similar to those conducted during factory re-
pairs if the fault in the unit is unknown. Depending on the type of fault and the test facilities avail-
able, it may be useful to conduct only part of the test procedure.
The test procedure selected can pre-test several functions on the isolating transformer before
connecting the unit to the mains.
Only carry out adjusting operations if the trimmers on control boards A8 and A2 have not been
tuned to the particular unit.
As a rule, new boards or replacement boards have already been adjusted, so the procedure de-
scribed here is not necessary but may be useful for checking.
The shut-off described for the air duct, or disconnecting fans is only required if the unit is subjected
to a thermal test.
The thermal test should be conducted in the following cases:
• Thermal switch T4 (through TC10) was renewed.
• Defective thermal switch(es) is/are suspected.
• After renewing power electronics components such as A3, A4, A5, A9, A10, A11, A12, A13,
A14, power transformer T3, reactor L1, etc.
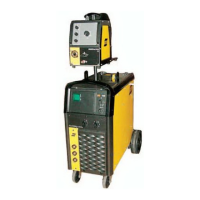
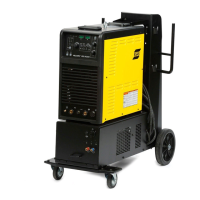
2 COMMISSIONING OF DTG405 POWER SECTION
1. Test for electrical safety.
2. Disconnect water pump. Jumper the water pressure switch input (X9-1 to X9-2). Disconnect
the fan.
3. Measure the resistances of the primary switch drive leads for A4, A5, A11, A12 and for the
current transformer T1, T5. To do this, disconnect connectors X10, X11, X12 on A1. Lay
down disconnected cables so that no accidental electrical connections can occur; these
cables are connected to the link voltage.
• Connector X11-1 to X11-2: 500 Ω
• Connector X12-1 to X12-2: 500 Ω
• Connector X10-1 to X10-2: < 5 Ω
• Connector X10-3 to X10-4: < 5 Ω
4. Do not re-connect the drive leads for primary switch A4, A5, A11, A12, and connect the
oscilloscope to A1: X11, X12.
5. Turn on the unit. Connect the 230 V / 400 V transformer to the 0-230 V isolating transformer
and to the unit. Turn the isolating transformer to zero. Apply voltage to L1, L2 via adapter.
6. Connect negative cable to unit negative socket with HF reactor.
Connect positive cable to unit positive socket.
7. Load resistor: No load.
8. Settings on control panel of A2:
Set all to MIN. Set balance to 50%.
Position of mode selector switch: Electrode; DC with HF; no pulsing.
9. Increase voltage on isolating transformer, starting at zero. Driving will work from 150 V (the
conductor voltage is 1.41 times higher).