B
A
C D E F G SERVICE
58
S9 Replacing a Remote
If the wireless control becomes lost or damaged, a new one can be ordered from any Escea retail
agent. When you have the new remote, the following procedure needs to be followed to “teach” the
remote to only communicate with that fire.
1. Ensure the fire and remote are set to ‘OFF’ (only the time is displayed on the remote).
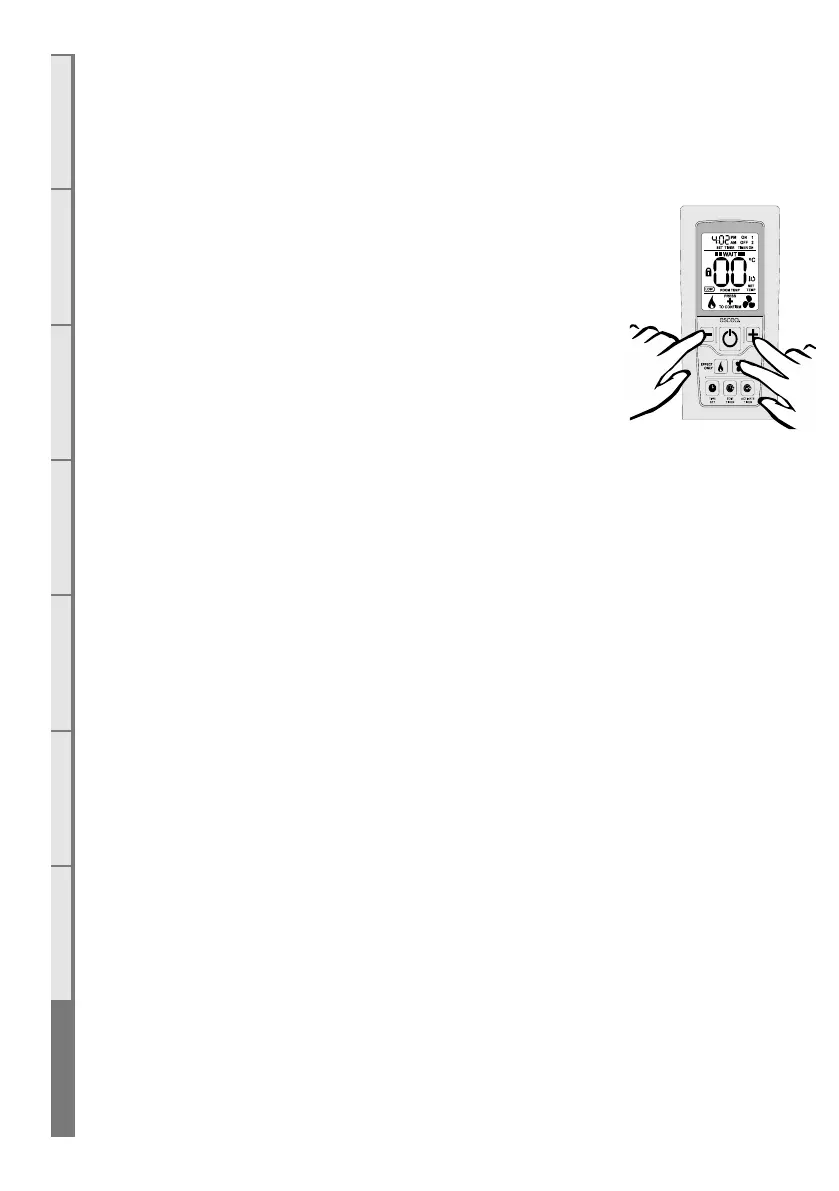
2. While the remote is in its ‘OFF’ mode with only the time showing
on the display, press the MINUS, PLUS, and FAN BOOST buttons
simultaneously (as shown right) until the characters “03” light up on the
display. Release the buttons. The remote will count down and display “GO”.
The screen will then display all characters and should be reading “00”. This
will put the remote into test mode. Note: if the digits start counting then the
remote is already paired.
3. Press and hold the MINUS button until the two large temperature digits
reading “00” start to flash slowly. Release the MINUS button. The remote
control is now ready to be linked to the fire.
4. Press and hold the auxiliary on/o button on the fireplace for a minimum of ten seconds or until the
two large temperature digits start counting upwards from 00 to 99 repeatedly.
Note: Pressing the red auxiliary button on/o button will start the fire. Once the remote control is counting
the fire can be turned o by pressing the red auxiliary button again.
5. Press the large power button in the middle of the remote control to exit the test mode and return
to normal operation. The remote should only be displaying the time. Check the fire will start using the
remote control by pressing the large power button. Turn it o again using the remote control.
6. The fire is now linked to the remote control.