METALJET D2+ INSTALLATION
Revision 19, November 2016 Page 4-7
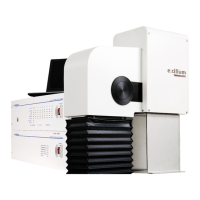
Figure 4-5. The six M6-threaded holes are spaced according to this image (the electron gun/x-ray head seen
from below).
Mount the x-ray system controller and the x-ray high-voltage controller properly into a 19” rack
located close to the electron gun/x-ray head and the pump box.
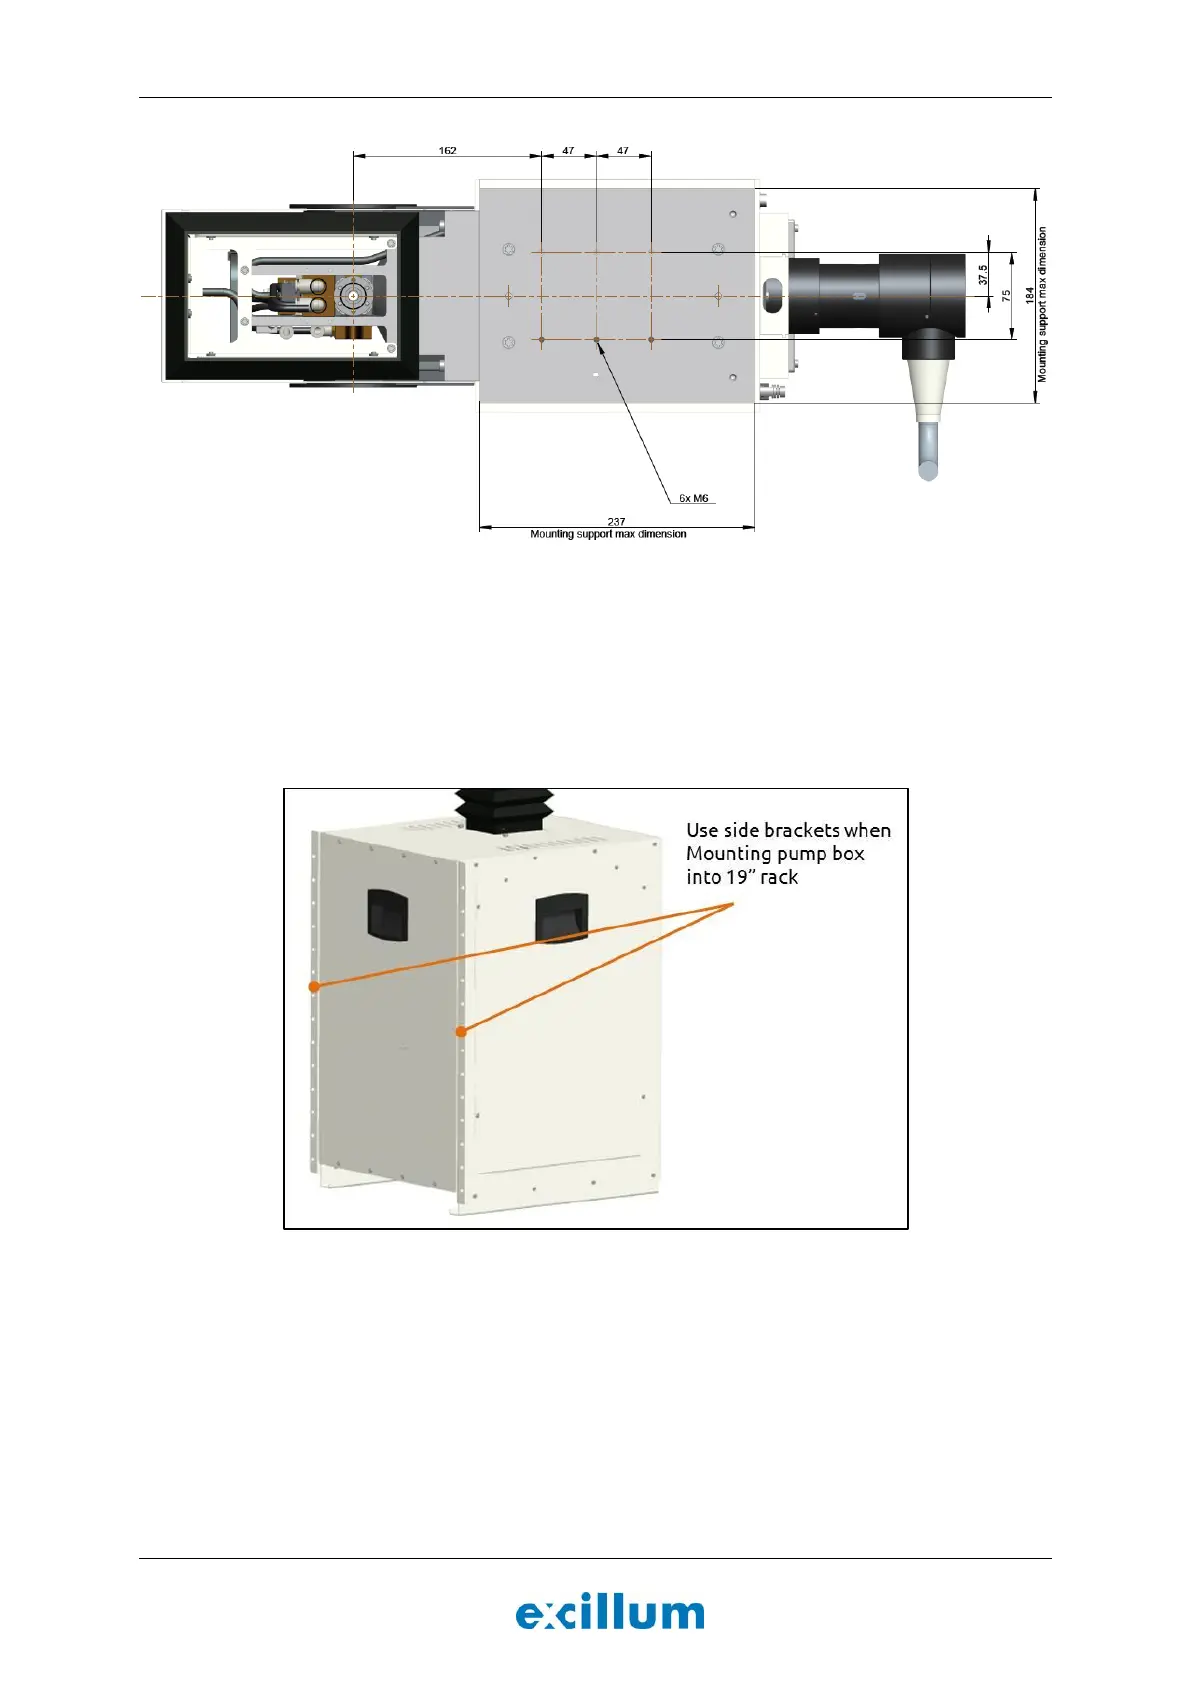
Figure 4-6. Use the side brackets on the front of the pump box to attach the pump box to a 19” rack.