4-9
PRELIMINARY
MLC 226 Series • Software-and Web Page-based Setup and Control
non-administrator end users can select inputs and adjust output volume but
are prevented from making any other changes.
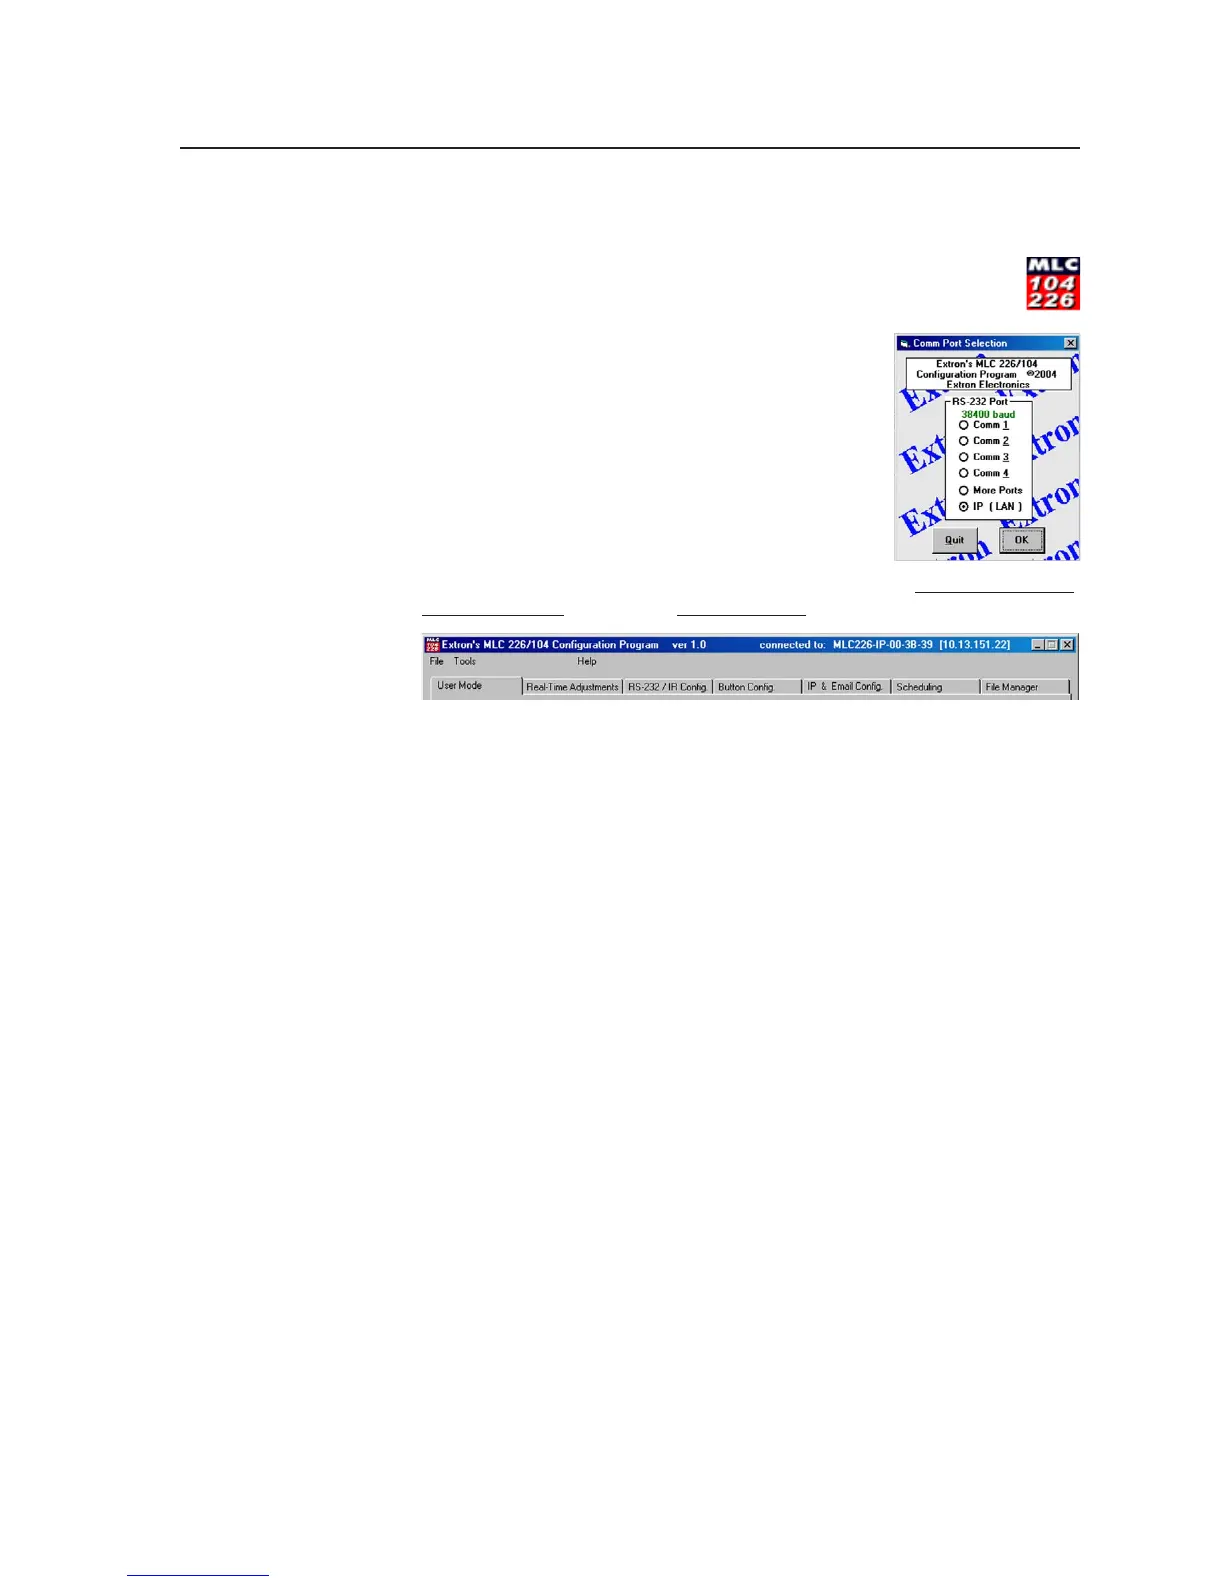
1. To run the program, double-click on the MLC 226/104
Configuration Program icon (shown at right) under the Extron
group or folder and the MLC 226 + 104 subgroup.
The Comm menu appears.
2. Select the COM port that is connected to the
controller’s Host Control port, or select IP (LAN) to
connect via an Ethernet network, as shown at right.
Click on the OK button. The Extron MLC 226/104
Configuration Program window appears. In the
following steps you will configure the controller
and optional equipment.
3. There are seven tabs within the software. During setup,
work sequentially
from the left tab (User mode) to the right tab (File Manager).
User Mode lets you perform basic control functions using a replica of the
front panel. It also lets you turn the relays on and off individually, and
allows you to set the front panel security lockout (executive modes).
Real-Time Adjustments is the page where you configure all audio levels
and settings and an assortment of other basic settings.
RS-232/IR Config. is where you set the communications type (IR/RS-232)
and protocol for each control output port (Projector port and the four
IR/Serial Out ports), then select the appropriate device driver for each
port based on the device connected to the port.
Button Config. is the tab for setting up every configurable button in the
system: MLC front panel Projector power, function/room, and input
selection buttons; buttons on all connected control modules (IRCMs,
ACMs, RCMs); and the buttons on the IR 402 remote control. On this
software page you select the driver commands, relay functions, internal
operations, or user-defined commands to be executed when each
button is pressed or released.
4. Before setting up the e-mail notification check boxes and the scheduling,
use the Build & Apply Configuration button or the option from the Tools
drop-down menu. This process builds, compiles, and stores in the
controller the event files it needs to operate. This step must be done prior to
starting the next step.
5. After performing the build and apply procedure, proceed to the next three
tabs (pages) of the program to finish setting up the controller:
IP & Email Config. shows all the IP-related settings. This is where you can
change the IP address of the controller, gateway, and mail server;
rename the unit; set system time; and set up e-mail notification options.
Scheduling is where you select the days of the week and times at which to
automatically turn the projector on and off.
File Manager displays the files currently stored in the MLC’s embedded
Web server and allows you to select files from that list to delete or to