Room Scheduling System • CollegeNet 25Live 44
CollegeNET 25Live
Setup
Calendar Setup
1
12
2
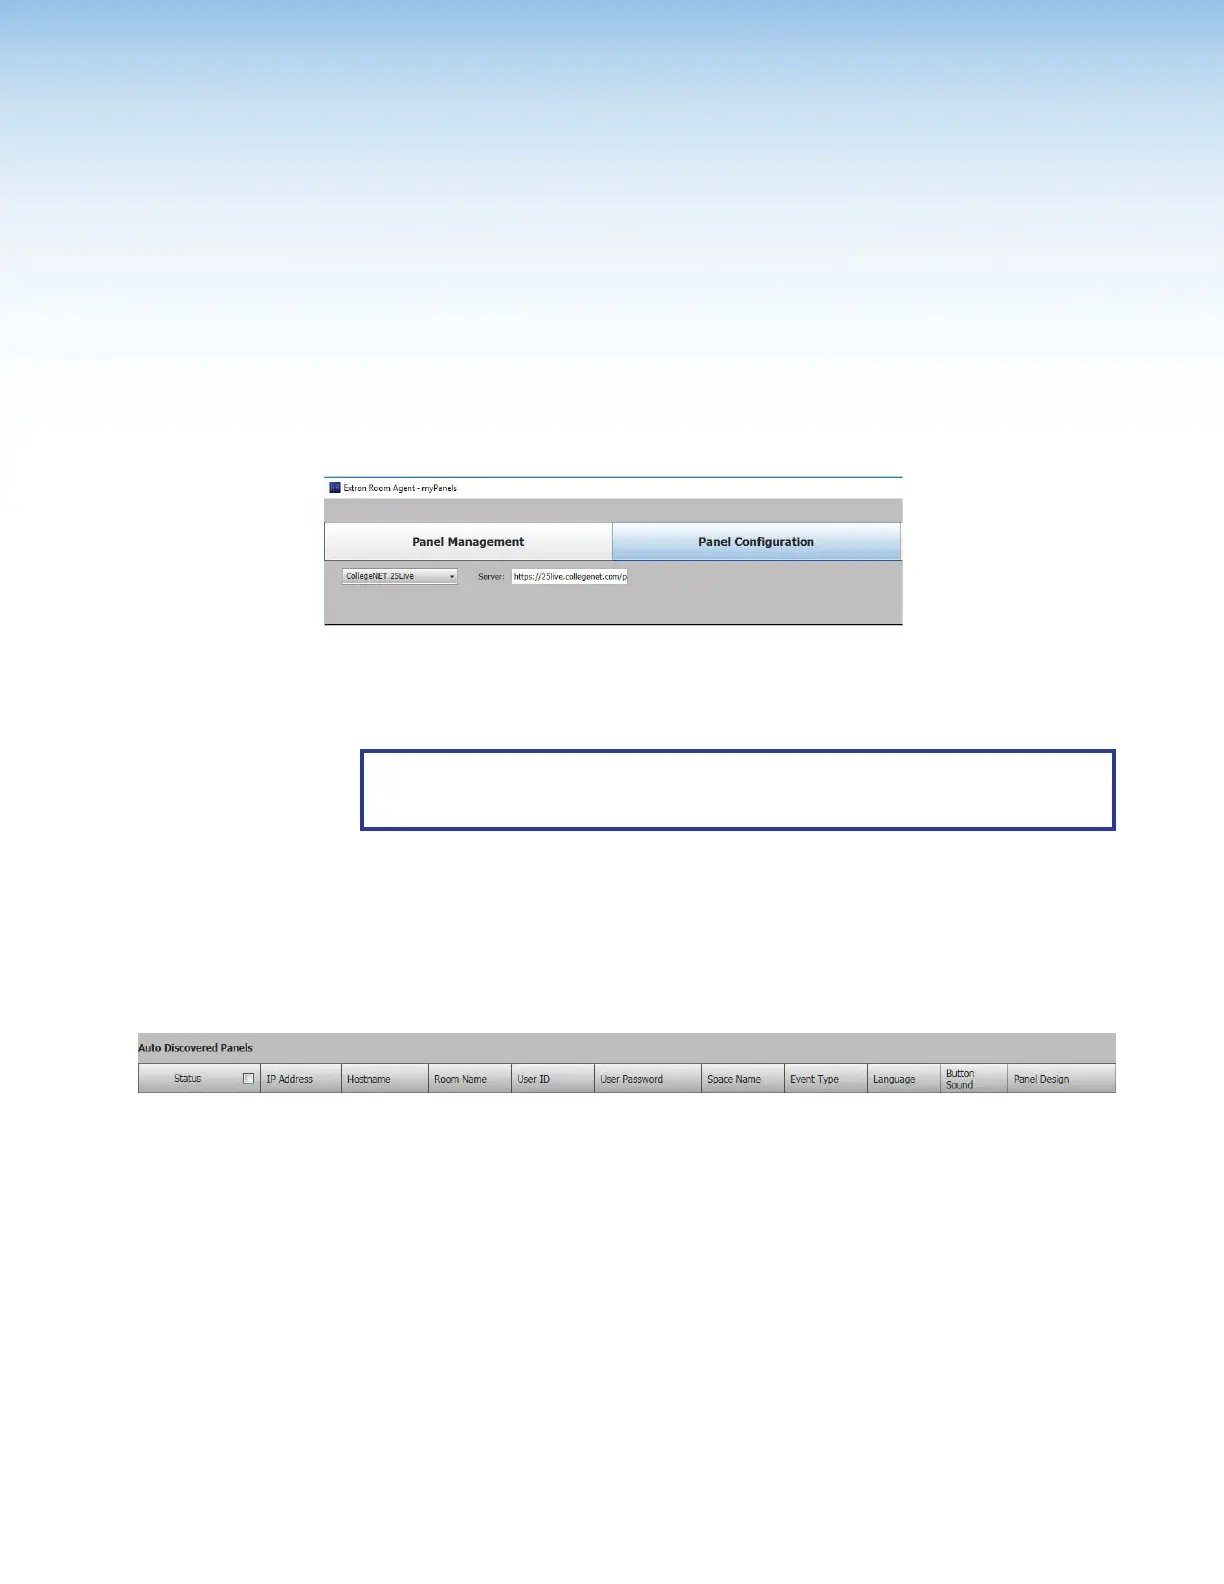
Figure 41. Selecting the CollegeNET 25Live Calendar
1. Select CollegeNET 25Live from the Select a Calendar Type drop-down list(
1
).
2. Enter the name of the 25Live server in the Server field (
2
).
NOTE: This value is the full URL of the address you use to log in to your regular
CollegeNET 25Live account and has the format:
https://25live.collegenet.com/<college-name>.
If you use https:// the Proxy Server must be setup as “TLS Pass Through”. This is
required for the TLS to validate the calendar server’s SSL certificate (see Setting up a
Proxy Server
on page 82).
Panel Setup
The following column headings are available for touchpanels with CollegeNET 25Live:
Figure 42. Room Agent Column Headings with CollegeNET 25Live
• Status — Use this check box to select individual panels for configuration.
• IP Address — This cell contains the IPaddress of the touchlink panel.
• Hostname — The host name is a fully qualified domain name that uniquely identifies
the computer. It is required for the computer to communicate with other devices on the
network.
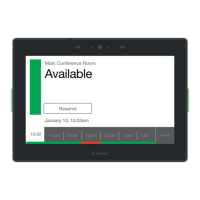
• Room Name — enter the name that is displayed on the touchpanel.
• User ID — enter the ID for an account that has access to the 25Live webservices link.
This is typically an administrator account.
• User Password — enter the password for an account that has access to the 25Live
webservices link. This is typically an administrator account.