A952 32 532310 - Rev.A
1 2 3
12
1
2
3
13
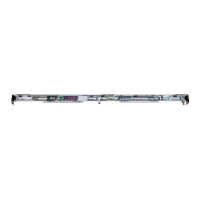
4. Place the electronics assembly against the support plate so that the hole of one of the two lower slots is
aligned with the partially tightened screw (only one hole will correspond according to the mounting position
of the electronic assembly (12-1).
5. Push the electronics assembly upwards while keeping it horizontal (12-2). This allows the bracket to
engage with the guide in the support plate.
6. Slide the electronic assembly to the end of the slot (the direction depends on which slot is used) and tighten
the screw (12-3).
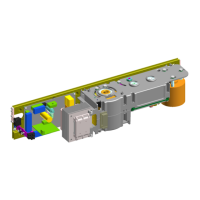
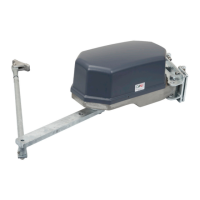
7. Connect the gearmotor to the electronics assembly
(13):
- Encoder cable connector (1)
- KICK LOCK cable connector (2)
- Motor cable connector (3)
Use one of the clamps supplied to gather the cables
together and secure them.
WARNING:
For safety reasons, fully unload the spring before dis-
connecting the motor cable from the board.