432-0012-00-10 Version 100 December 2015 16
3
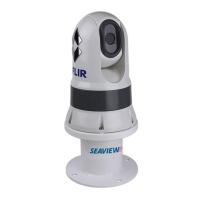
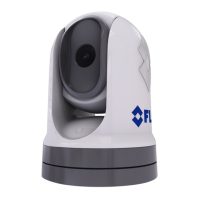
M400 Joystick Control Unit
Introduction
The Joystick Control Unit (JCU II) is the primary method of
controlling the M400 camera. Use it to move the camera, zoom the
camera, switch between infrared and visible-light cameras, adjust
the image settings, and access the on-screen menus.
This chapter describes how to use the JCU II buttons to operate the
camera features. Some of these features vary depending on the
specific way the system has been configured.
When specific settings affect a particular button, refer to the various
configuration settings and how they affect operation in Chapter 4,
"M400 System Configuration," on page 20.
Enabling different system modes can affect how the buttons work.
Table 3.1 on page 19 summarizes the actions for each button.
JCU II Buttons
All of the buttons on the JCU II perform multiple functions. In most cases, each performs one
function when it is pressed briefly (short press) and a different function when it is pressed and held
(long press). The descriptions of the buttons in this section assume that the JCU II is powered on
(not in standby).
Power Button
Short Press—When the JCU II is powered on, a short
press of the Power button cycles through the four levels of
brightness (including off) for the JCU II display. The JCU II
controls are back lit to make them easier to see at night.
Use this button to adjust the brightness of the back lighting.
Long Press—When the JCU II is in standby, pressing and
holding the Power button is used to “wake up” the camera.
When the JCU II is powered on, it is used to access the
JCU II Power Menu to perform functions such as selecting
another camera or placing the system in standby. Refer to
“JCU II Power Menu” on page 15.
Menu Button
Press the Menu button to access the system on-screen-
display (OSD) menus. In most cases, there is no need to
modify the factory default configuration settings of the
system. Refer to “M400 System Configuration” on page 20.
Standby
Powered on
Power button