JCU II Buttons
432-0012-00-10 Version 100 December 2015 17
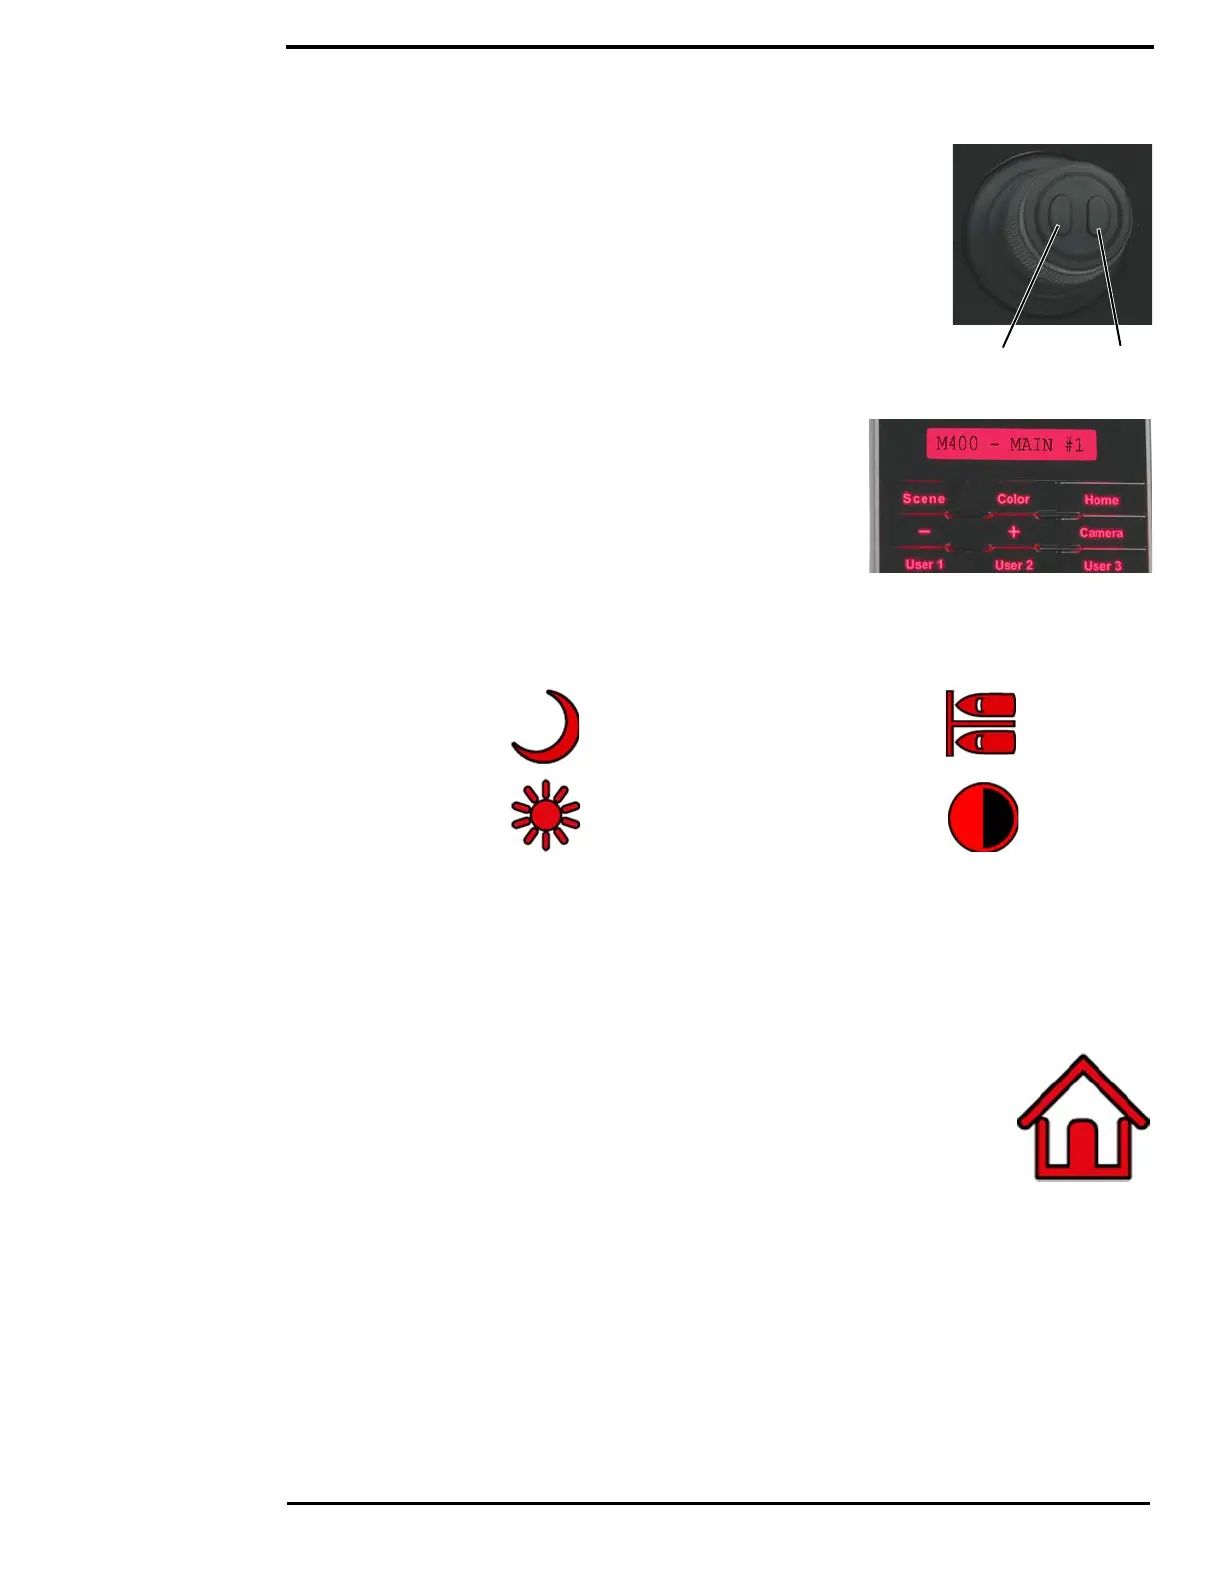
When the OSD menu is shown, use the joystick up, down, left, and right to
navigate through the menu entries. The buttons on top of the joystick are
used as select and back buttons.
• Joystick Up – move up in a vertical menu
• Joystick Down – move down in a vertical menu
• Joystick Right/Left – move to the next menu or menu choice
• Menu – Exit Menu
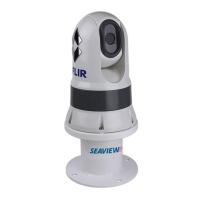
Scene Button—IR imaging only
The M400 thermal sensor automatically adjusts to changing
conditions providing optimized high-contrast images. The preset
automatic gain control (AGC) settings offer the most balance
and image quality for specific conditions. Experiment with the
different settings to find out which settings work best in different
conditions. The Scene button only effects the IR camera.
Short Press—A short press of the Scene button cycles through
the four preset AGC settings, which change the image gain and
level settings. The icon for each scene preset is shown on the
video monitor display.
Color Button—IR Imaging only
Short Press—Pressing the Color button cycles through the preset color palettes of the active IR
camera. See “Color:” on page 24 for these additional options.
Long Press—Press and hold the Color button to invert the thermal camera video polarity (for
example, changing from black-hot to white-hot).
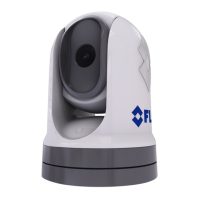
Home Button
Short Press—A short press of the Home button moves the camera to its home
position. The home position is a programmable preset position that operators can
use as a reference. When the Home button is pressed, the home icon appears
briefly on the video monitor display.
Long Press—Pressing and holding the Home button sets the home position.
First use the joystick to point the camera’s line of sight to the a new home position. Press and hold
the Home button until the home symbol flashes on the video monitor display; the new home
position is set.
Night
Harbor
Day Contrast