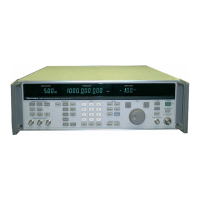
CLOSED-CASE CALIBRATION
4. Select the peak+ mode, enable the 50-Hz high-pass filter, and enable the 3 kHz
low-pass filter on the modulation meter.
5. Use the edit knob to change the adjustment value until the modulation meter reads
50.0%.
6. Press twice to store the new data.
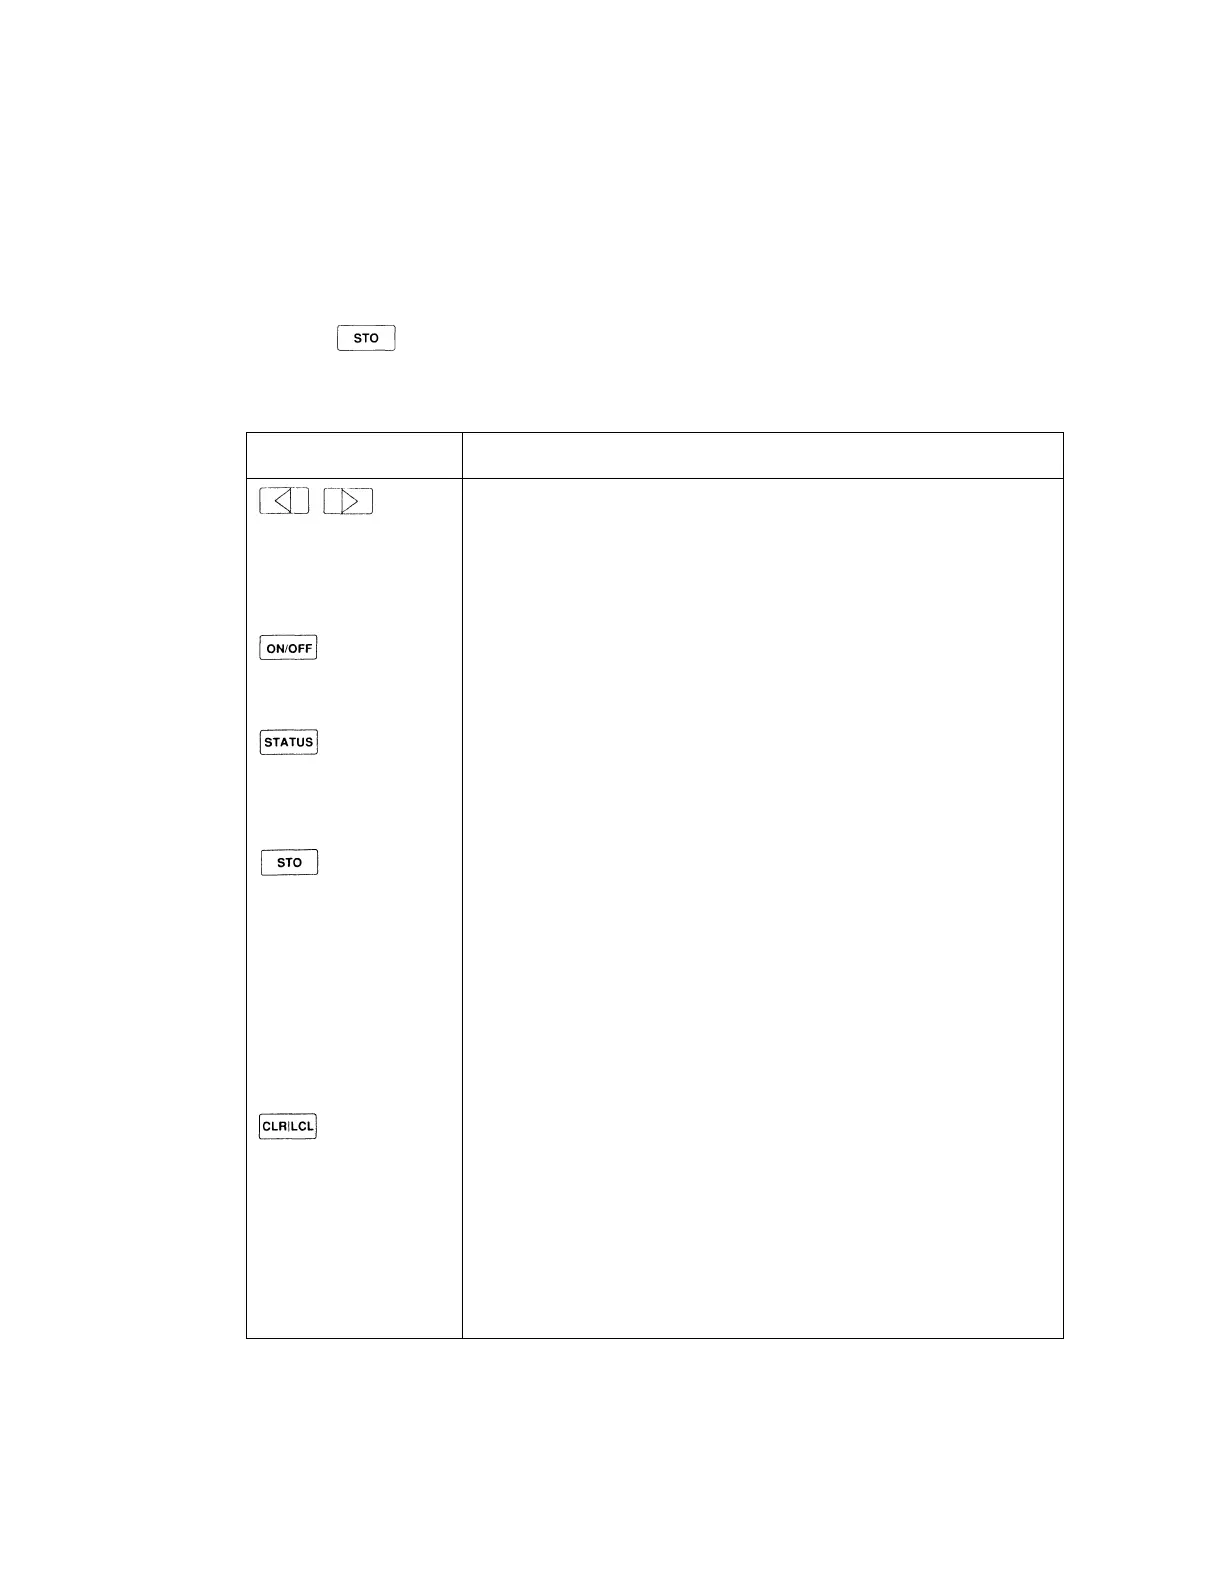
Table 3-1. Front Panel Controls for AM Calibration Procedure
CONTROLS
KNOB
FUNCTION AND DESCRIPTION
Bright-Digit Editing
Turn the edit knob to adjust the AM calibration factor. Use the left/right
arrow keys to move the bright-digit within the adjustment field. The
bright-digit is always located in the adjustment field.
RF on/off
Toggles the RF output on/off.
Overrange/uncal or Rejected Entry Status
Normally displays the overrange/uncal status. Displays the rejected entry
status code if there is a rejected entry.
Store Measured Data
Press once; the prompt "Sto ?" is displayed.
Press again to store the data. The message "— Sto —" is displayed to
confirm the selection. The updated calibration factor is stored in the
calibration memory, and the last valid instrument state is restored.
Press any other key to cancel the store operation and resume the
procedure.
Abort the Cal Procedure
Press once; the prompt "Clr ?" is displayed.
Press again to abort the procedure. The message "— Clr —" is displayed
to confirm the selection. All measured data is discarded and the previous
instrument state is restored.
Press any other key to resume the procedure.
3-5