Device Control Buttons
The buttons at the top of the device control panel execute different actions on the
MANTIS.
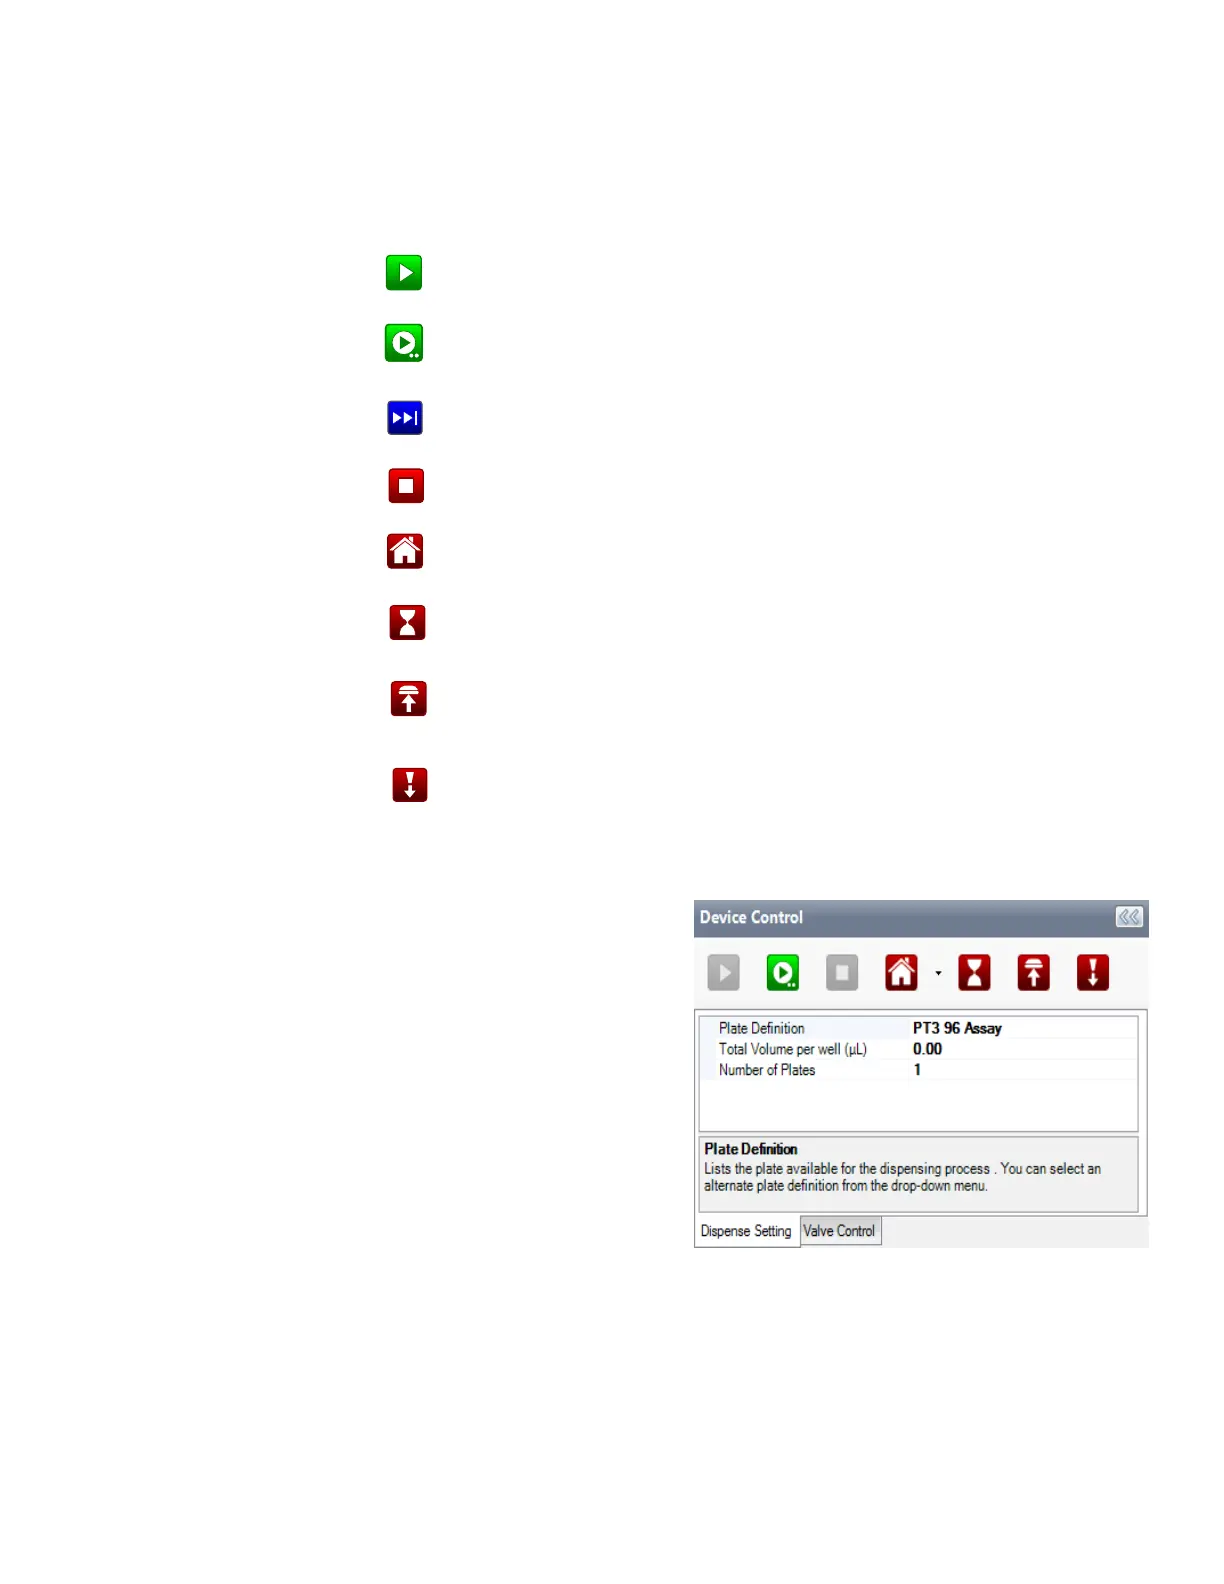
Dispense Setting Tab
The Dispense Setting tab allows you to
see and configure the Plate Definition
and the Total Volume per well (µL) of a
reagent. You can change the plate by
clicking on the name of the plate and
selecting a new plate from the list.
Note that you can only change
between plates with the same number
of wells.
The Total Volume per Well field is
populated only if every well has the
same total volume.
The Number of Plates is where you specify the desired number of plates to be dispensed
— it is typically used for running a multi-plate dispense with a single dispense list.
MANTIS User's Guide | Chapter 7: Software Overview
Clicking the Run Dispense button starts the plate dispense. This button
changes to a pause button when clicked.
Clicking the Run Dispense with Protocol button starts the plate dispense
using the saved protocols available.
–
The Skip Dispense button tells the MANTIS to skip to the next reagent on
the dispense list (not visible for ACC MANTIS).
The Stop button stops the dispense.
–
The Home button homes the MANTIS motors, which can be useful if the
MANTIS is not dispensing as precisely as normal. When the LC3(s) is attached,
the home button can also home LC3 motors.
–
The Move to Idle Position button moves the MANTIS arms and hand to the
rest position.
The Move to Install Chip Position button extends the MANTIS arms and hand
so that you can more easily place the chip into place.
The Move to Install Input Position button moves the MANTIS arms and hand
to a position that enables you to easily attach the pipette tip or input tube to
the chip input.
Dispense Setting Tab